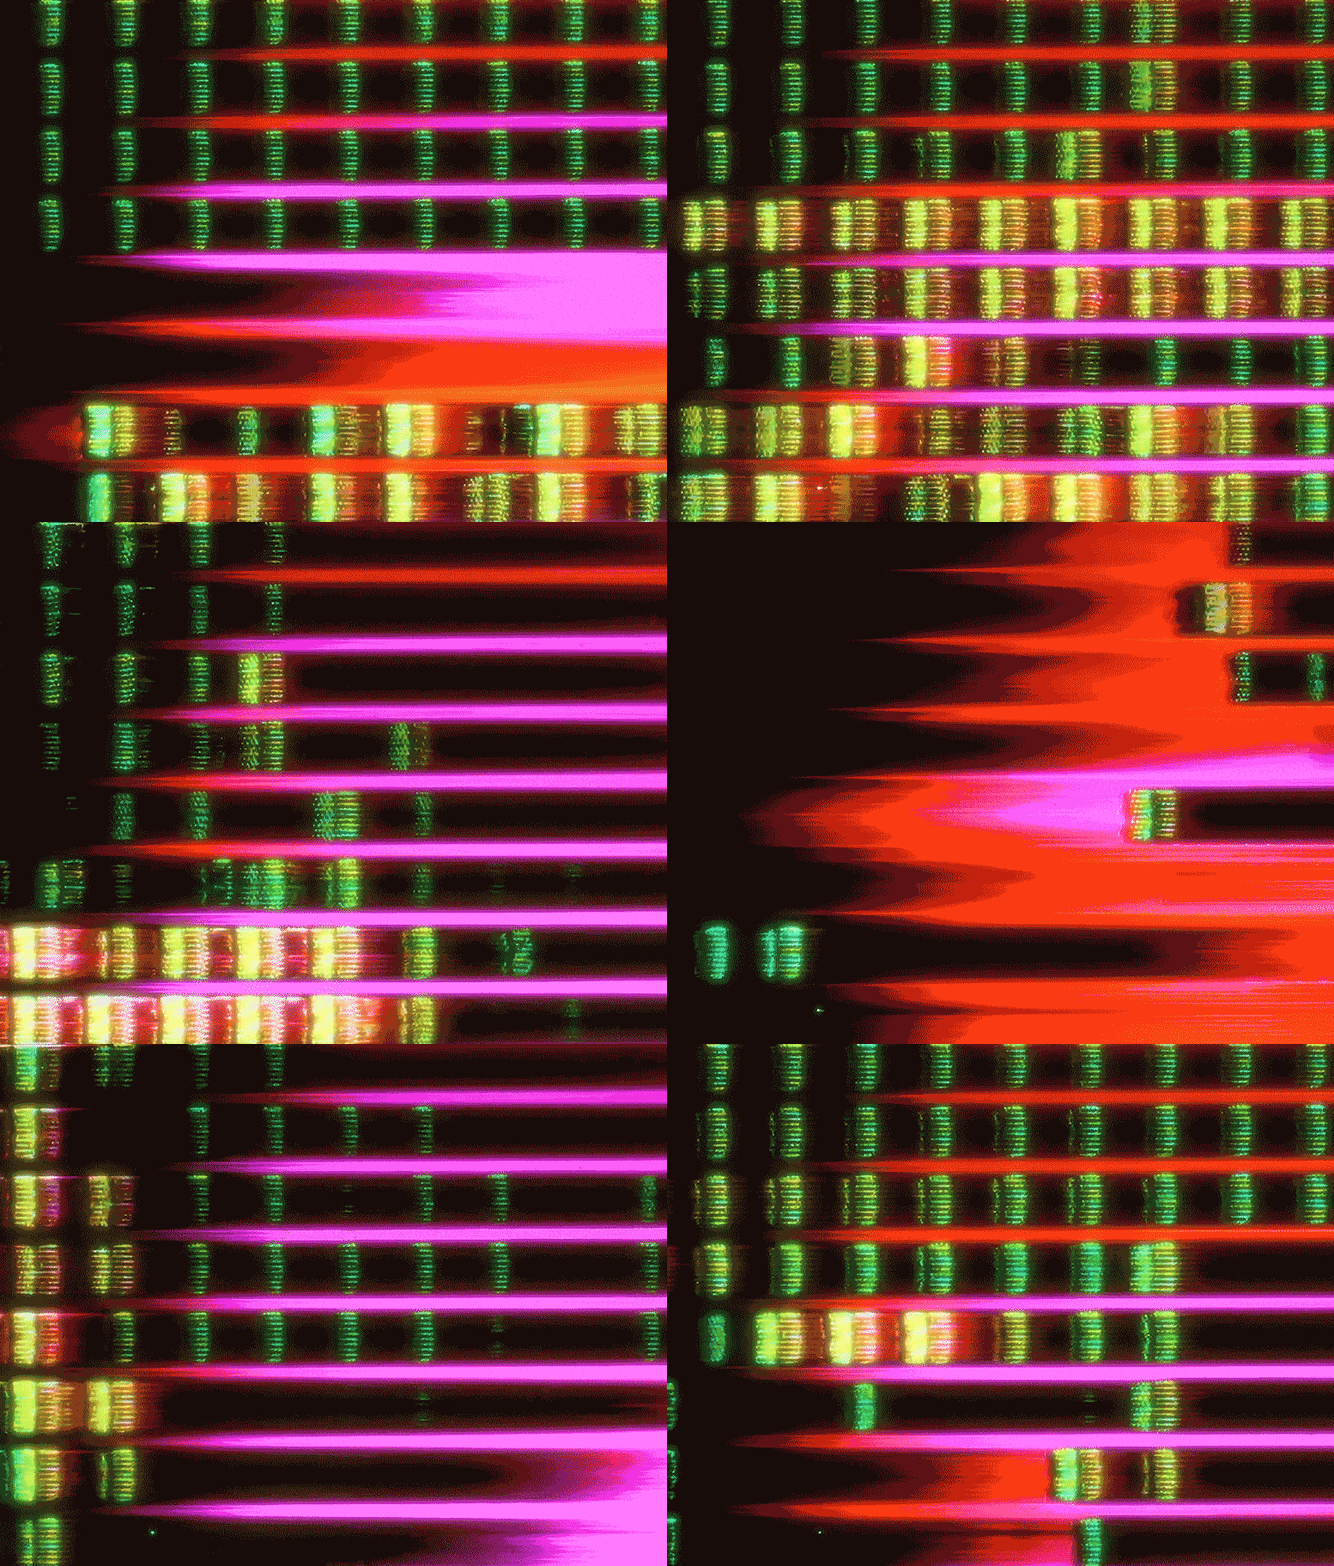
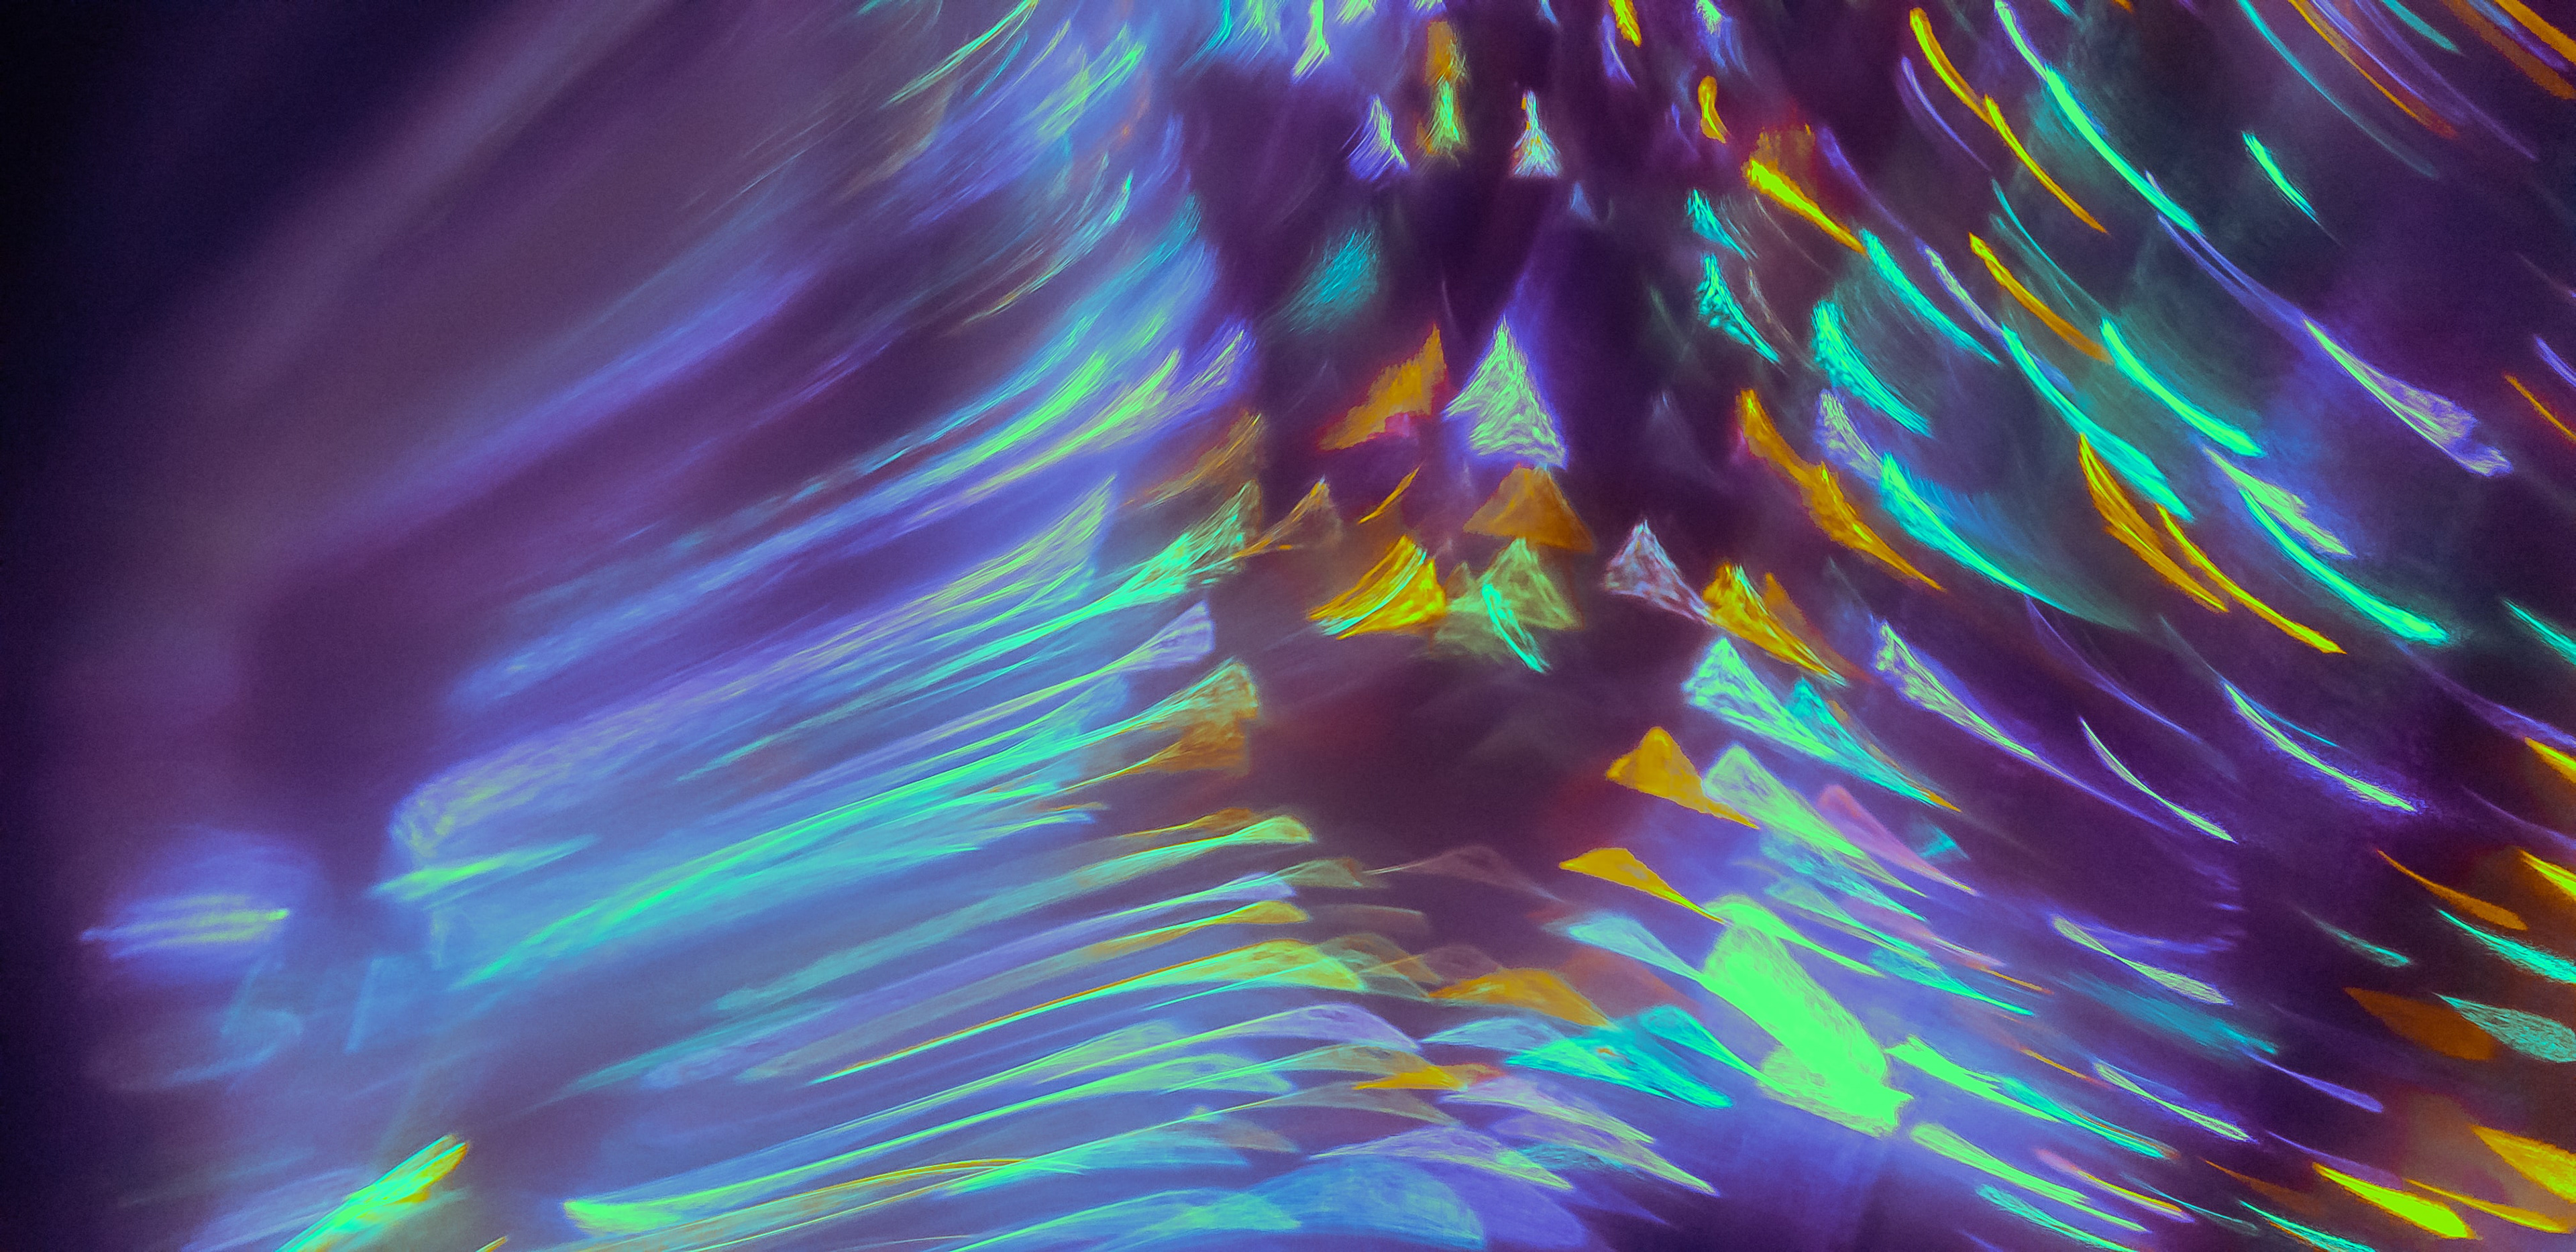
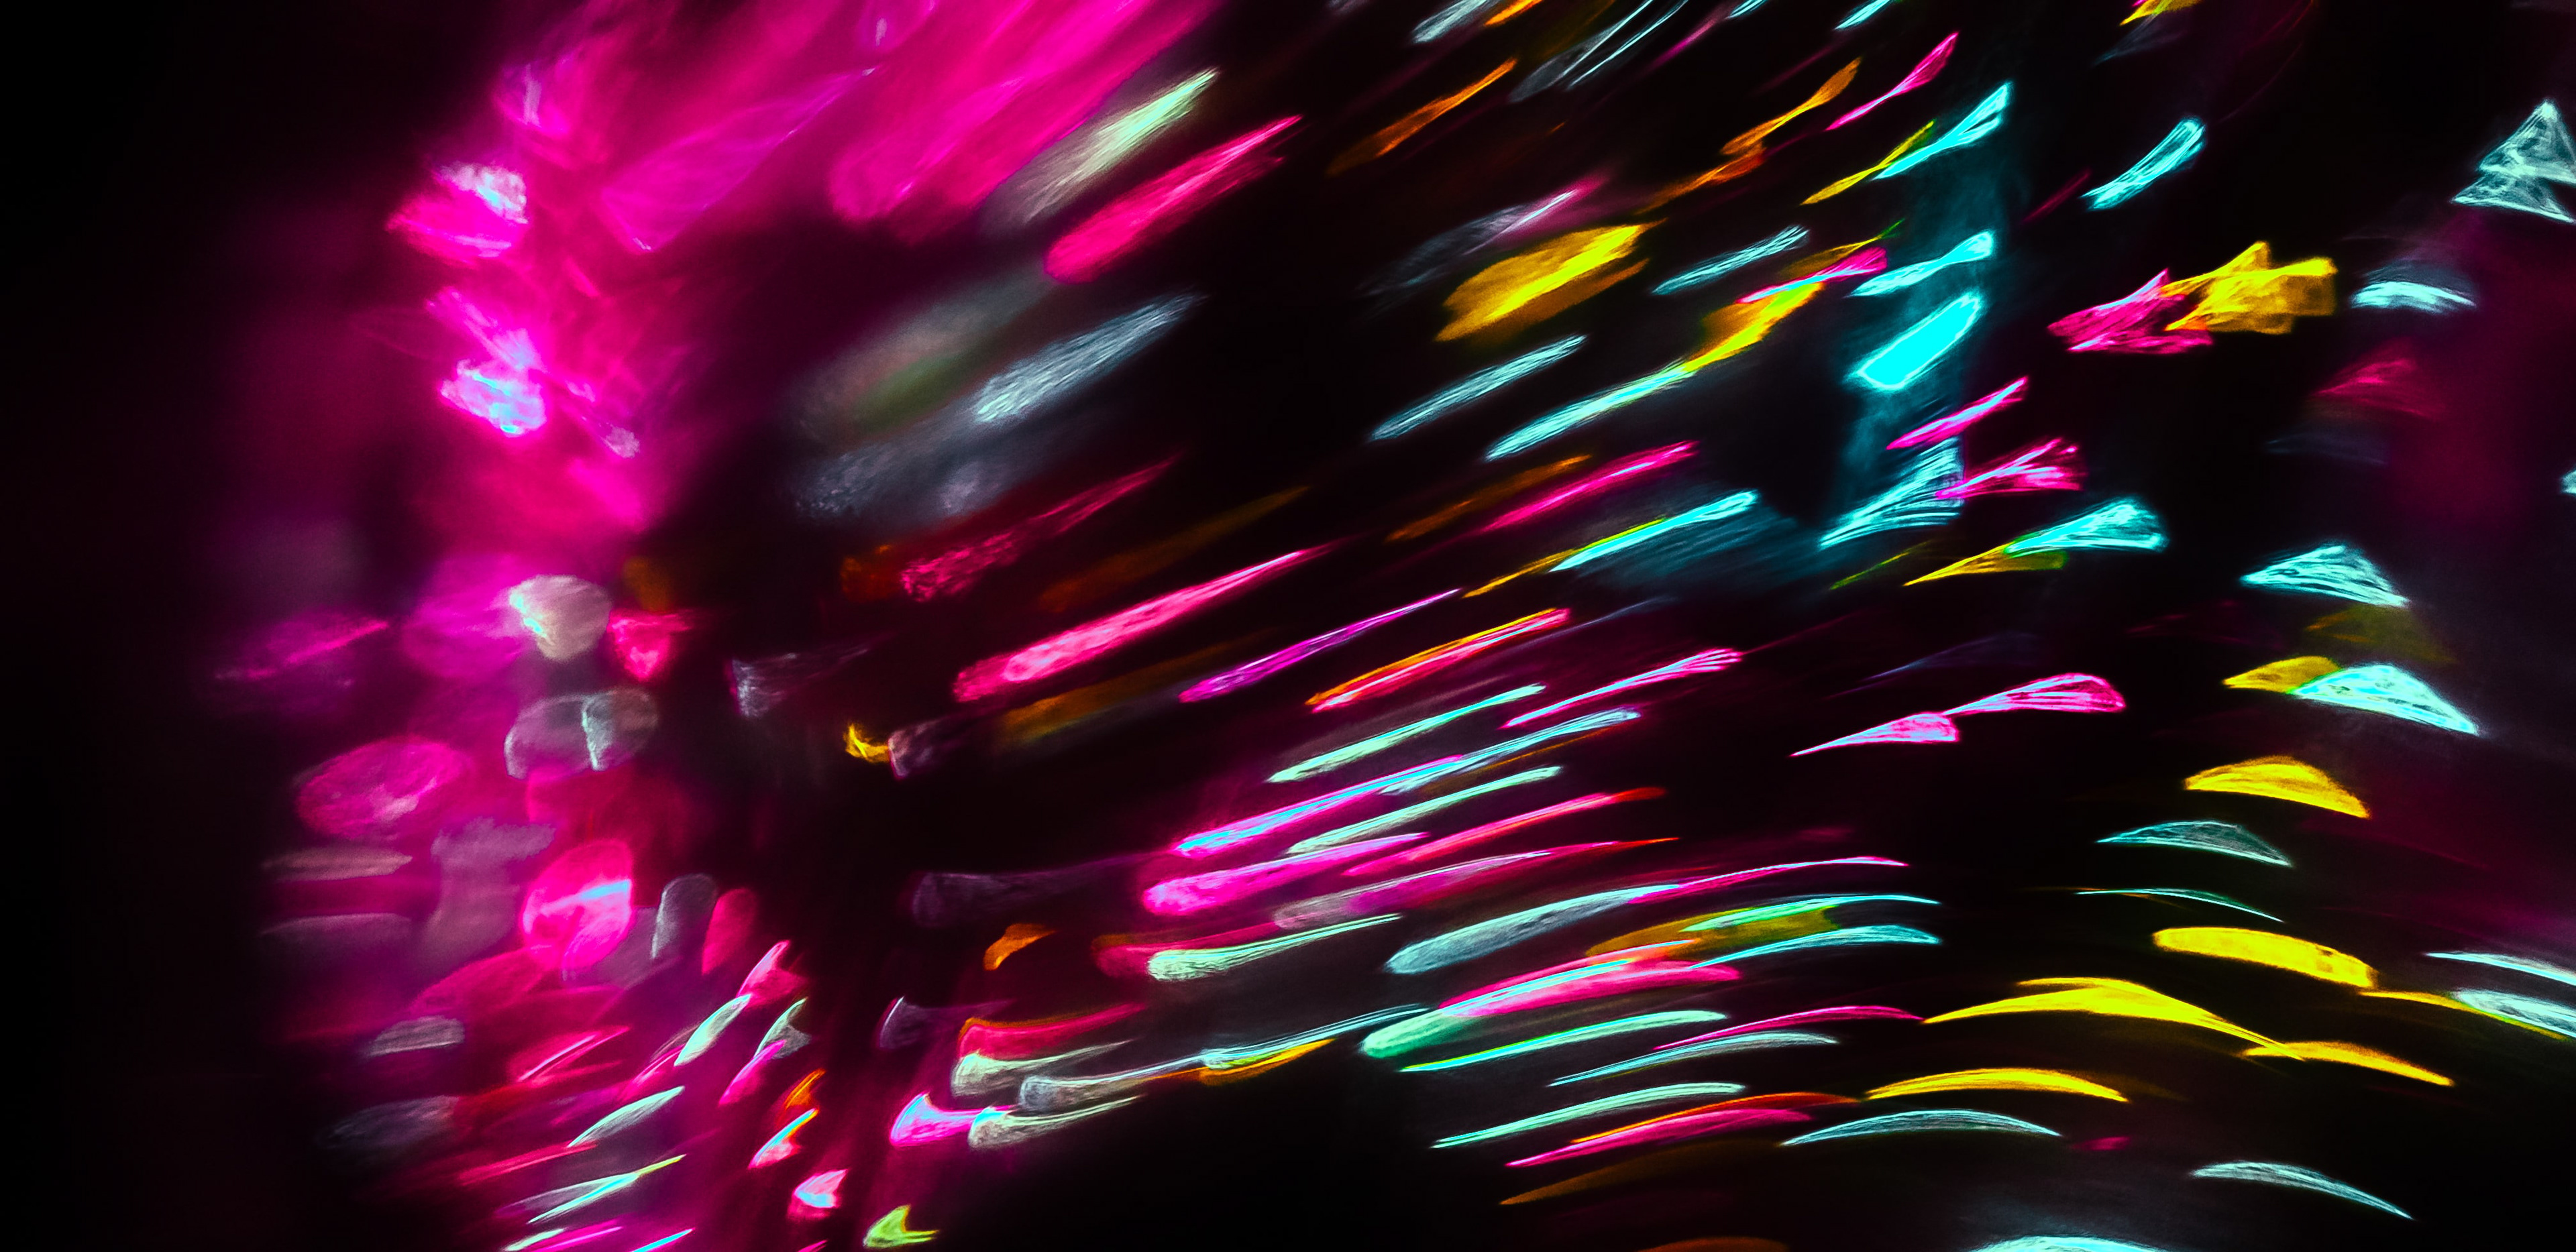
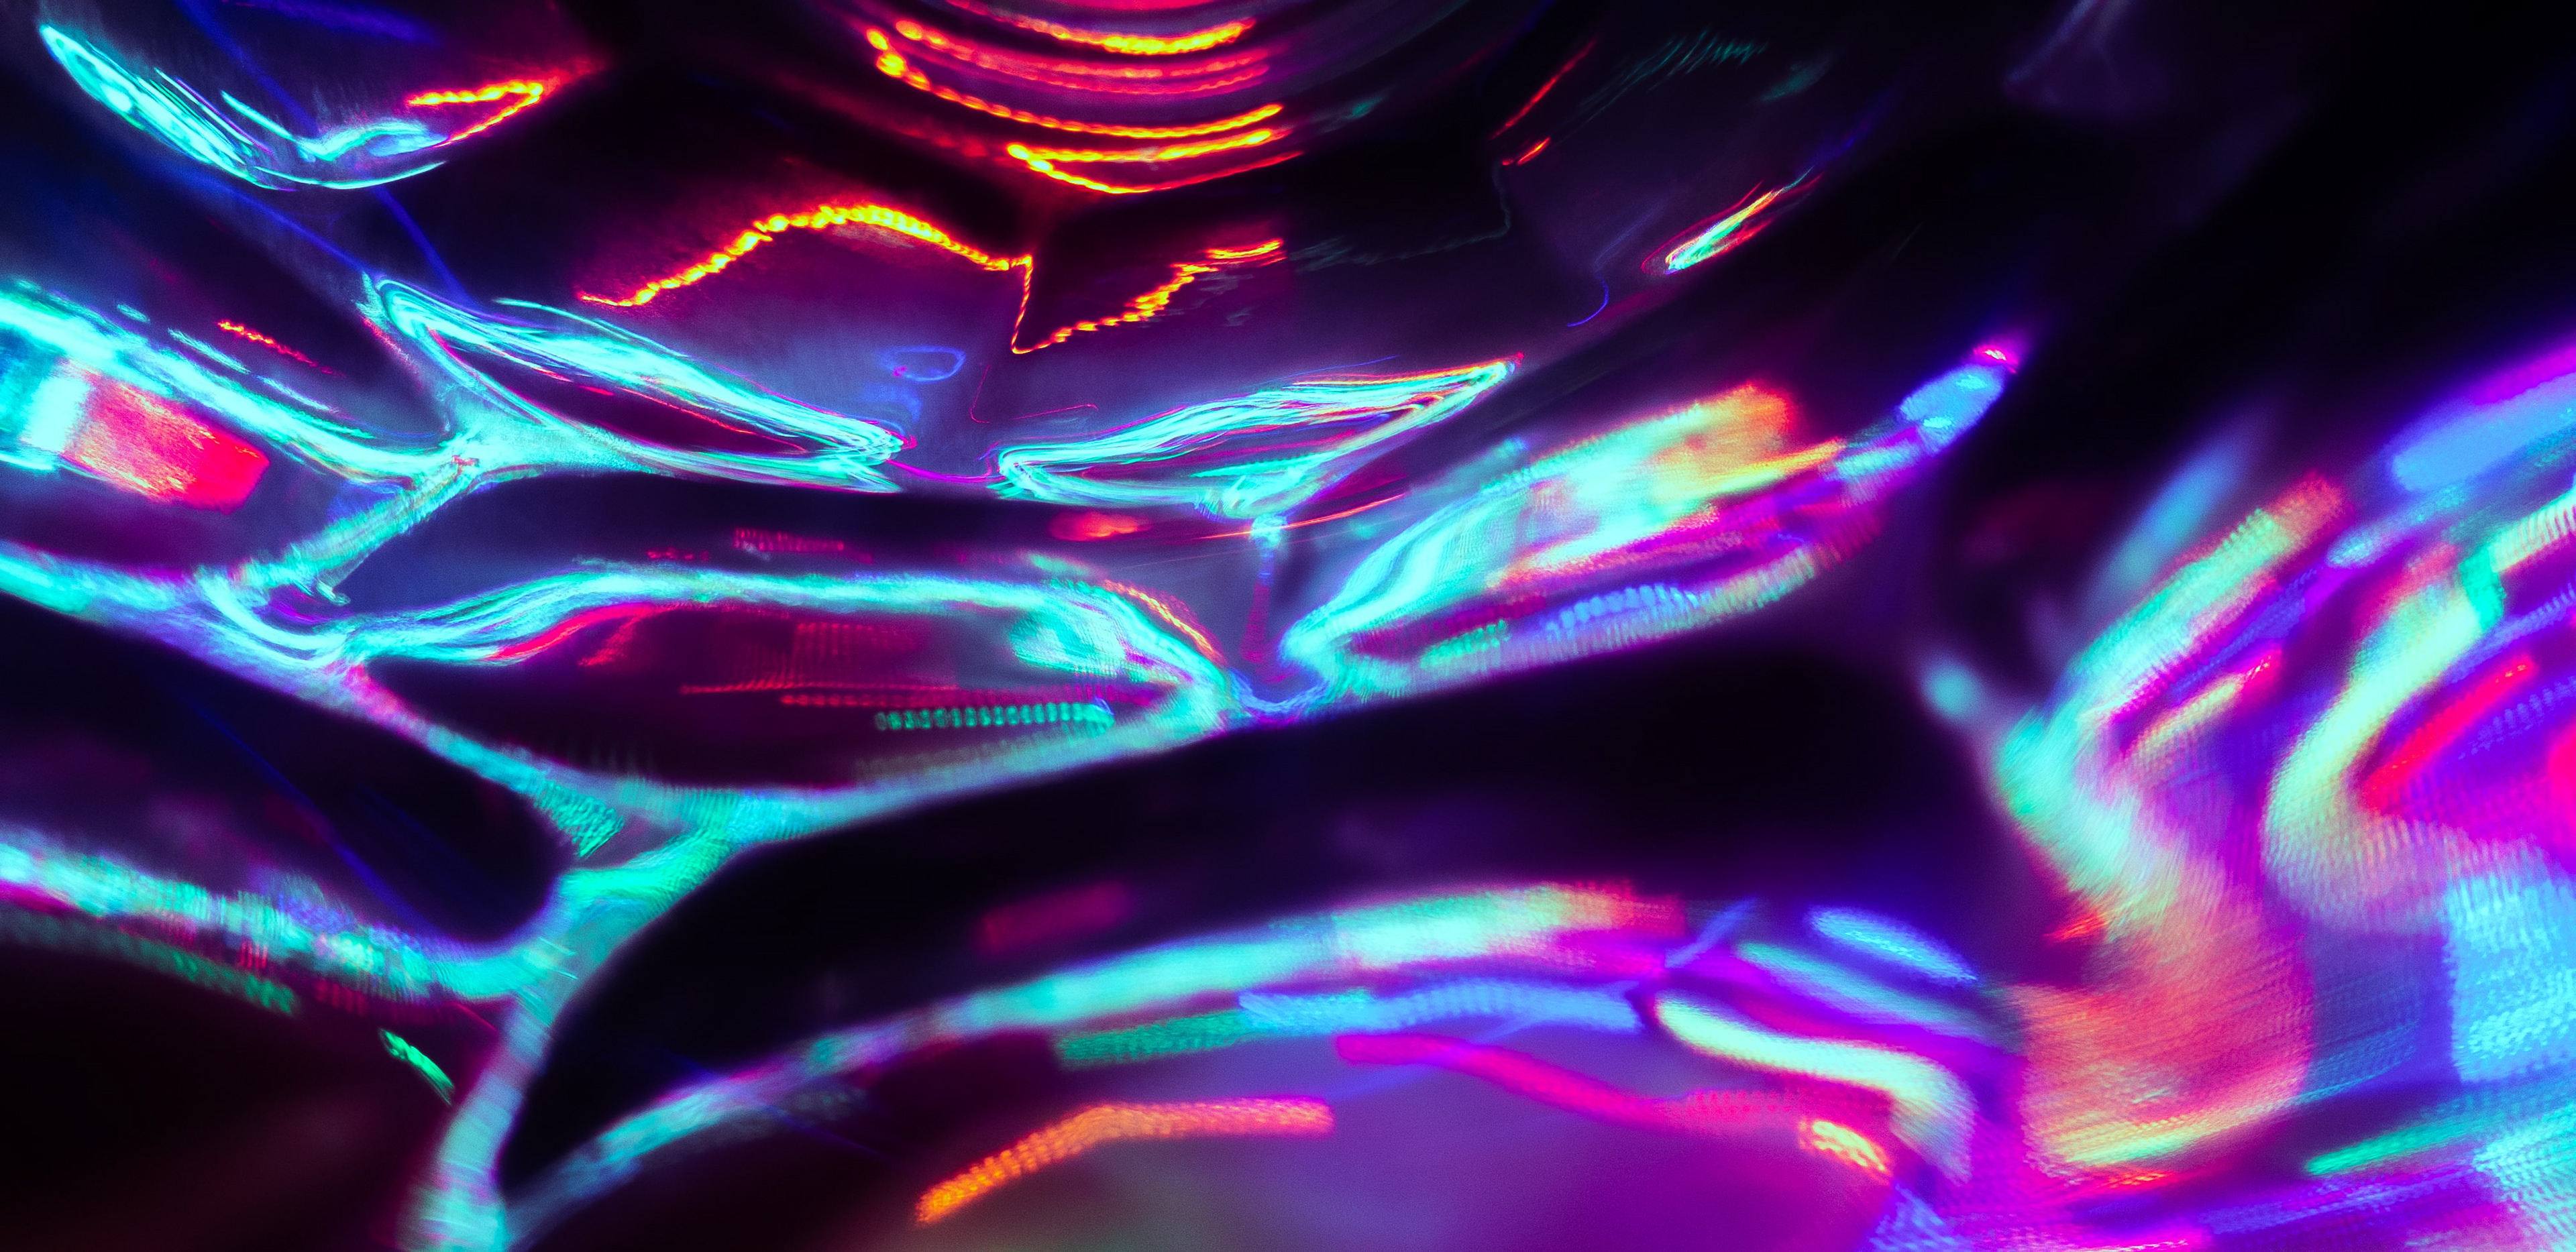
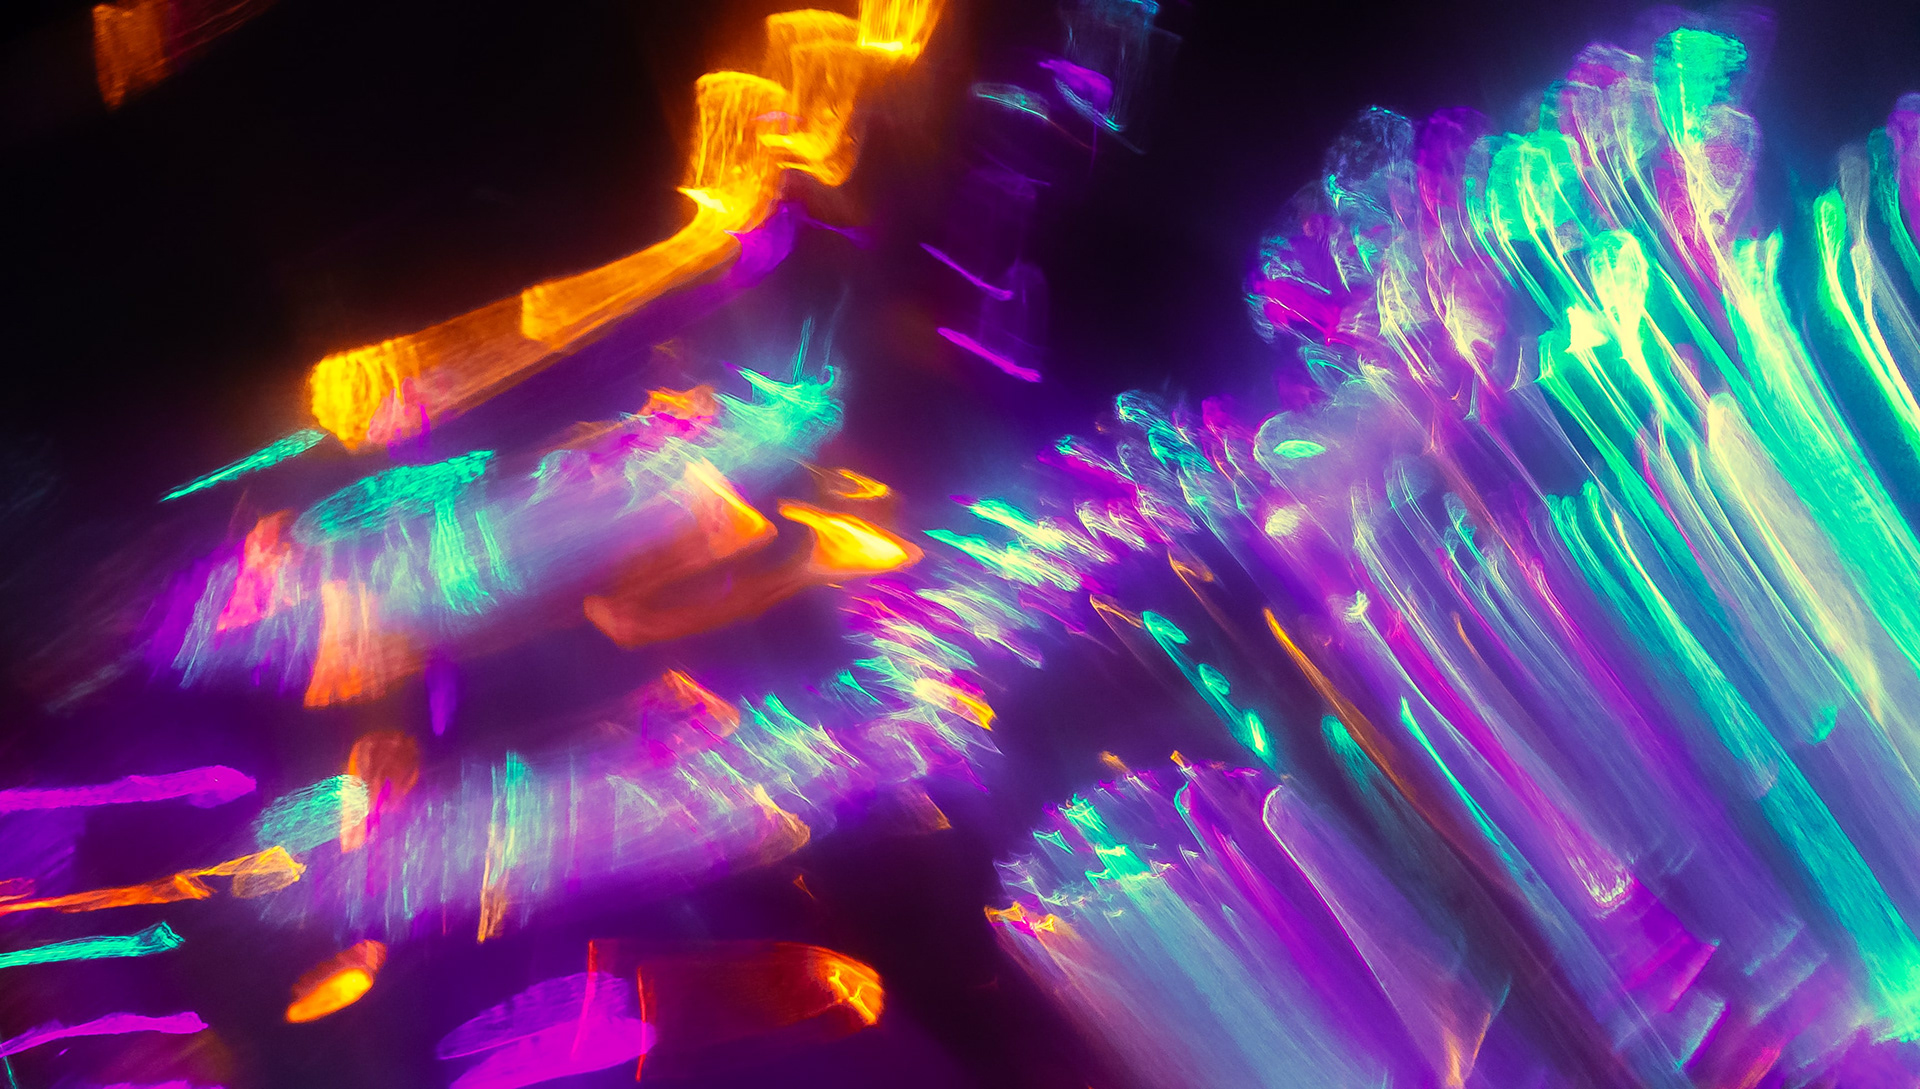
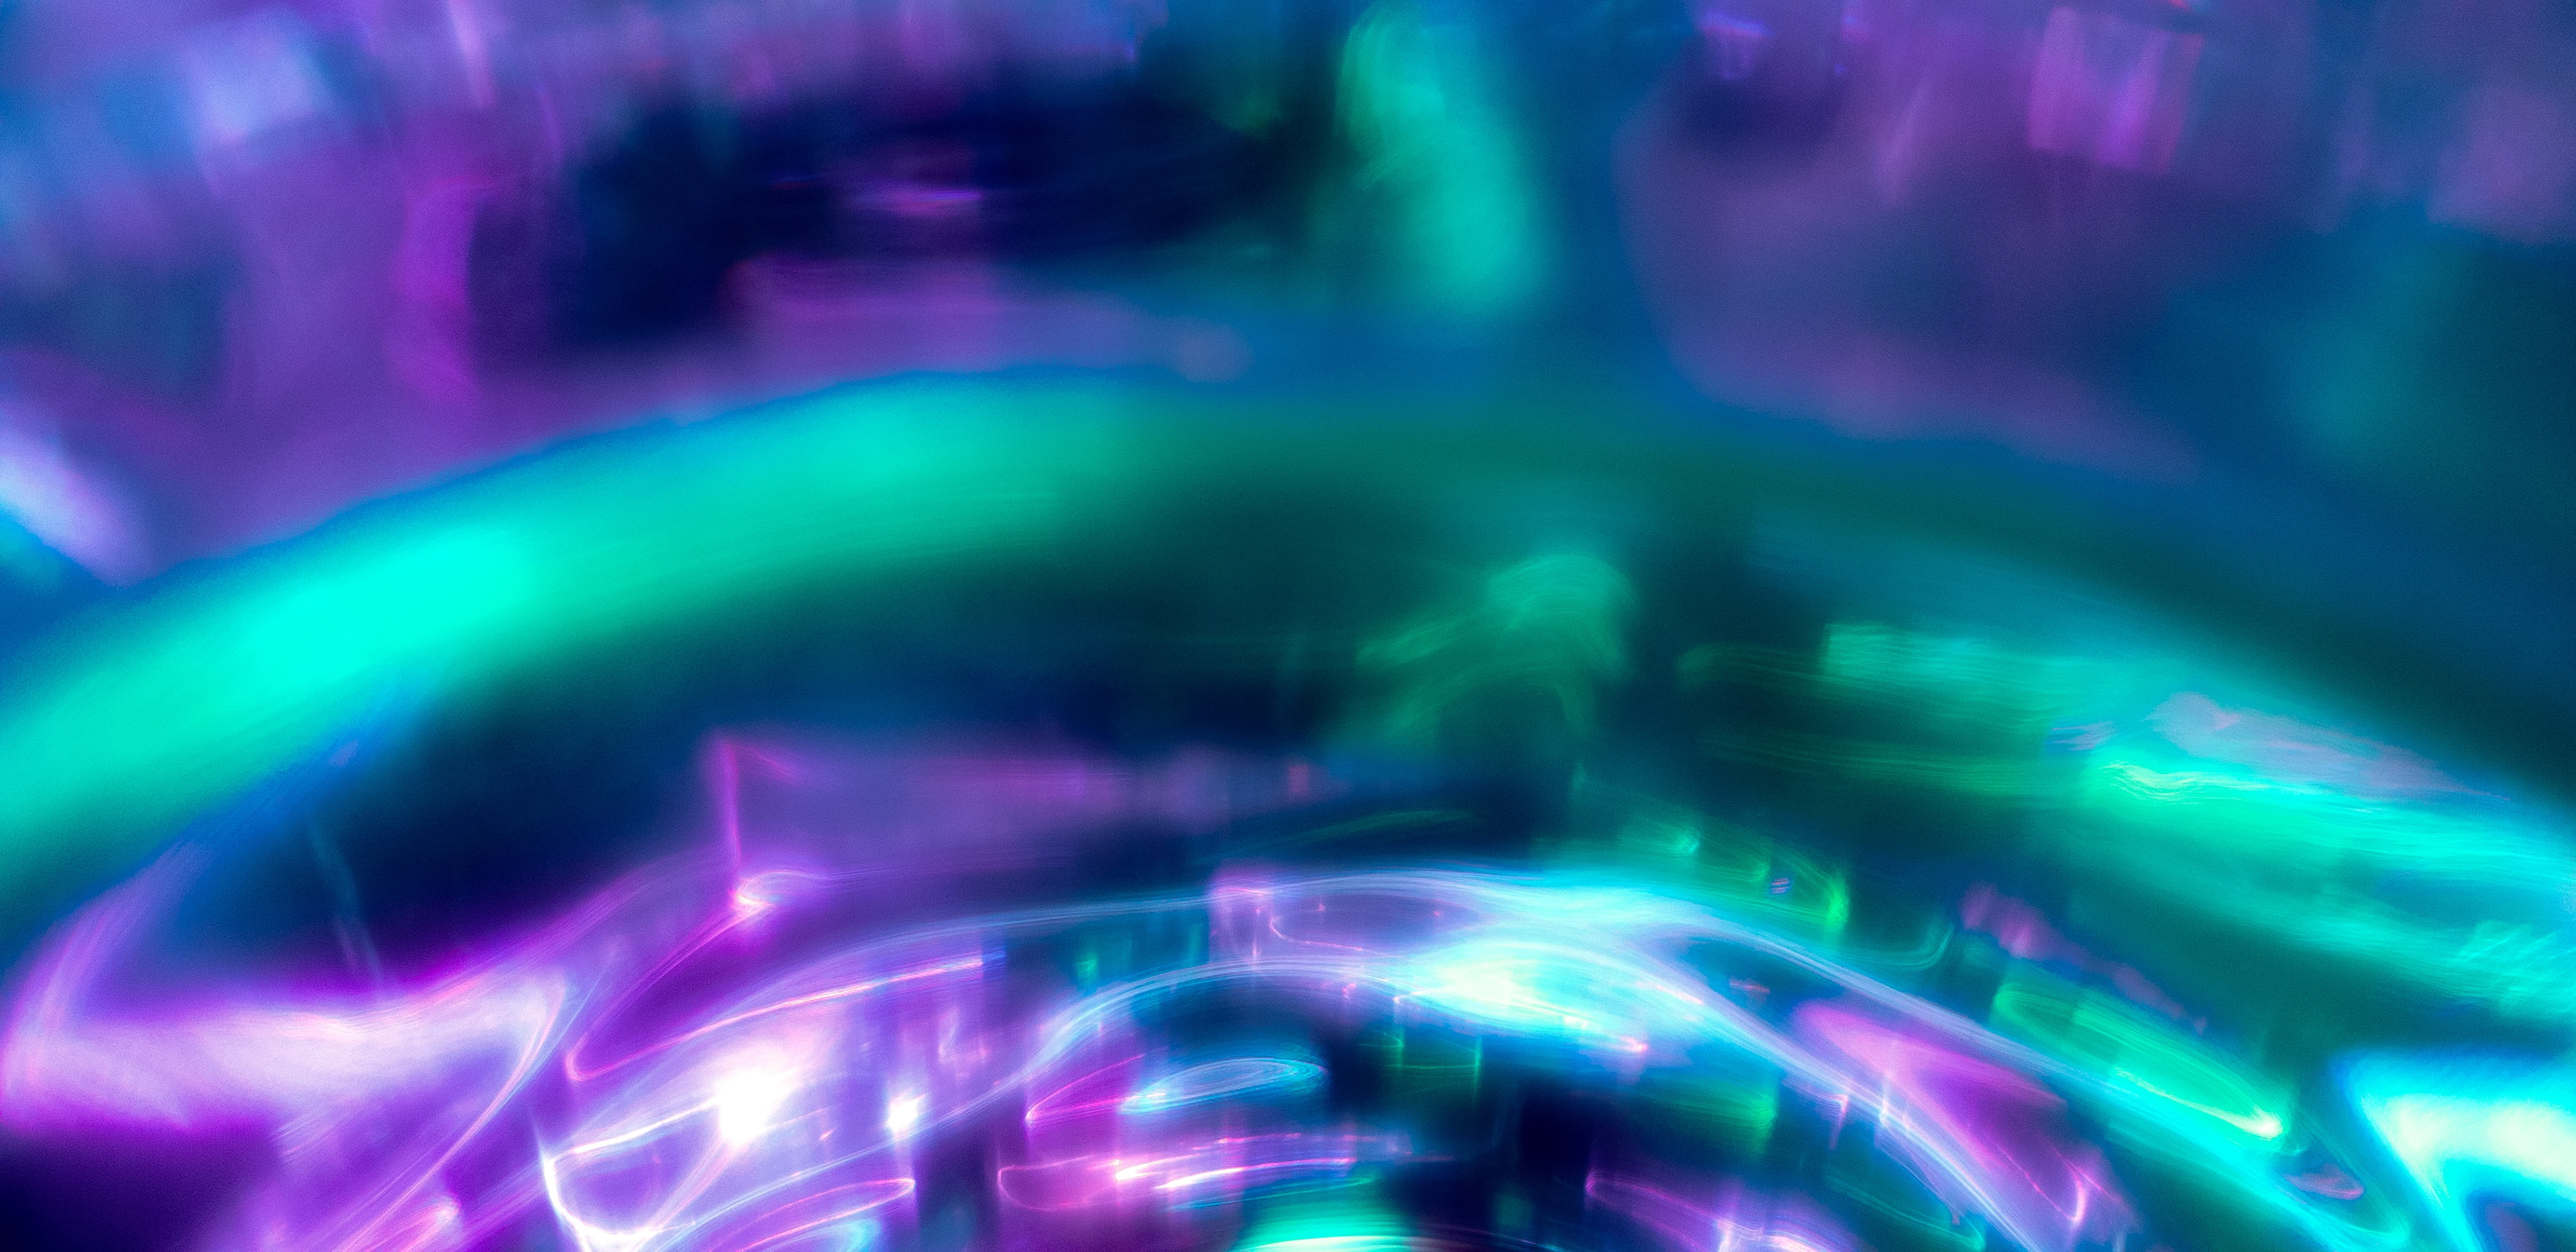
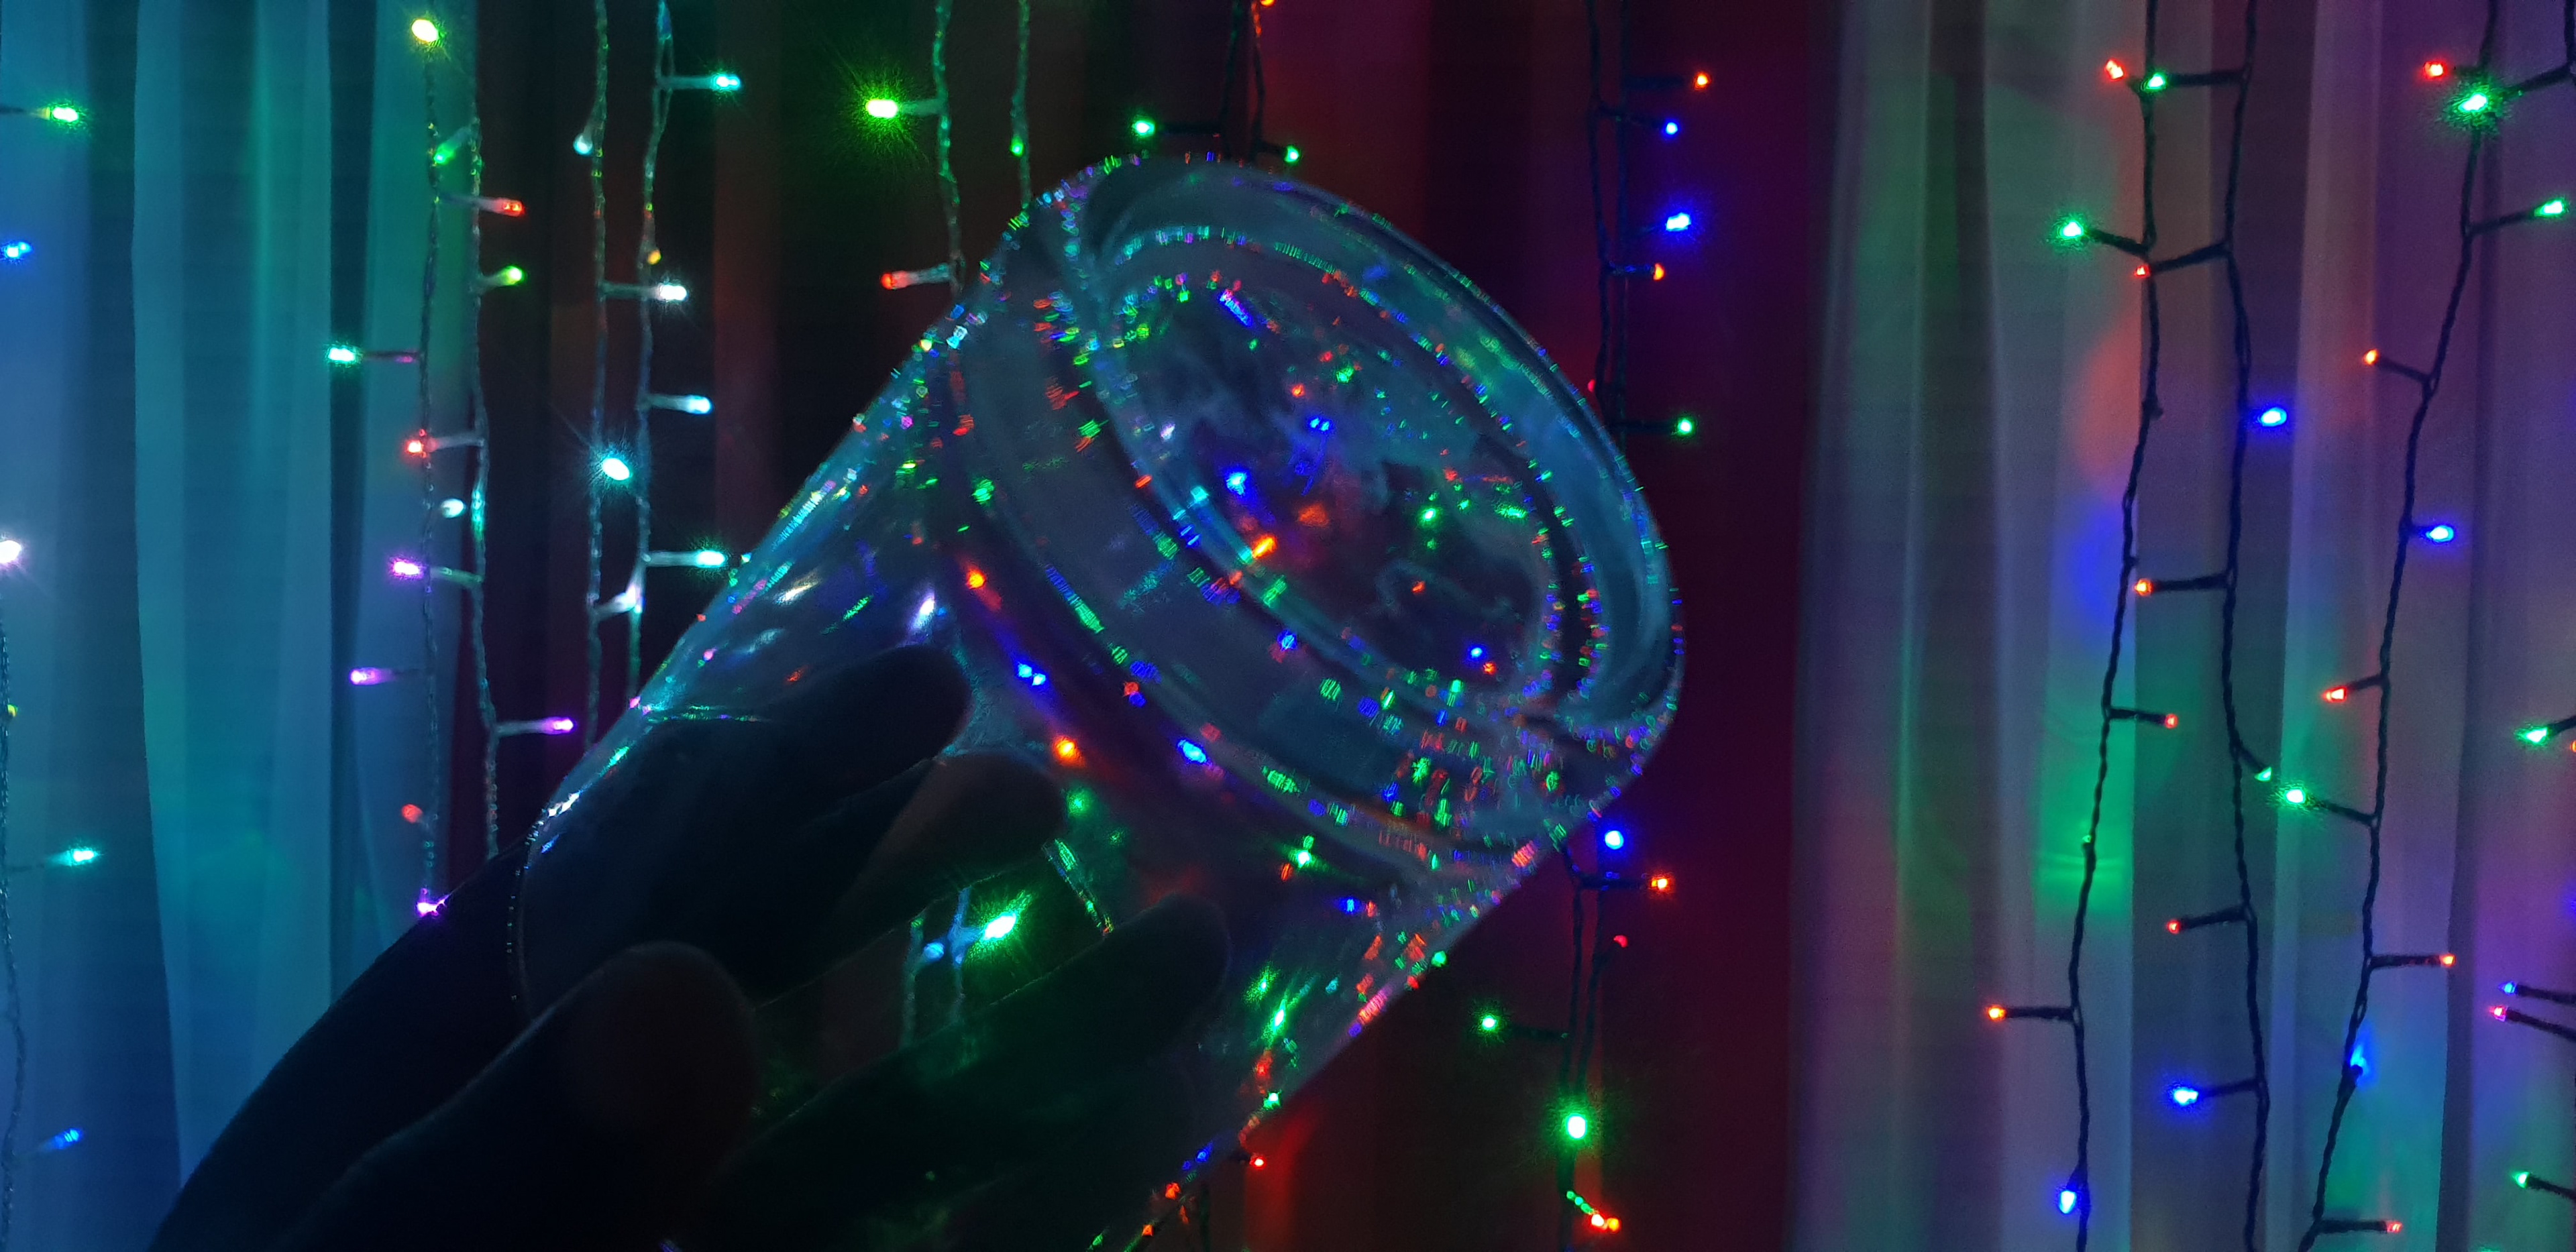
I always use Christmas to do experiments with lights at home, and in 2017, I wanted to get a glass prism so bad that I tried to shoot my lights with my phone and a pint glass as a prism. It worked out. And I have a lot of glass at home.
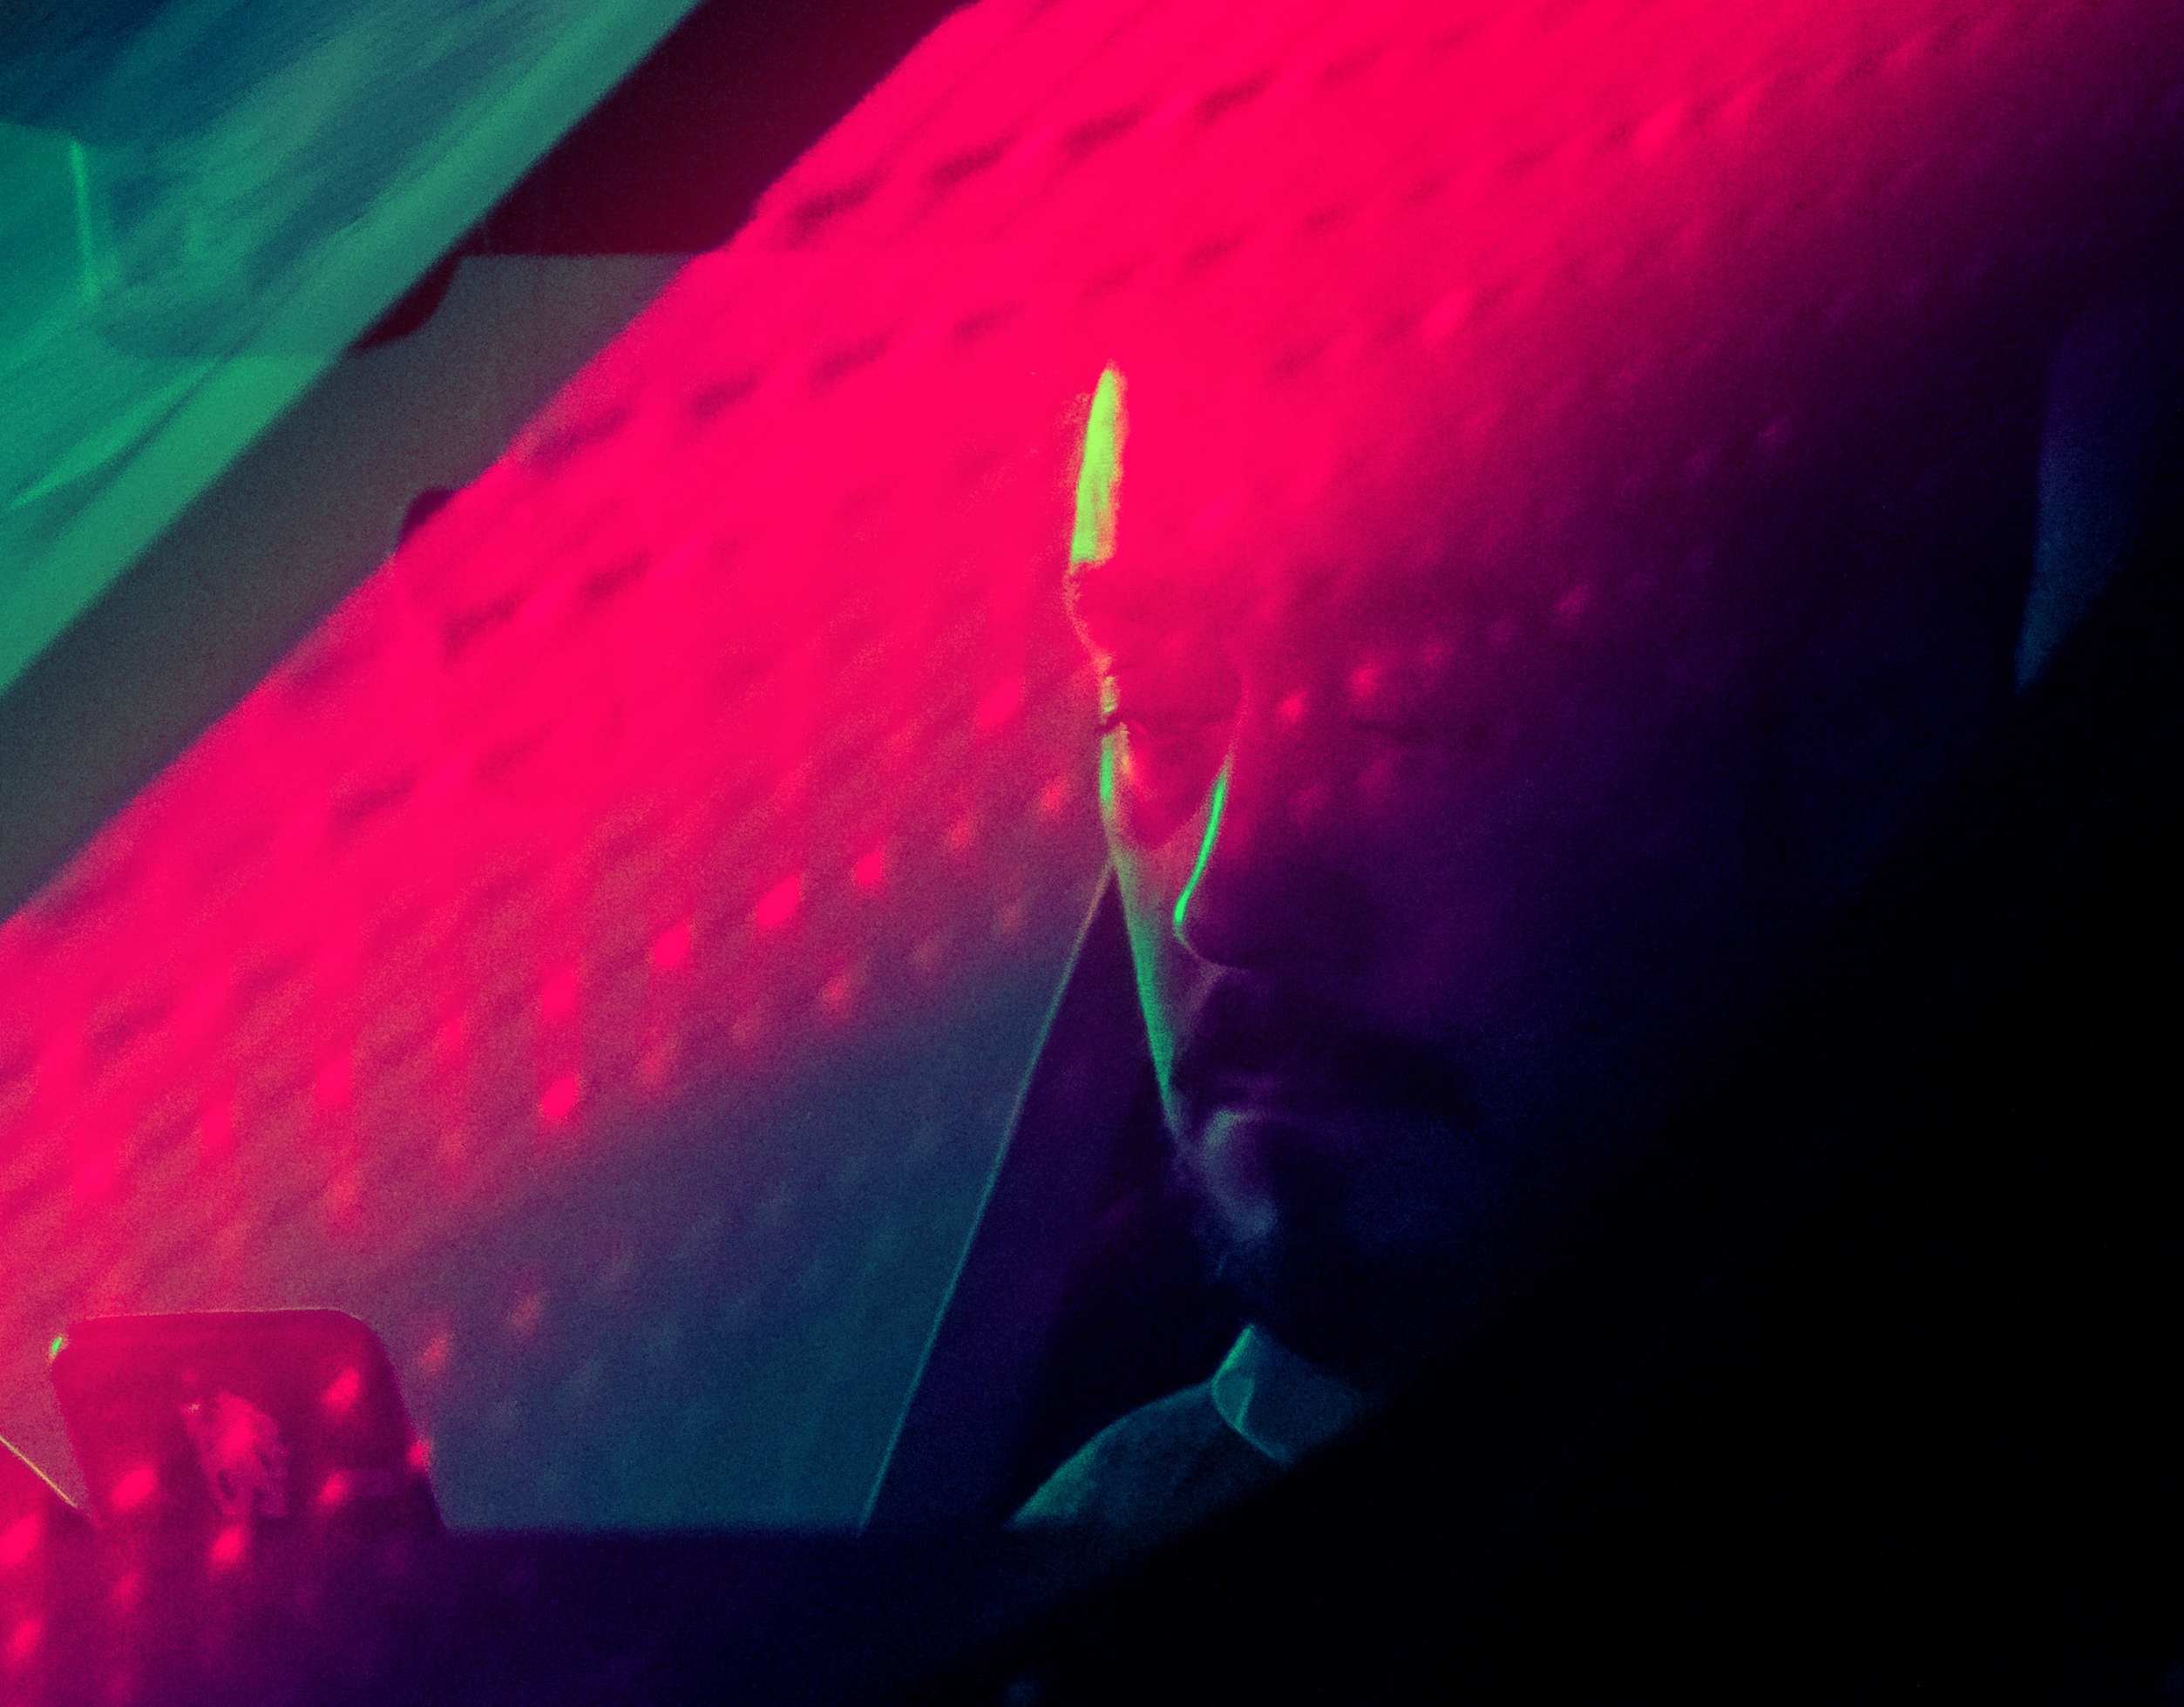
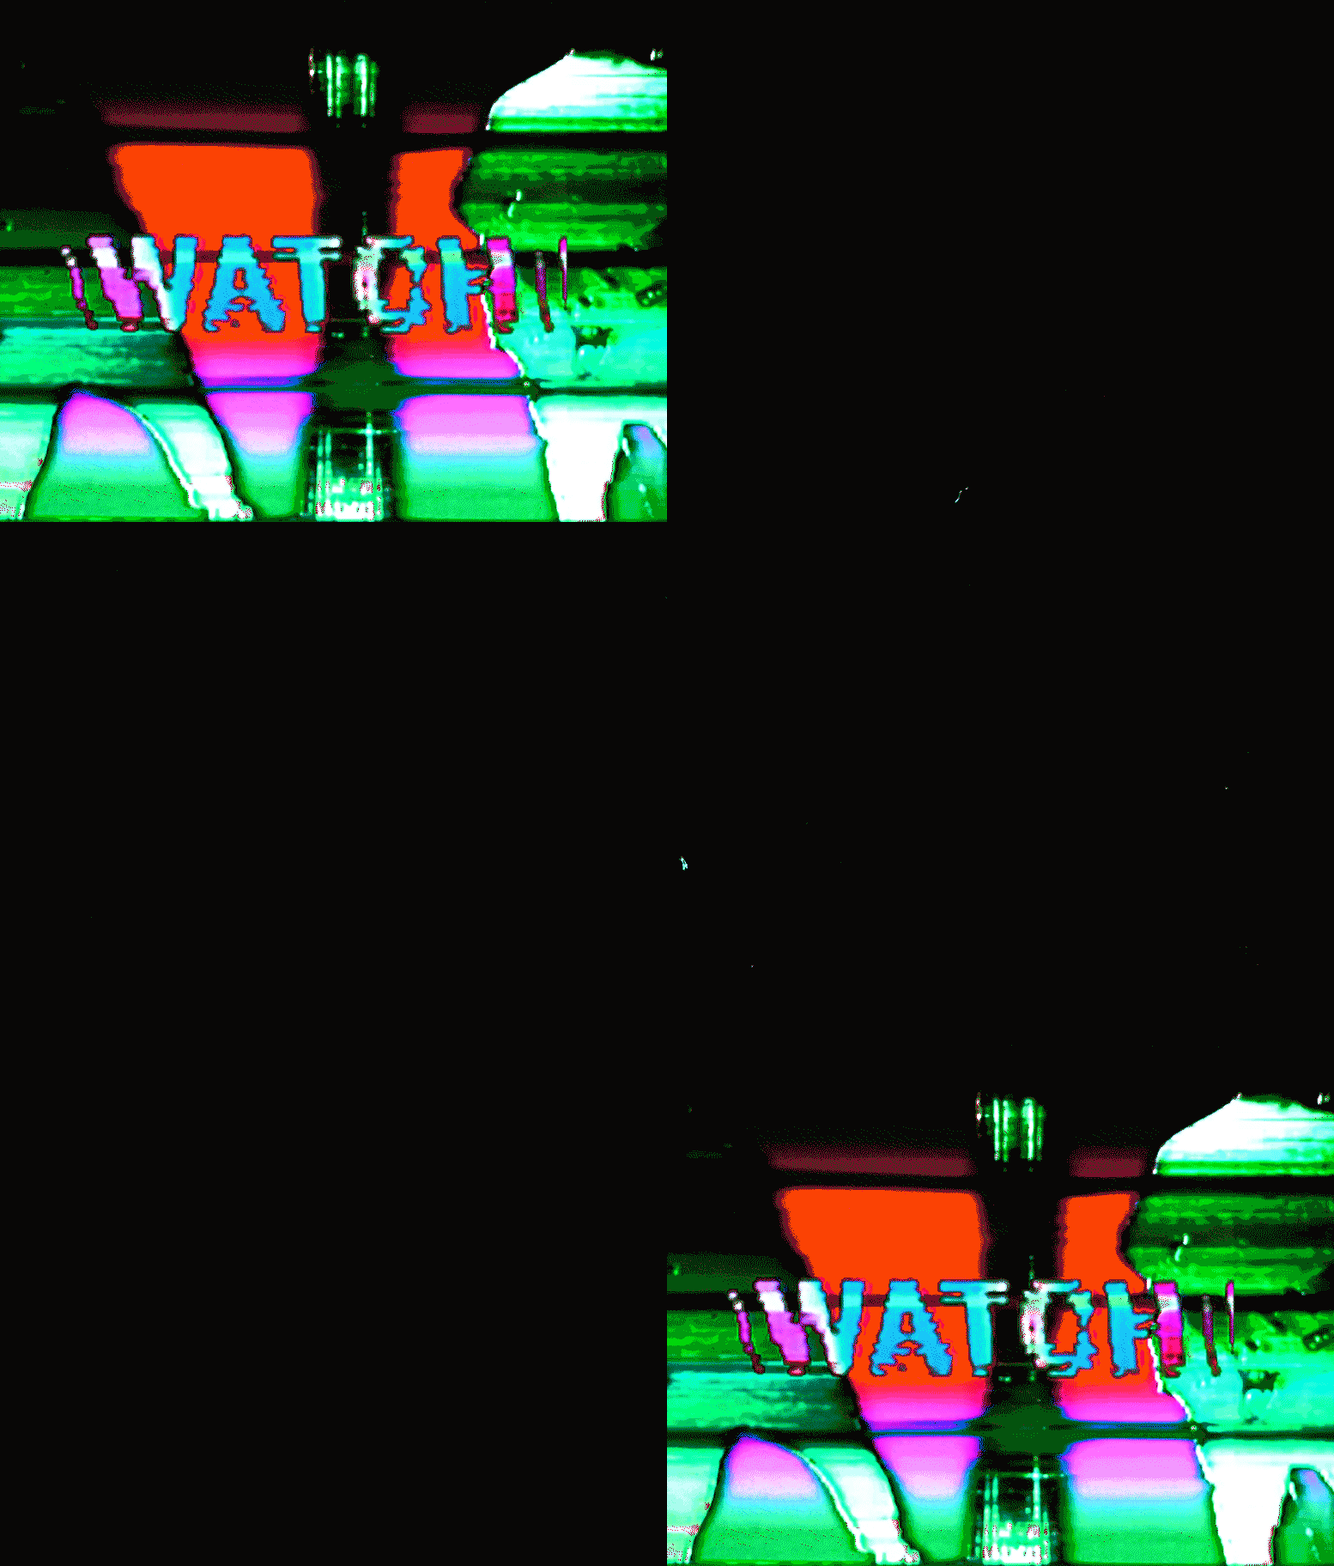
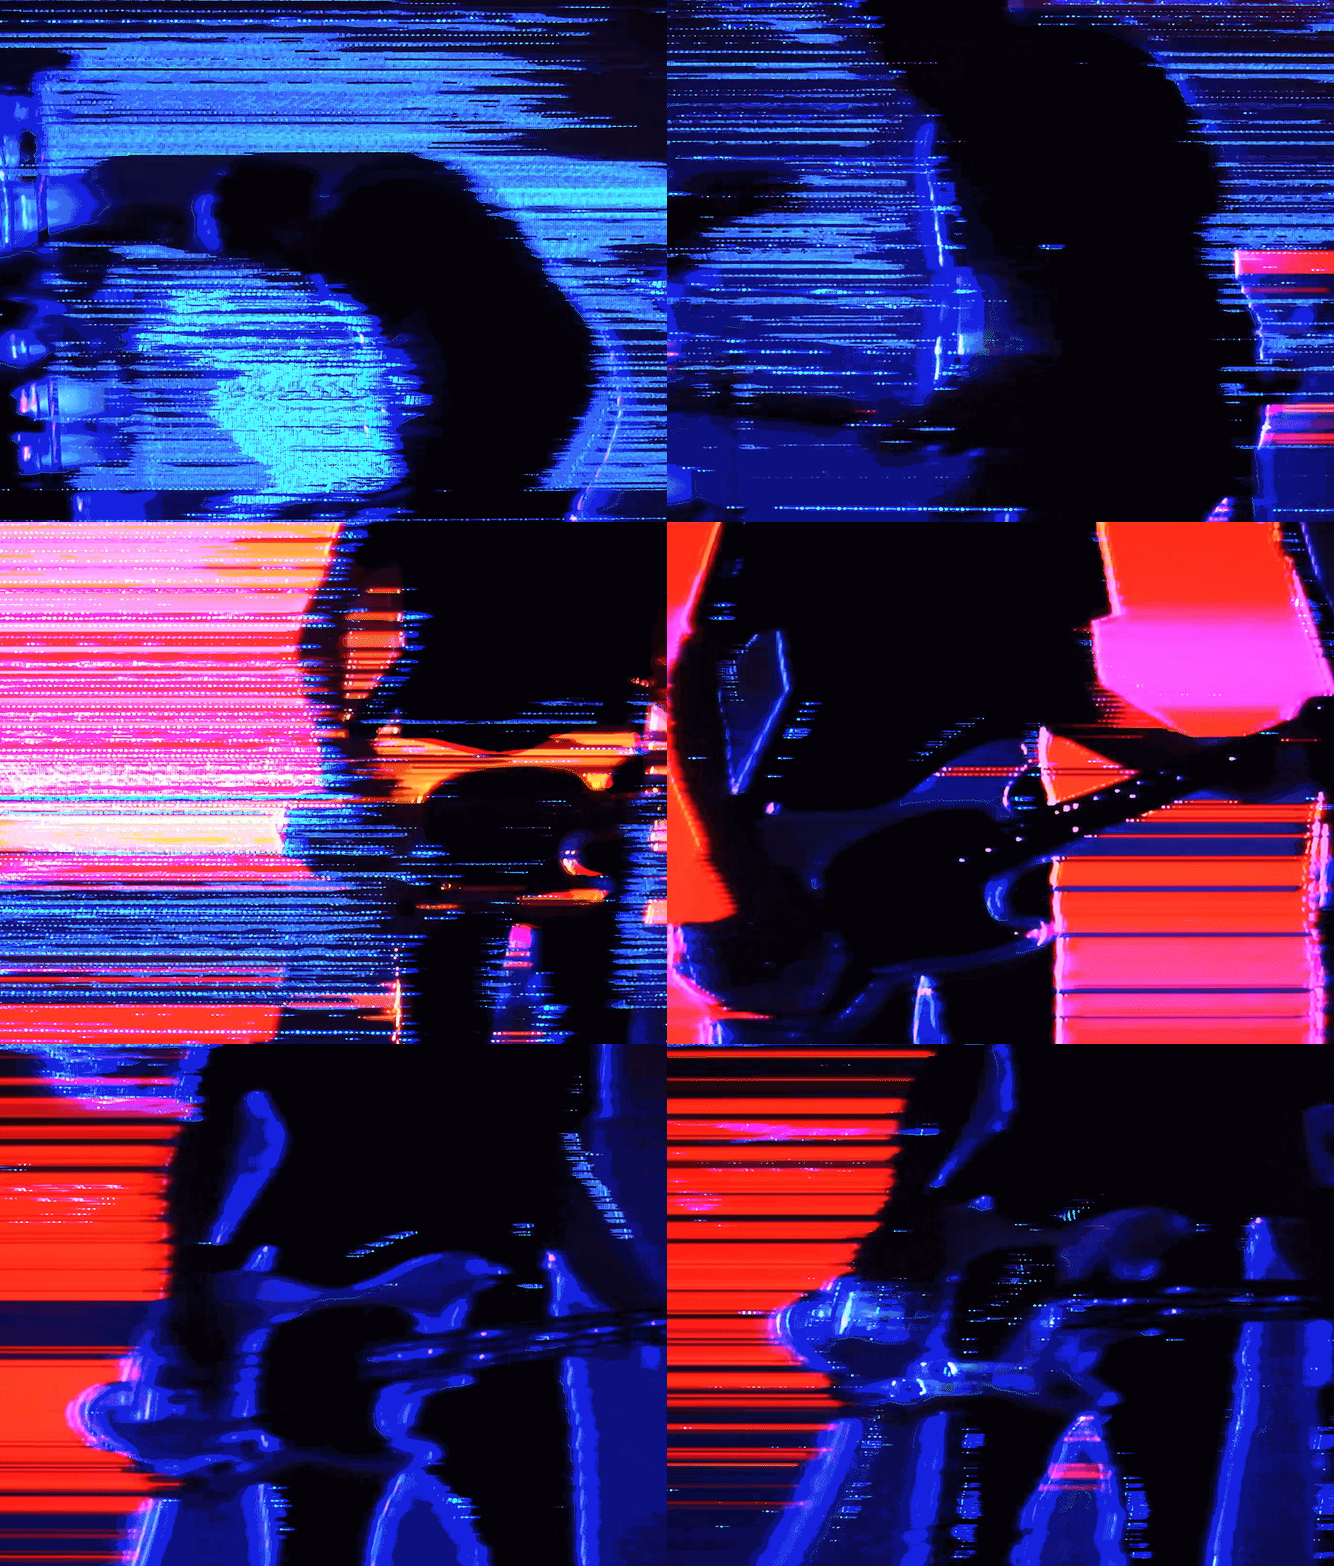
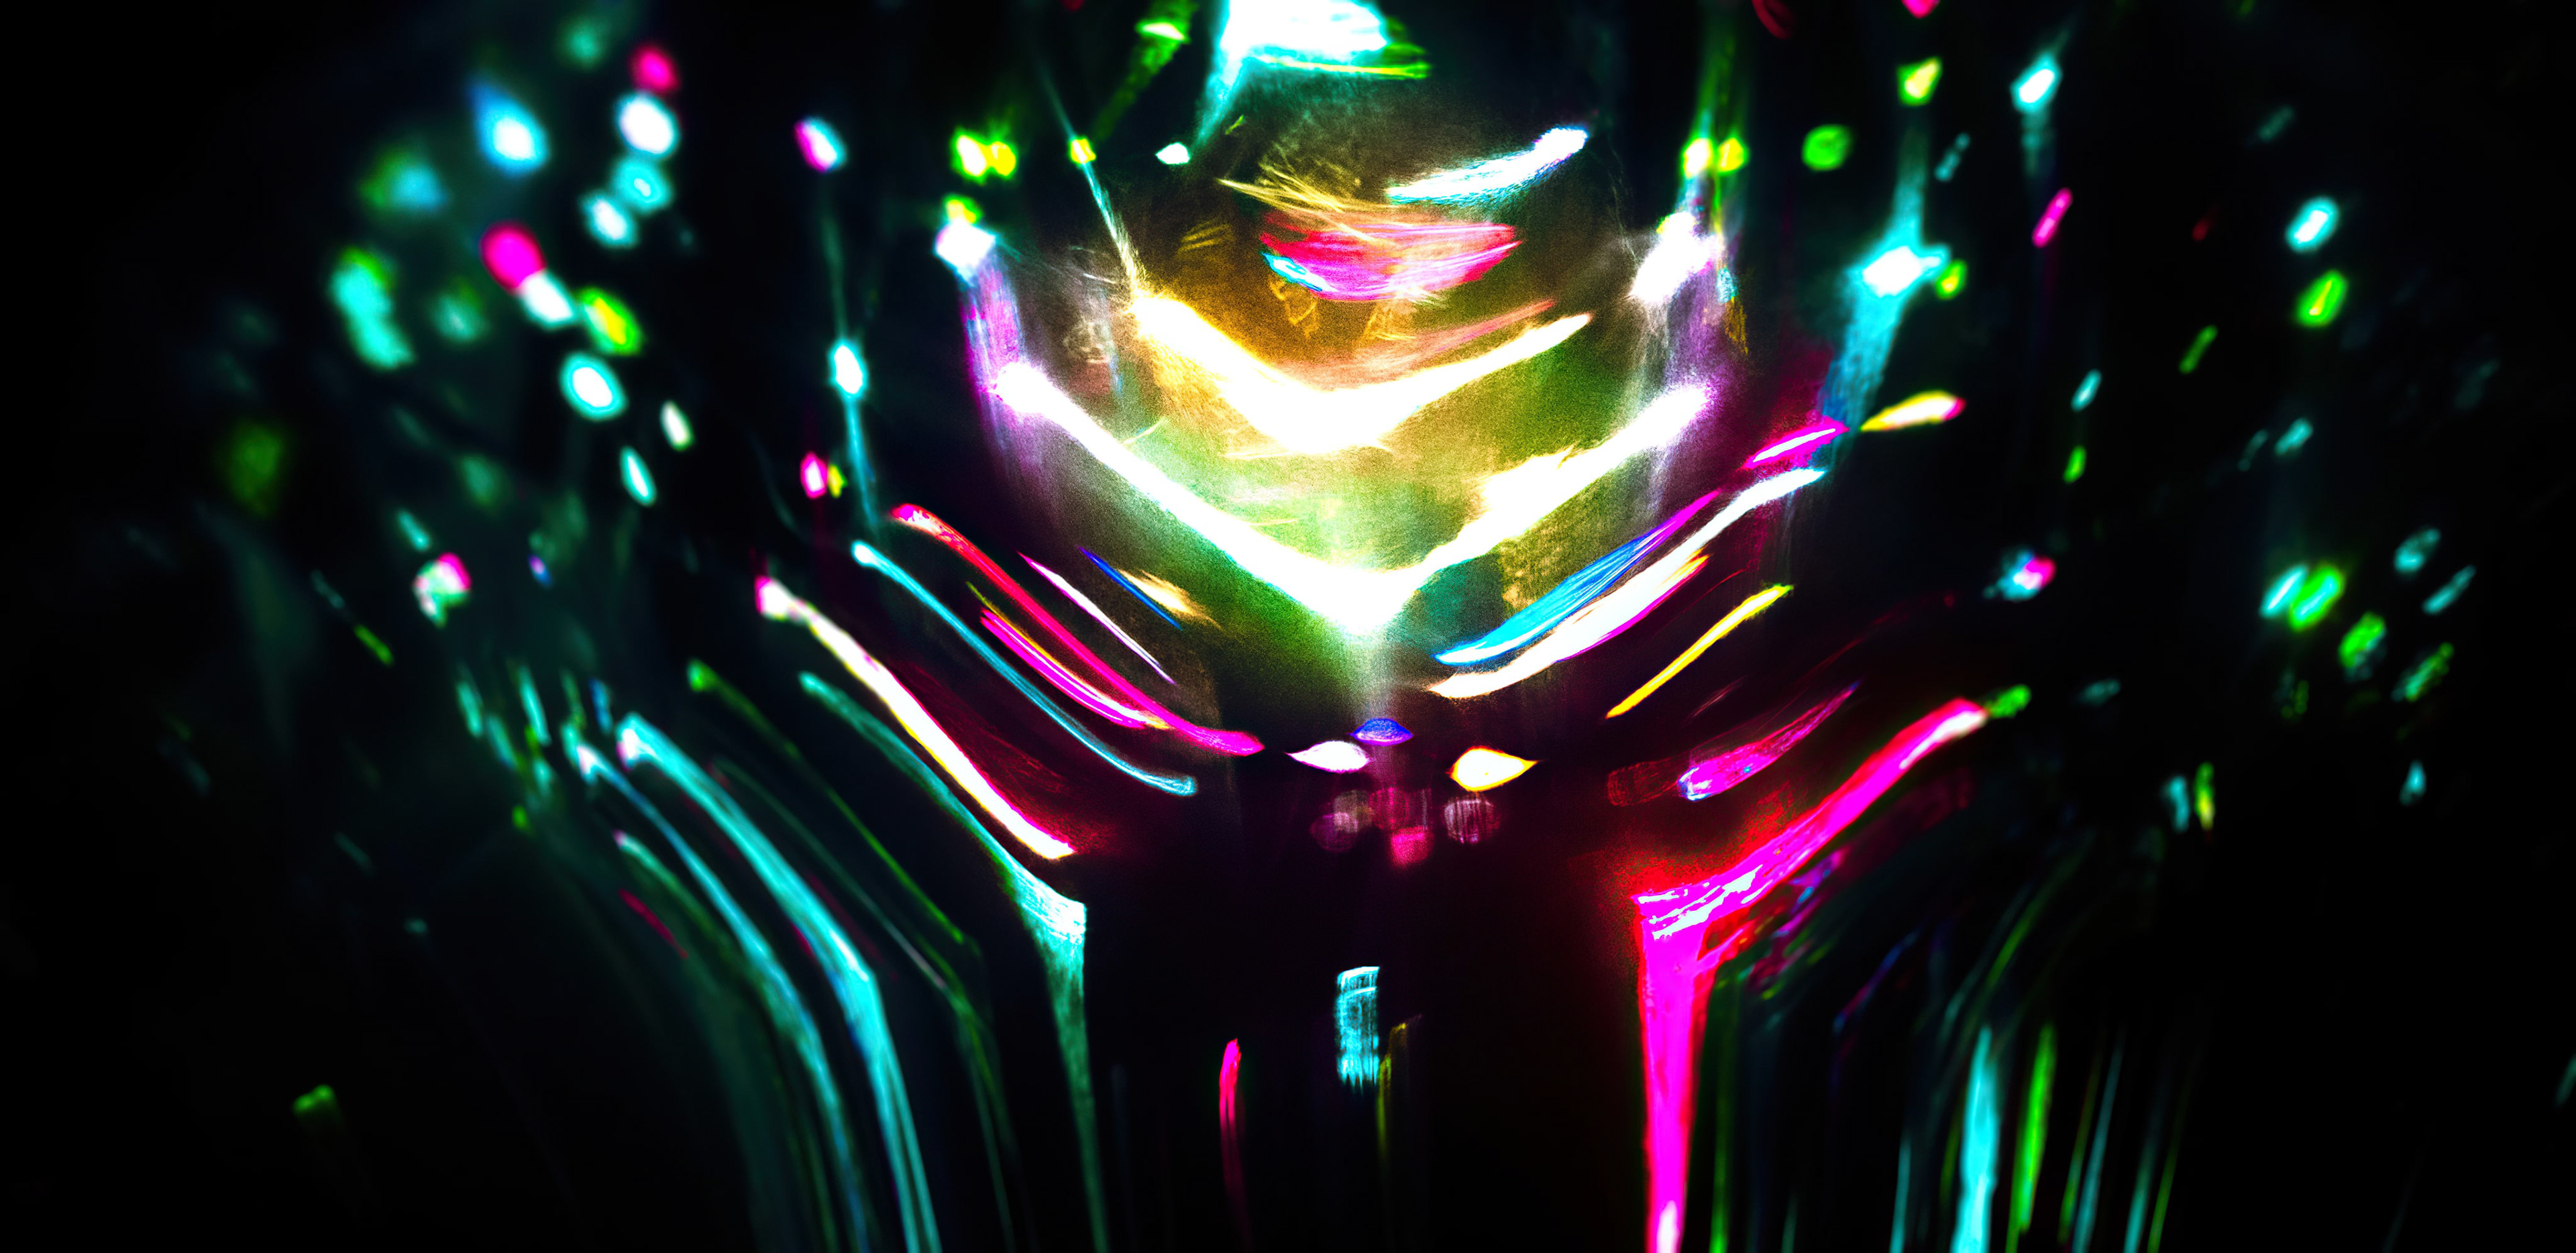
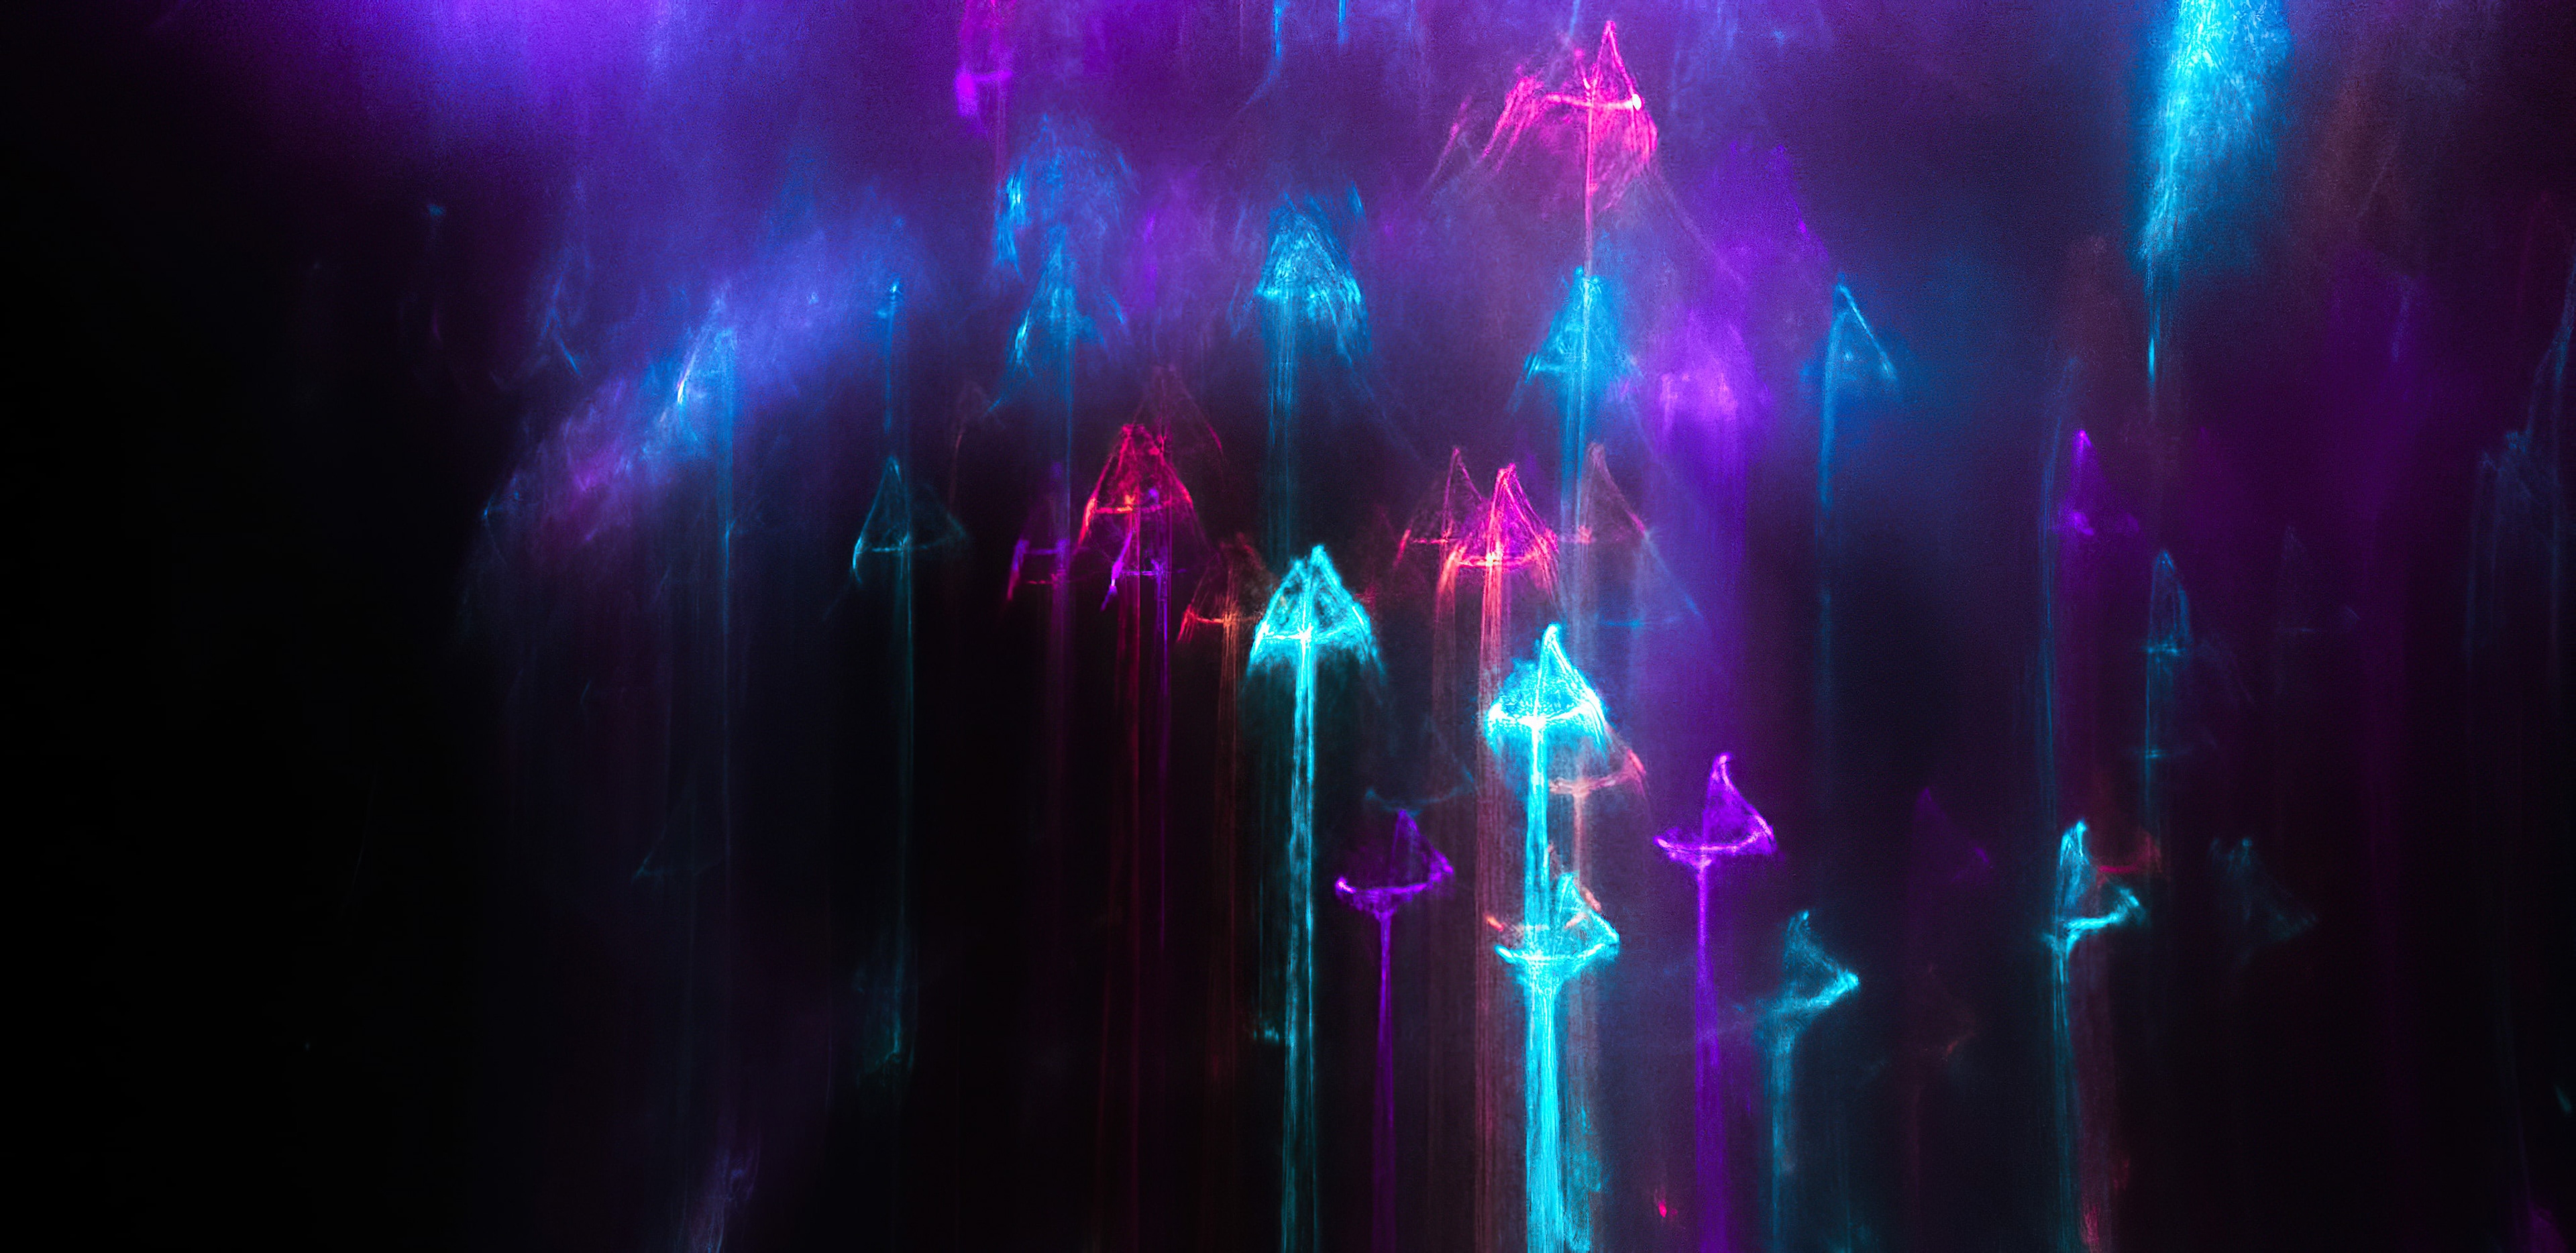
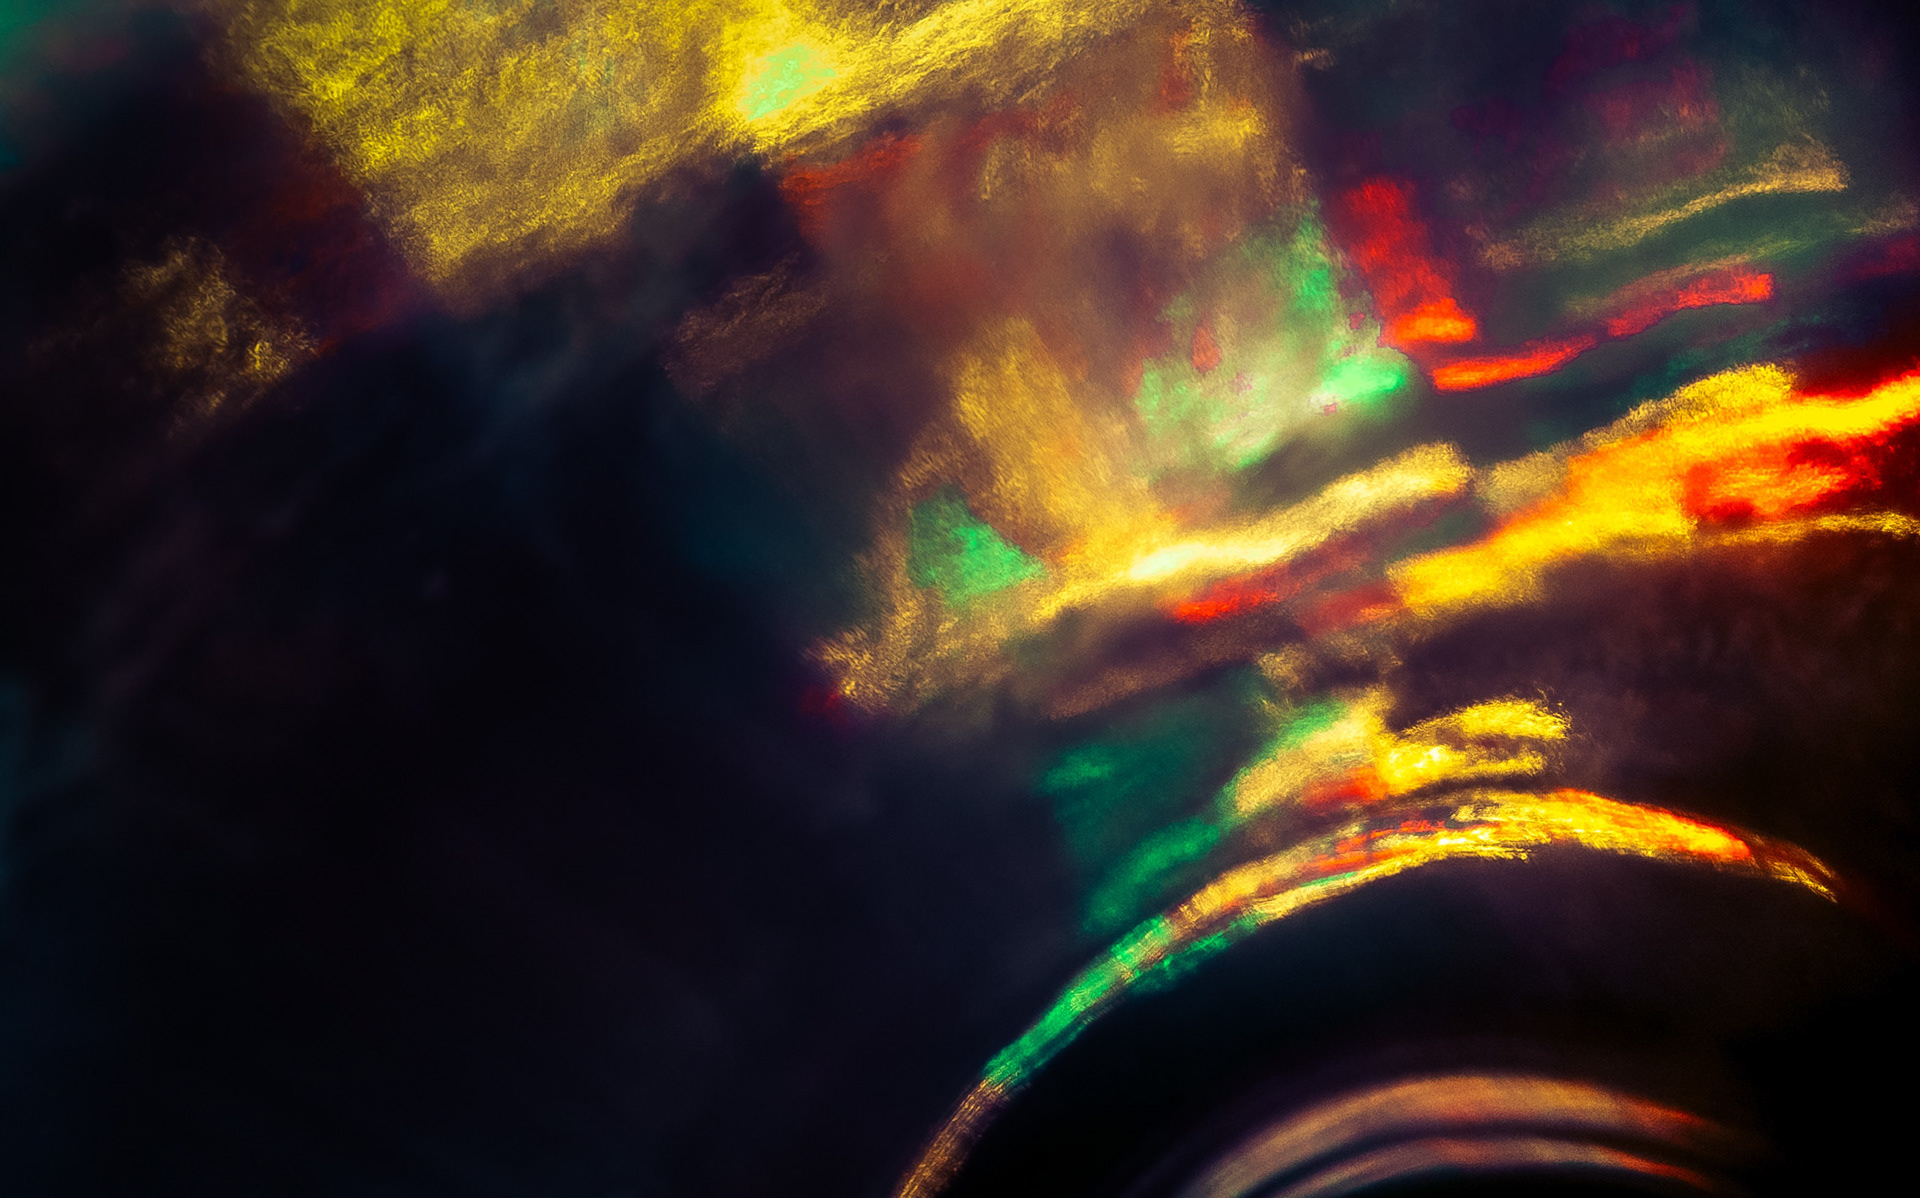
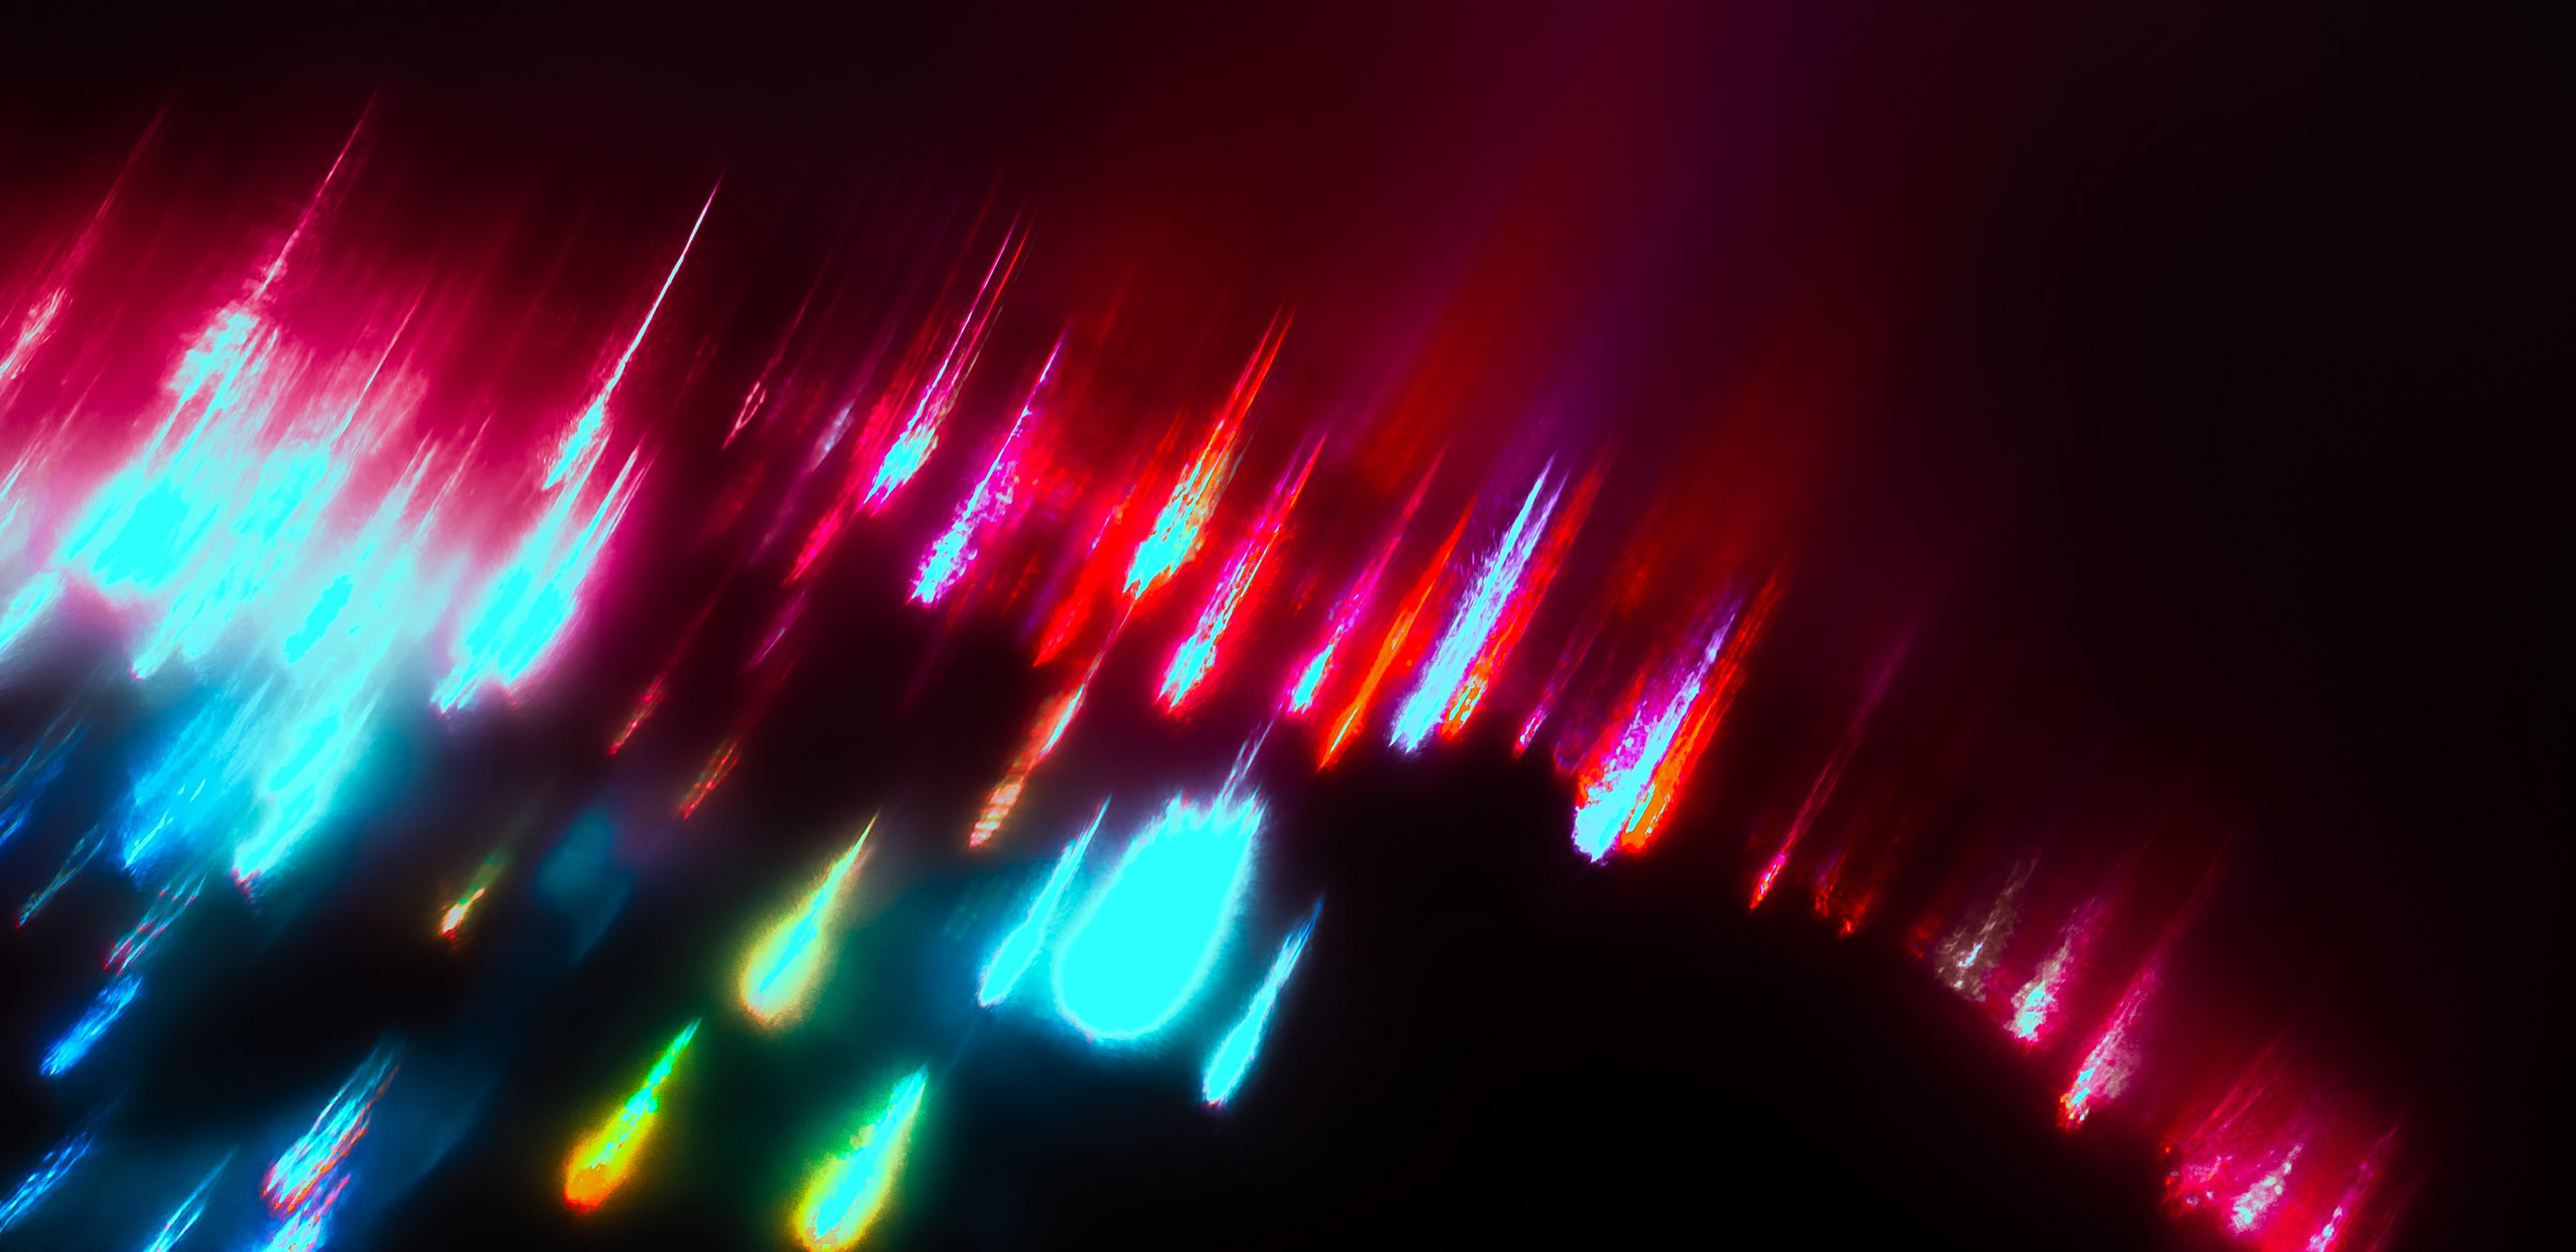
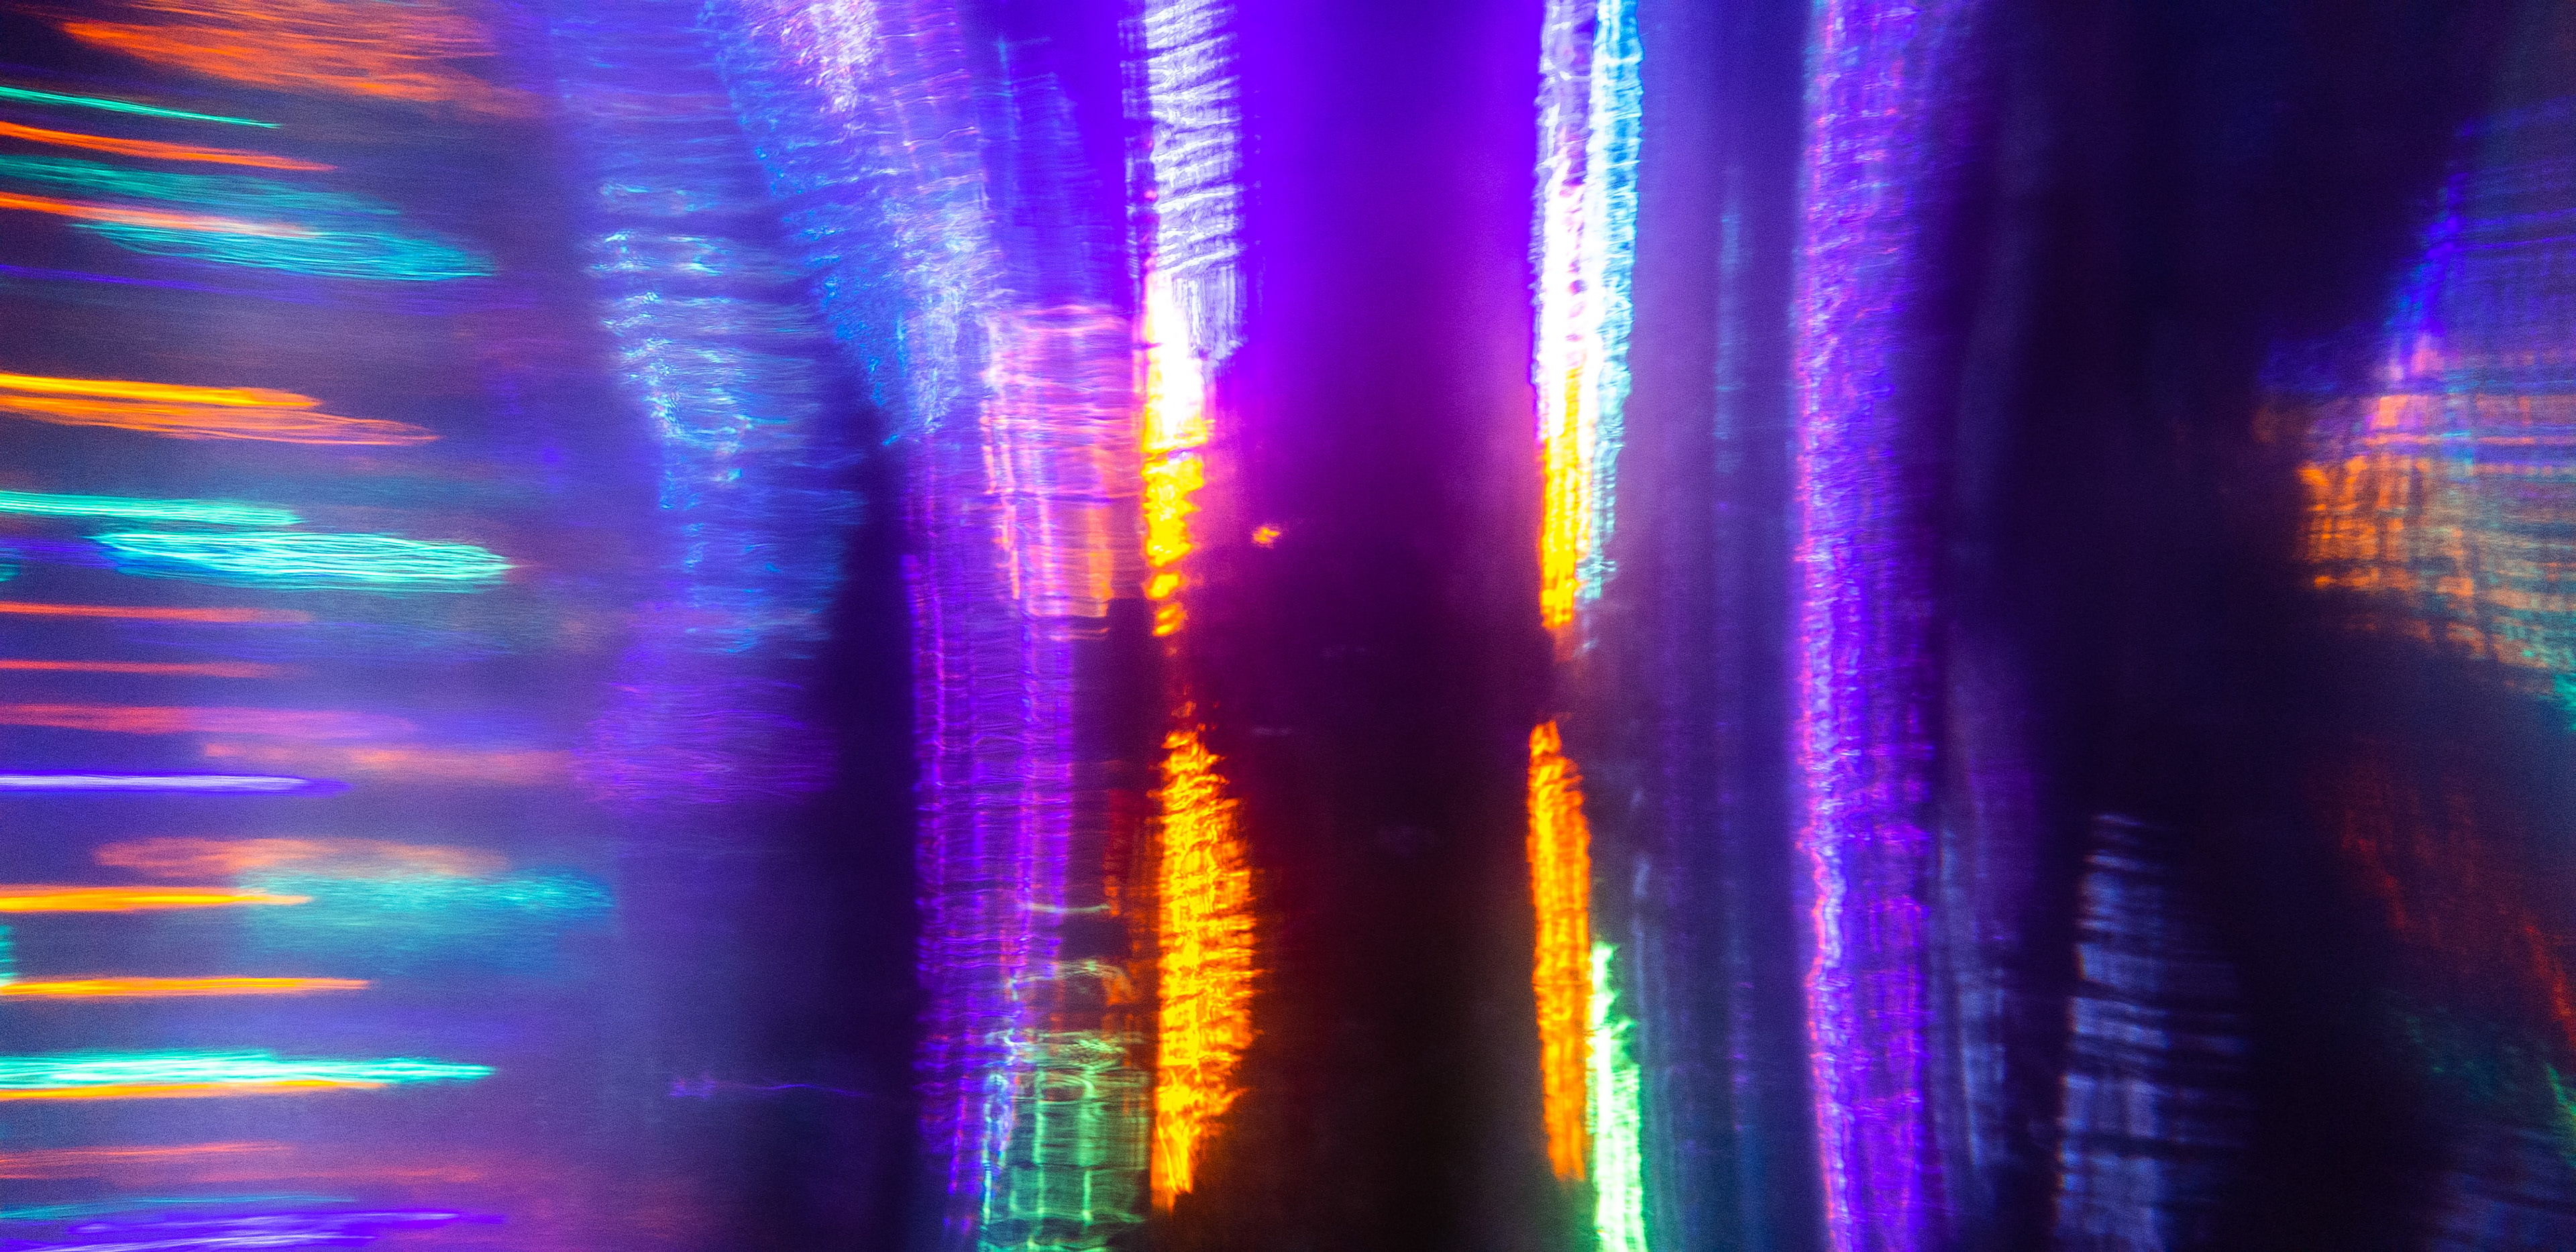
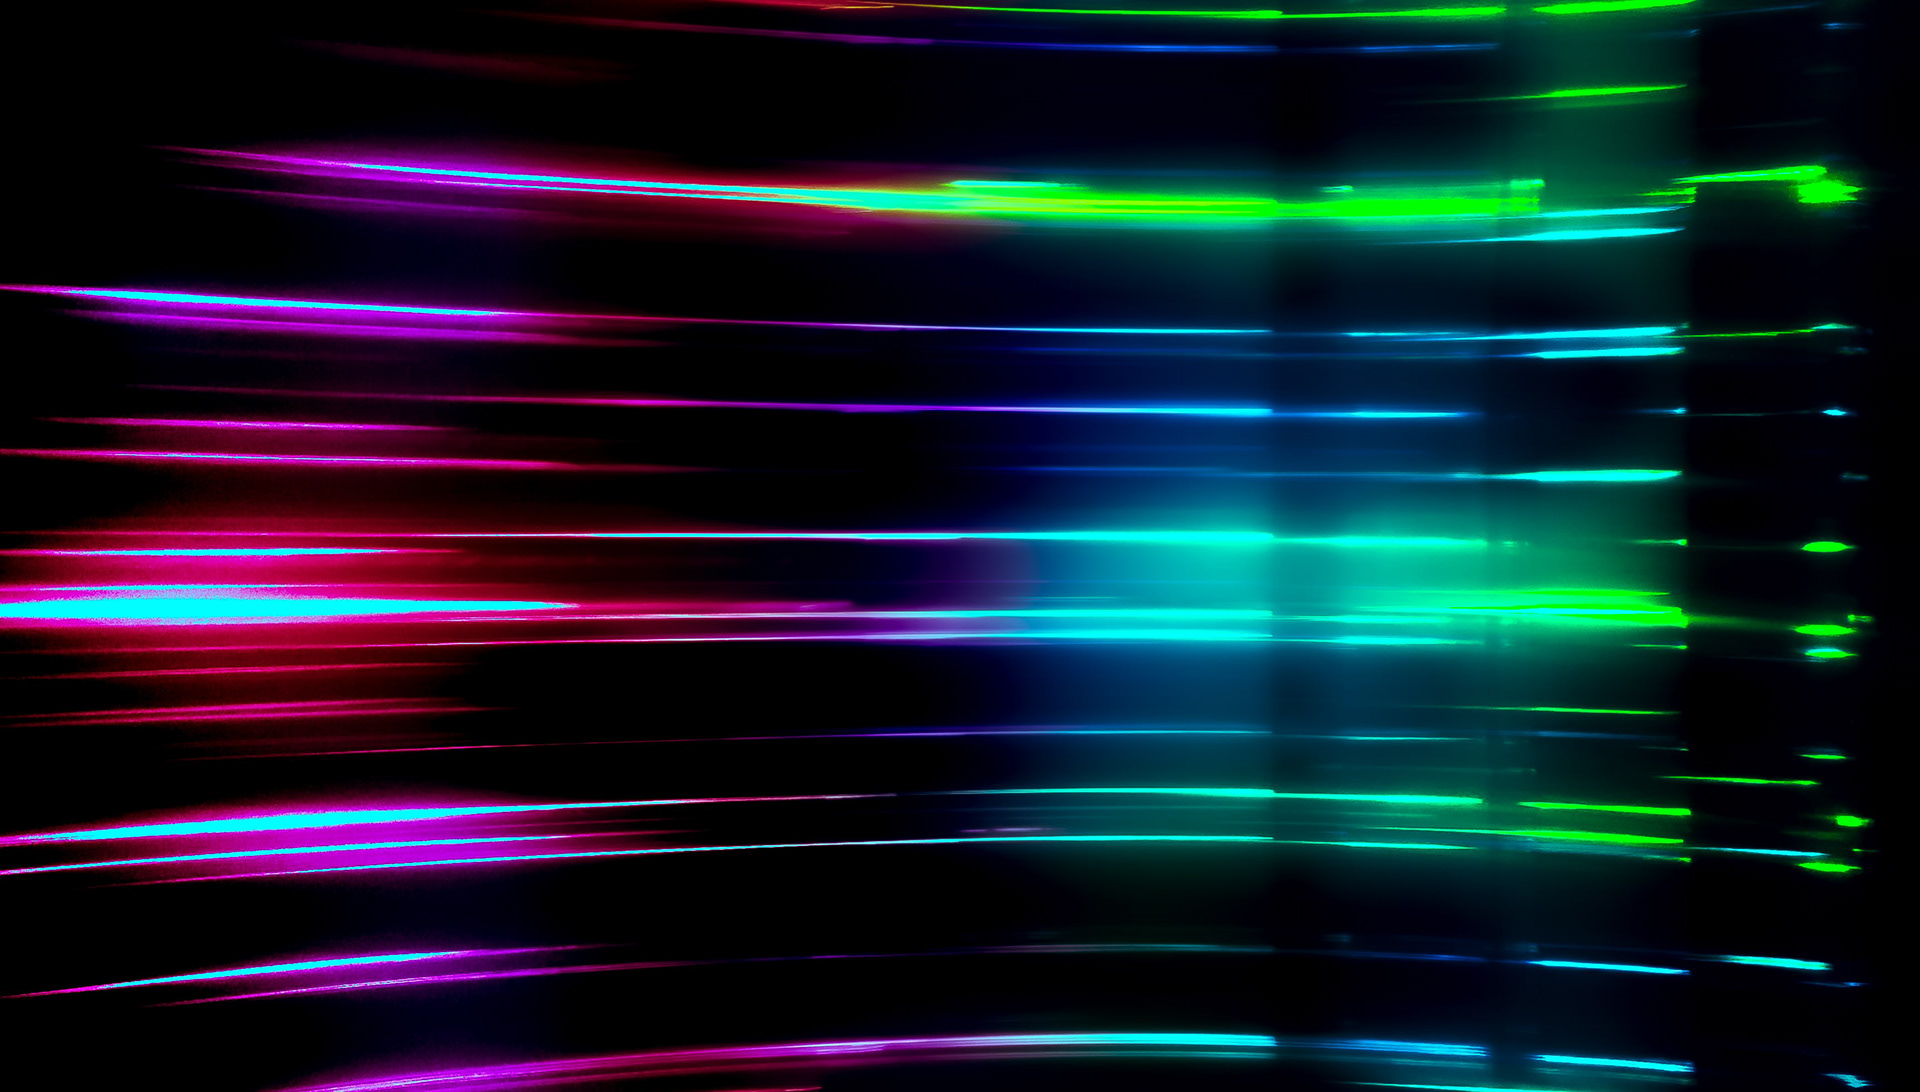
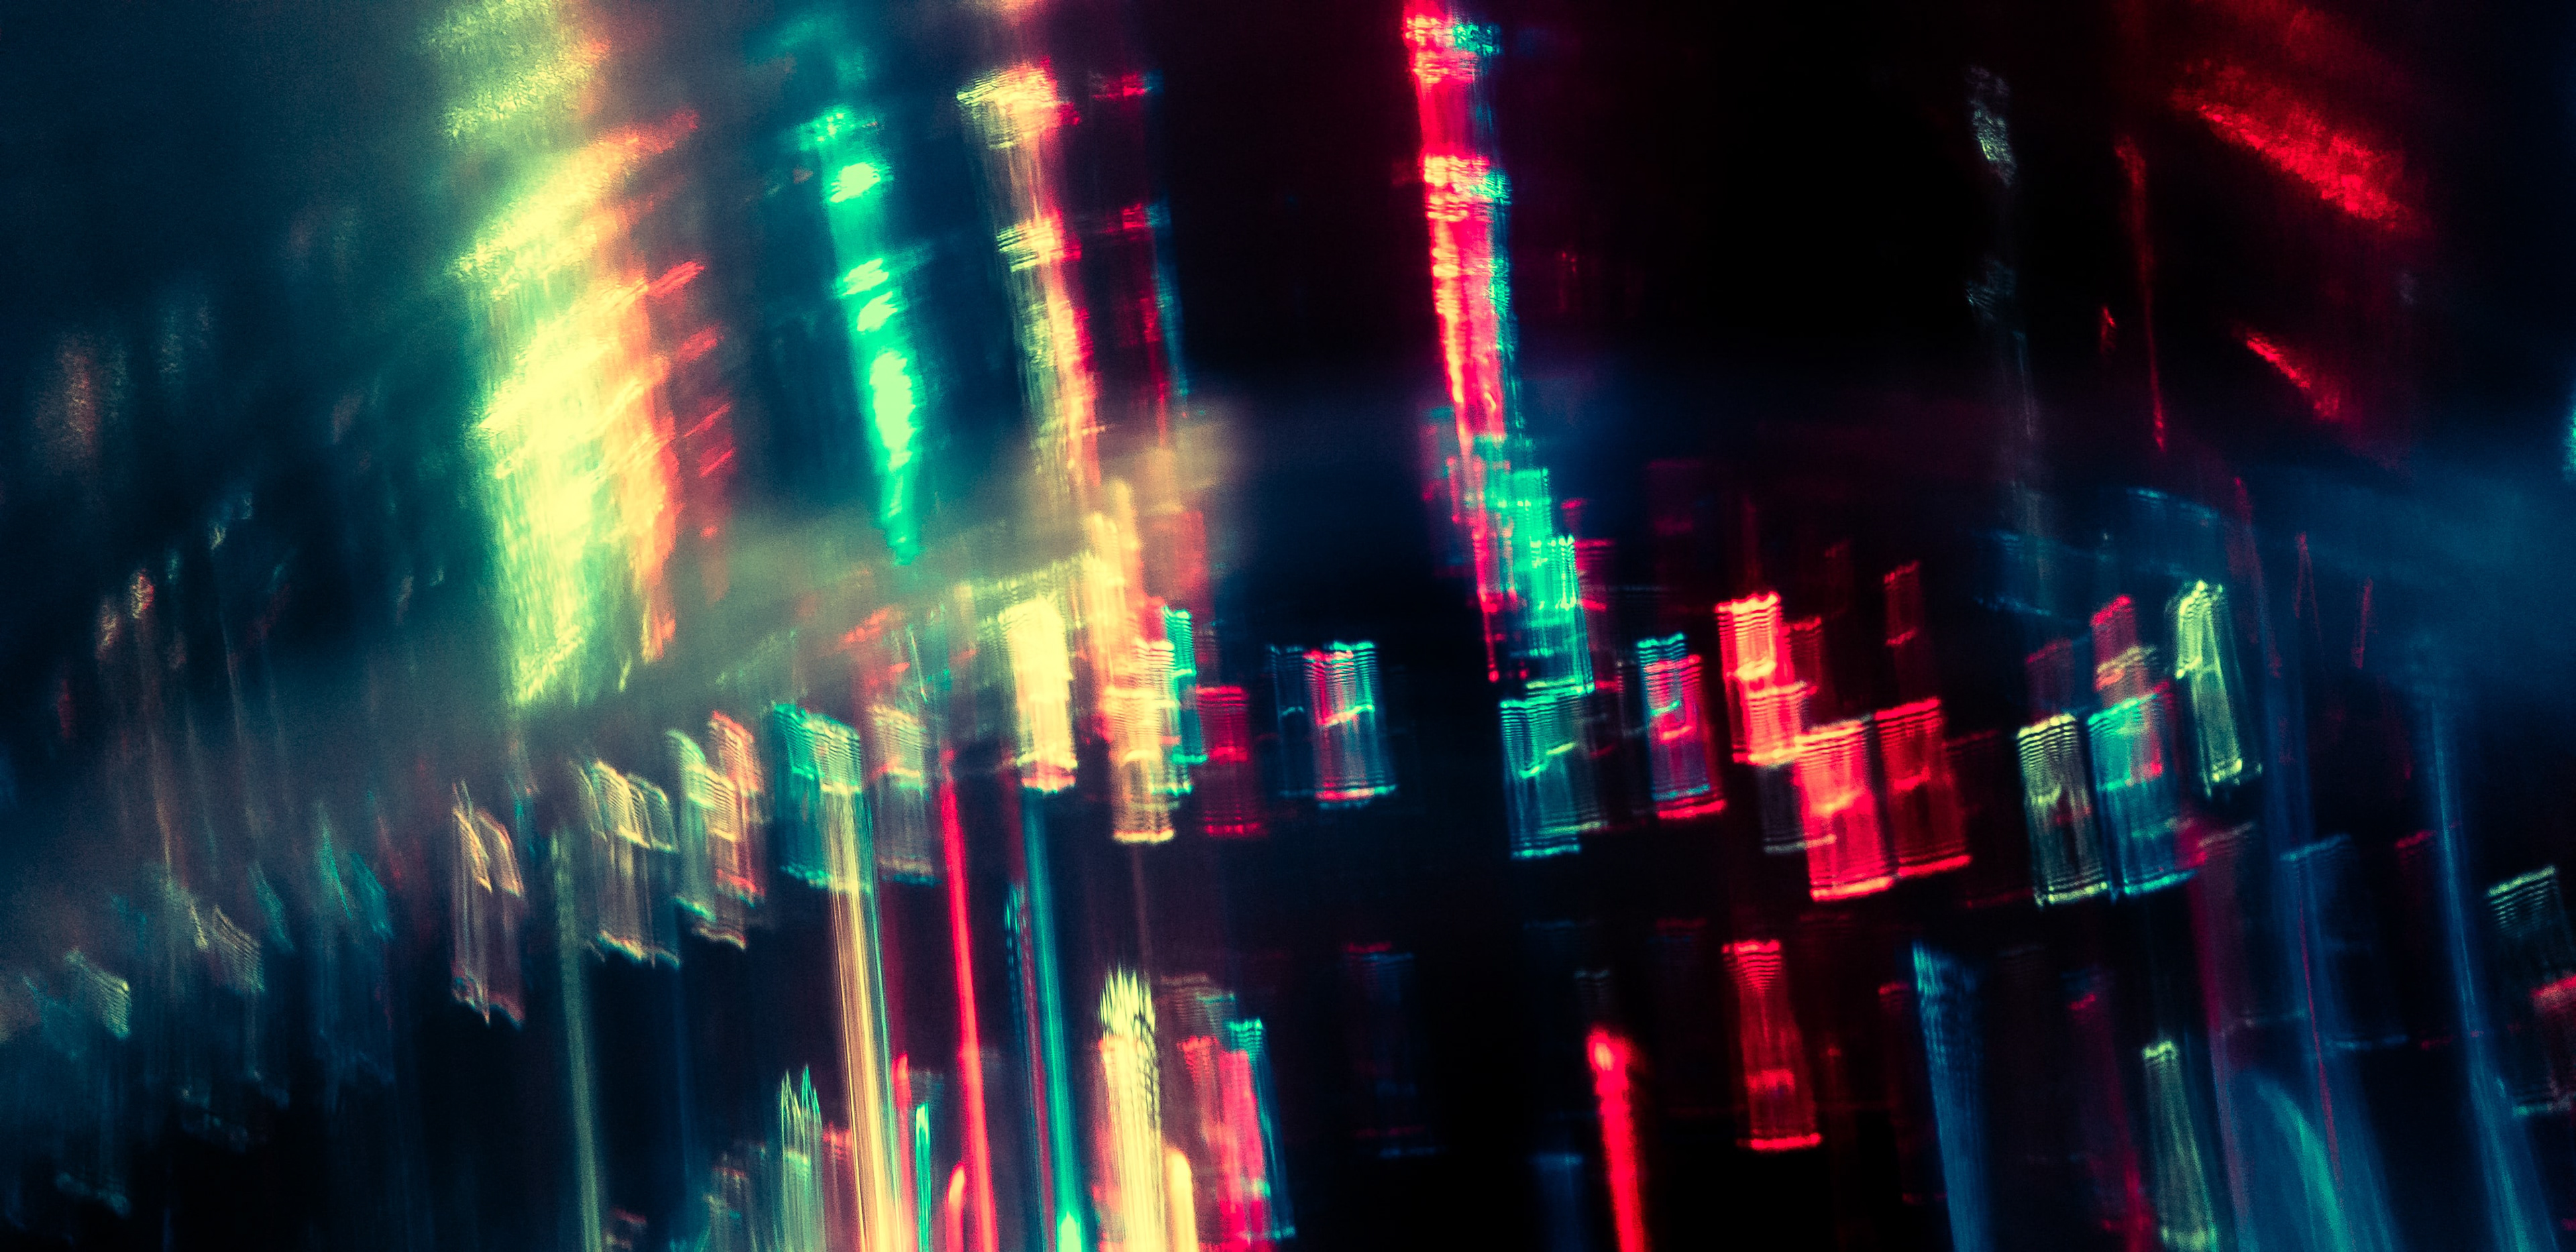
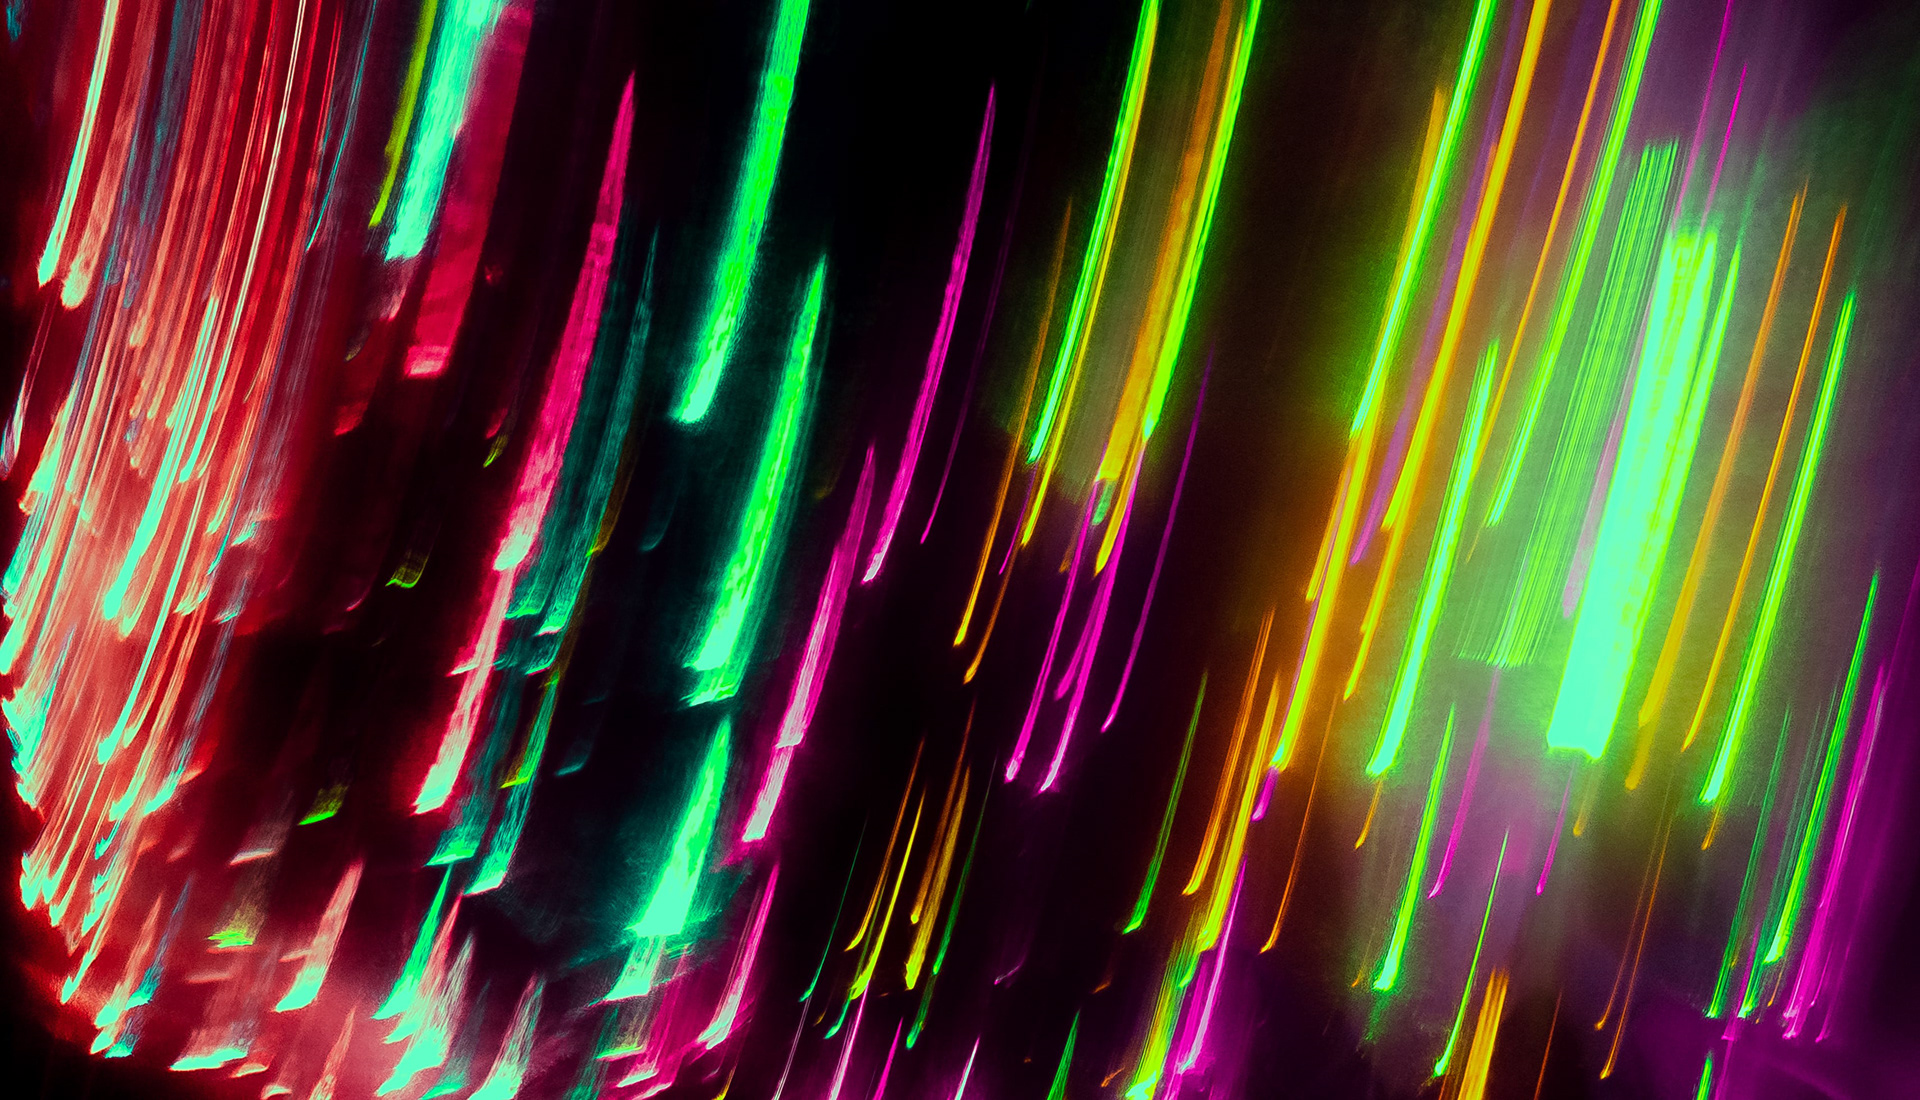
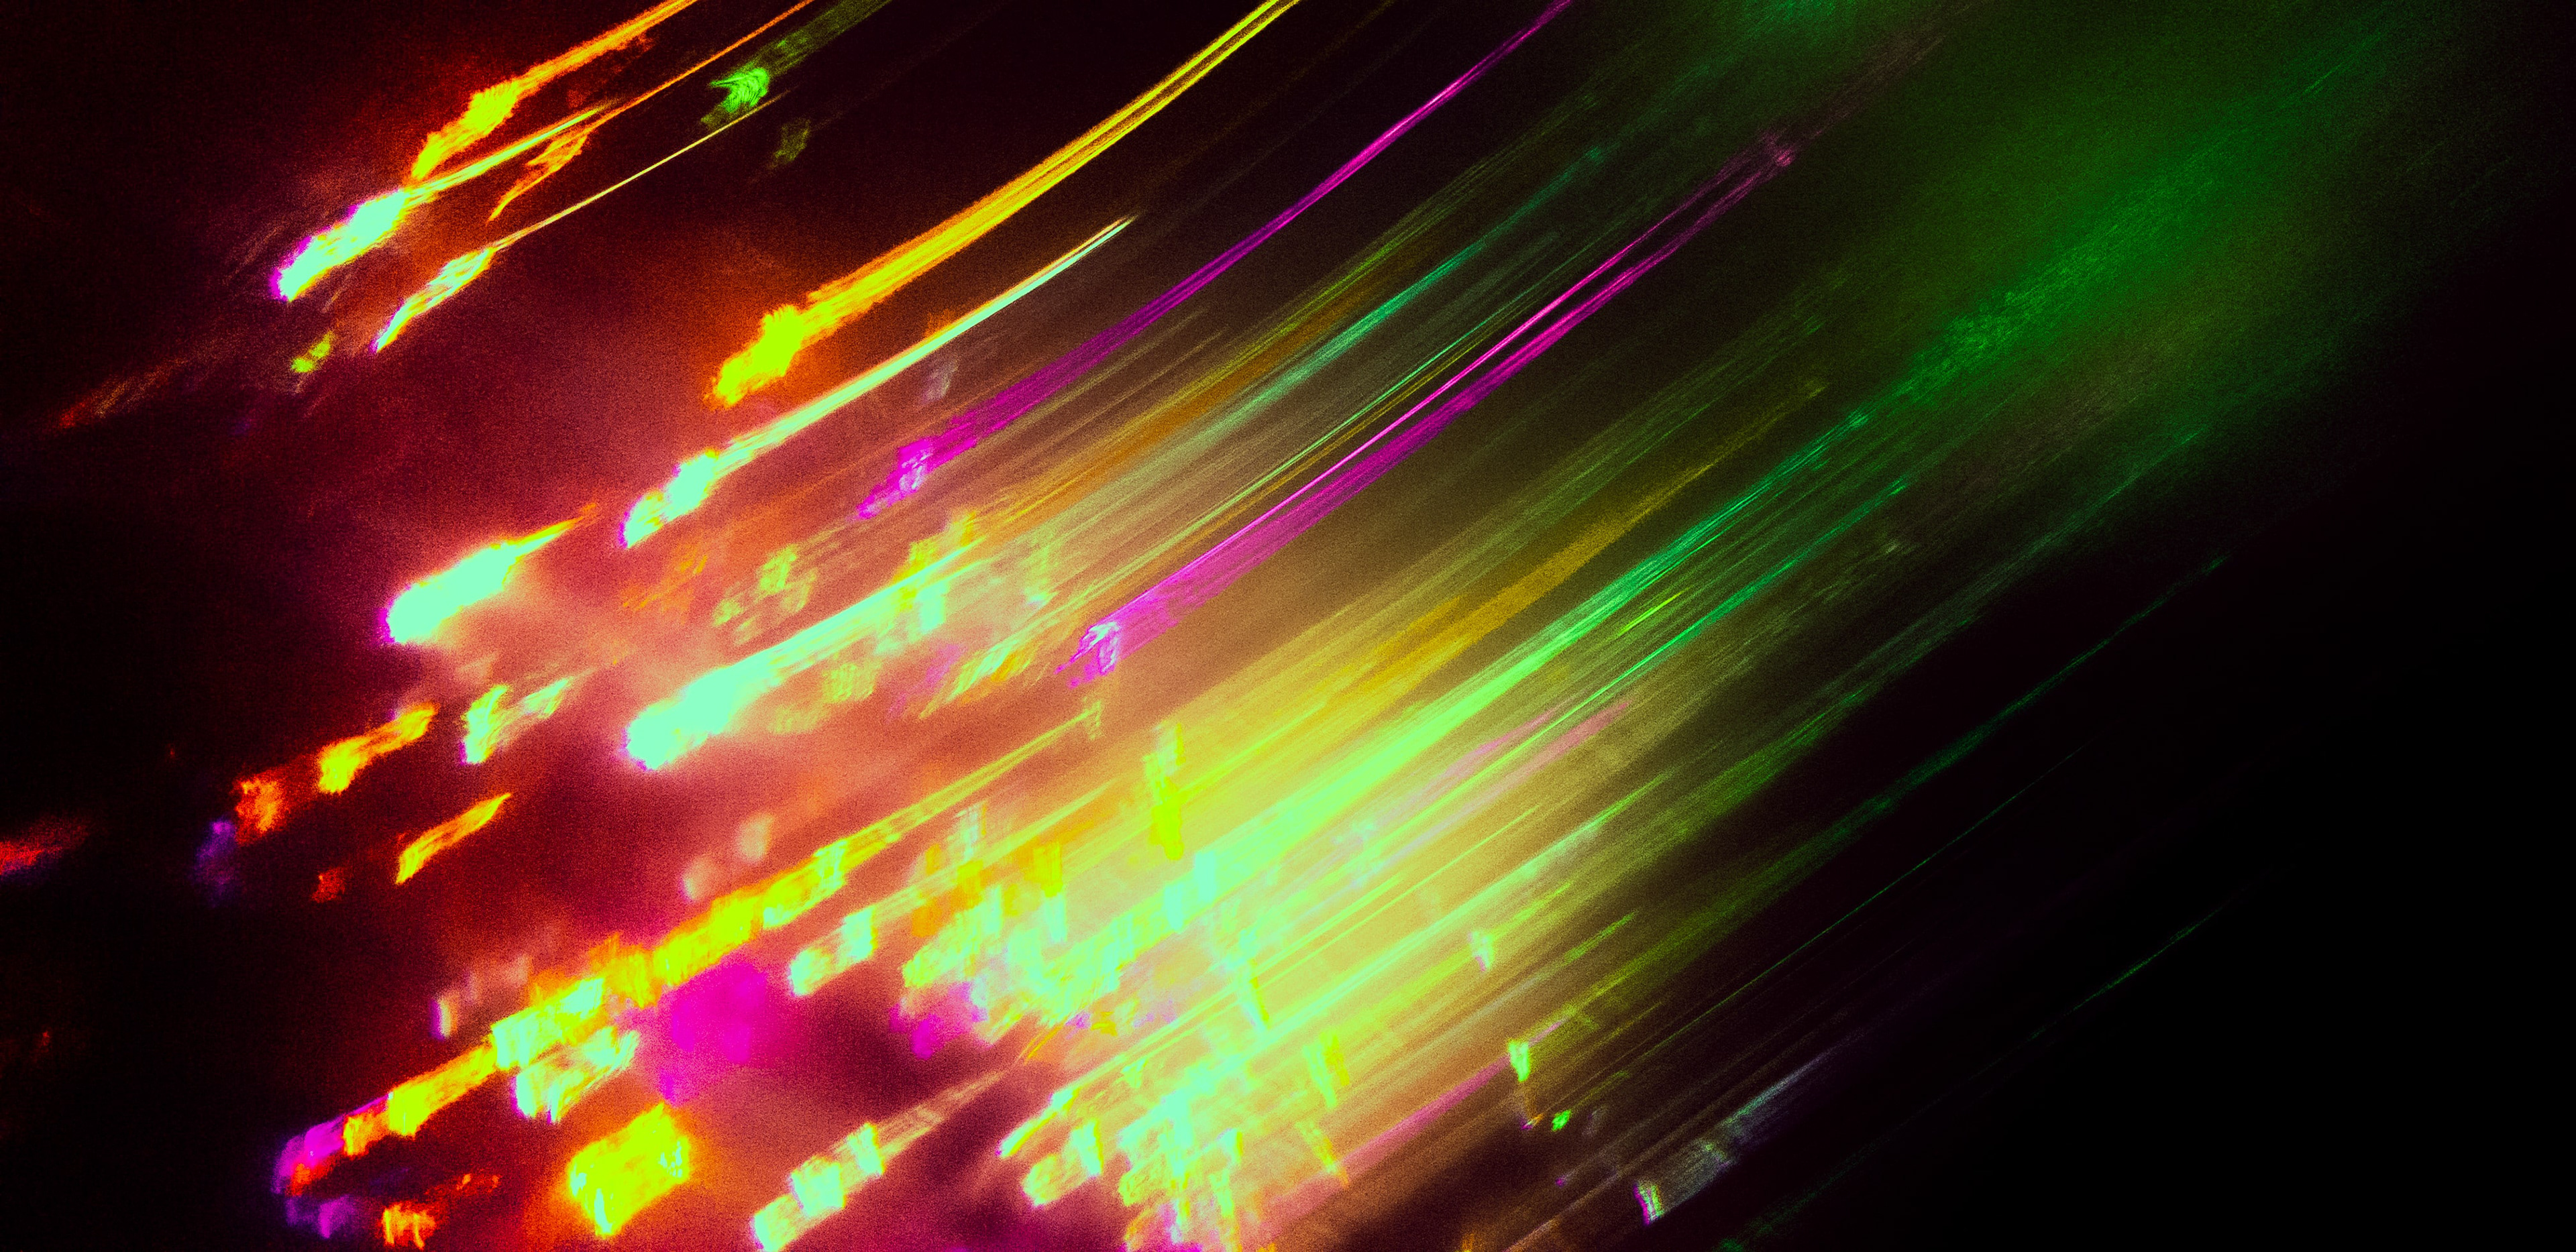
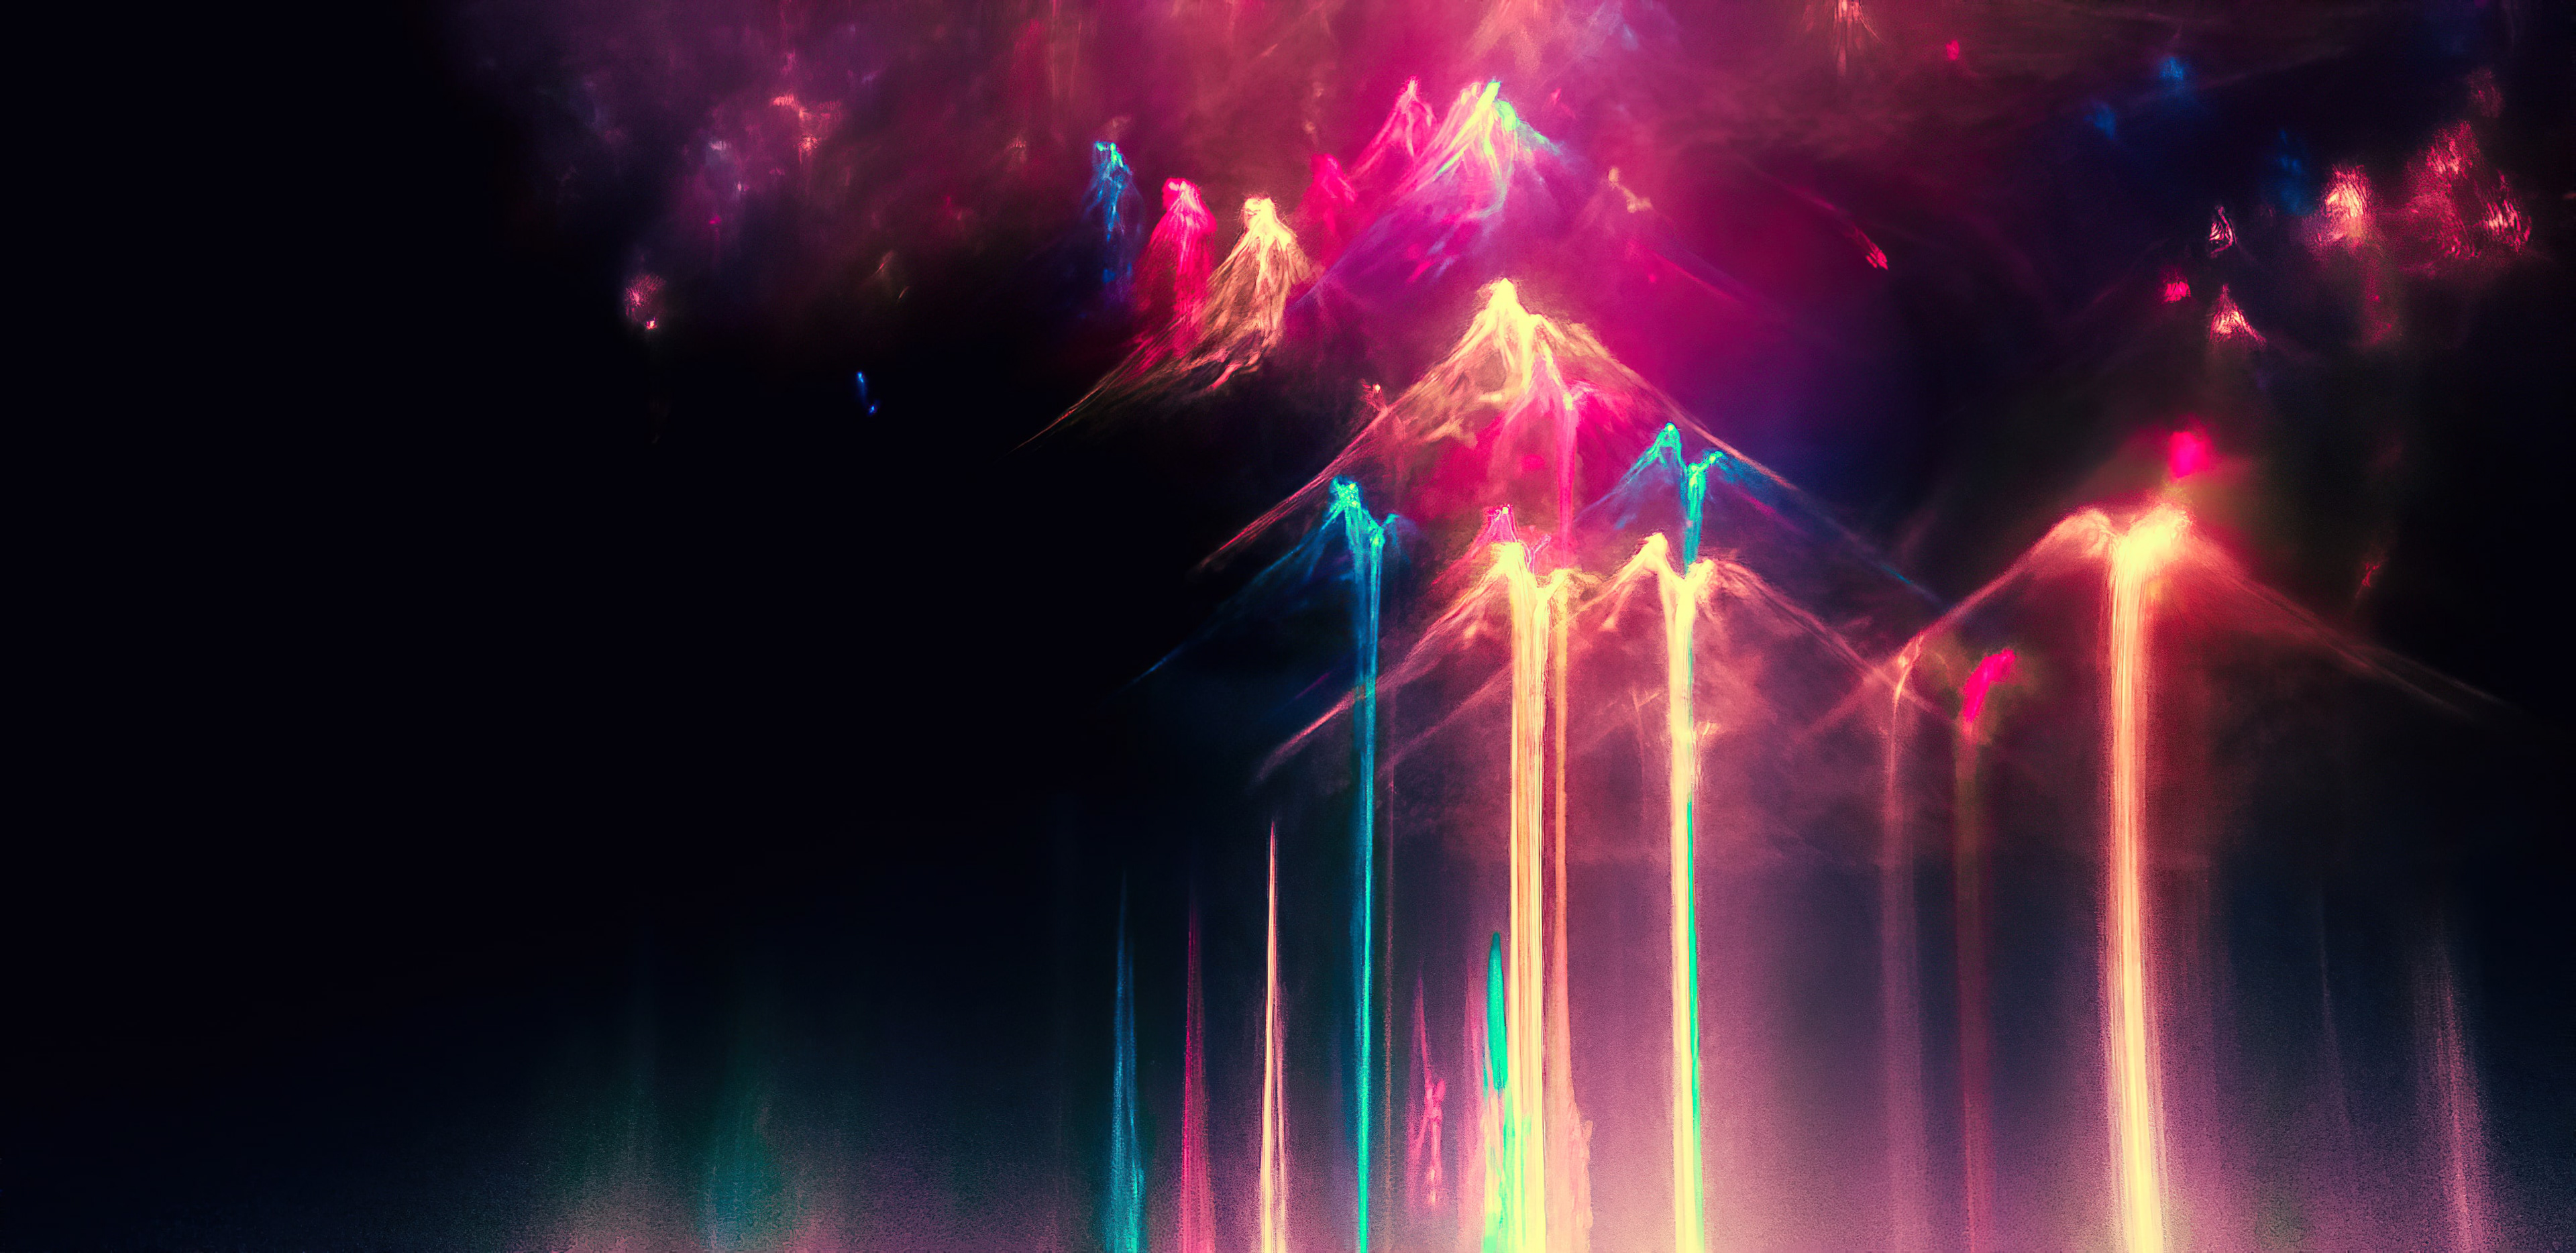
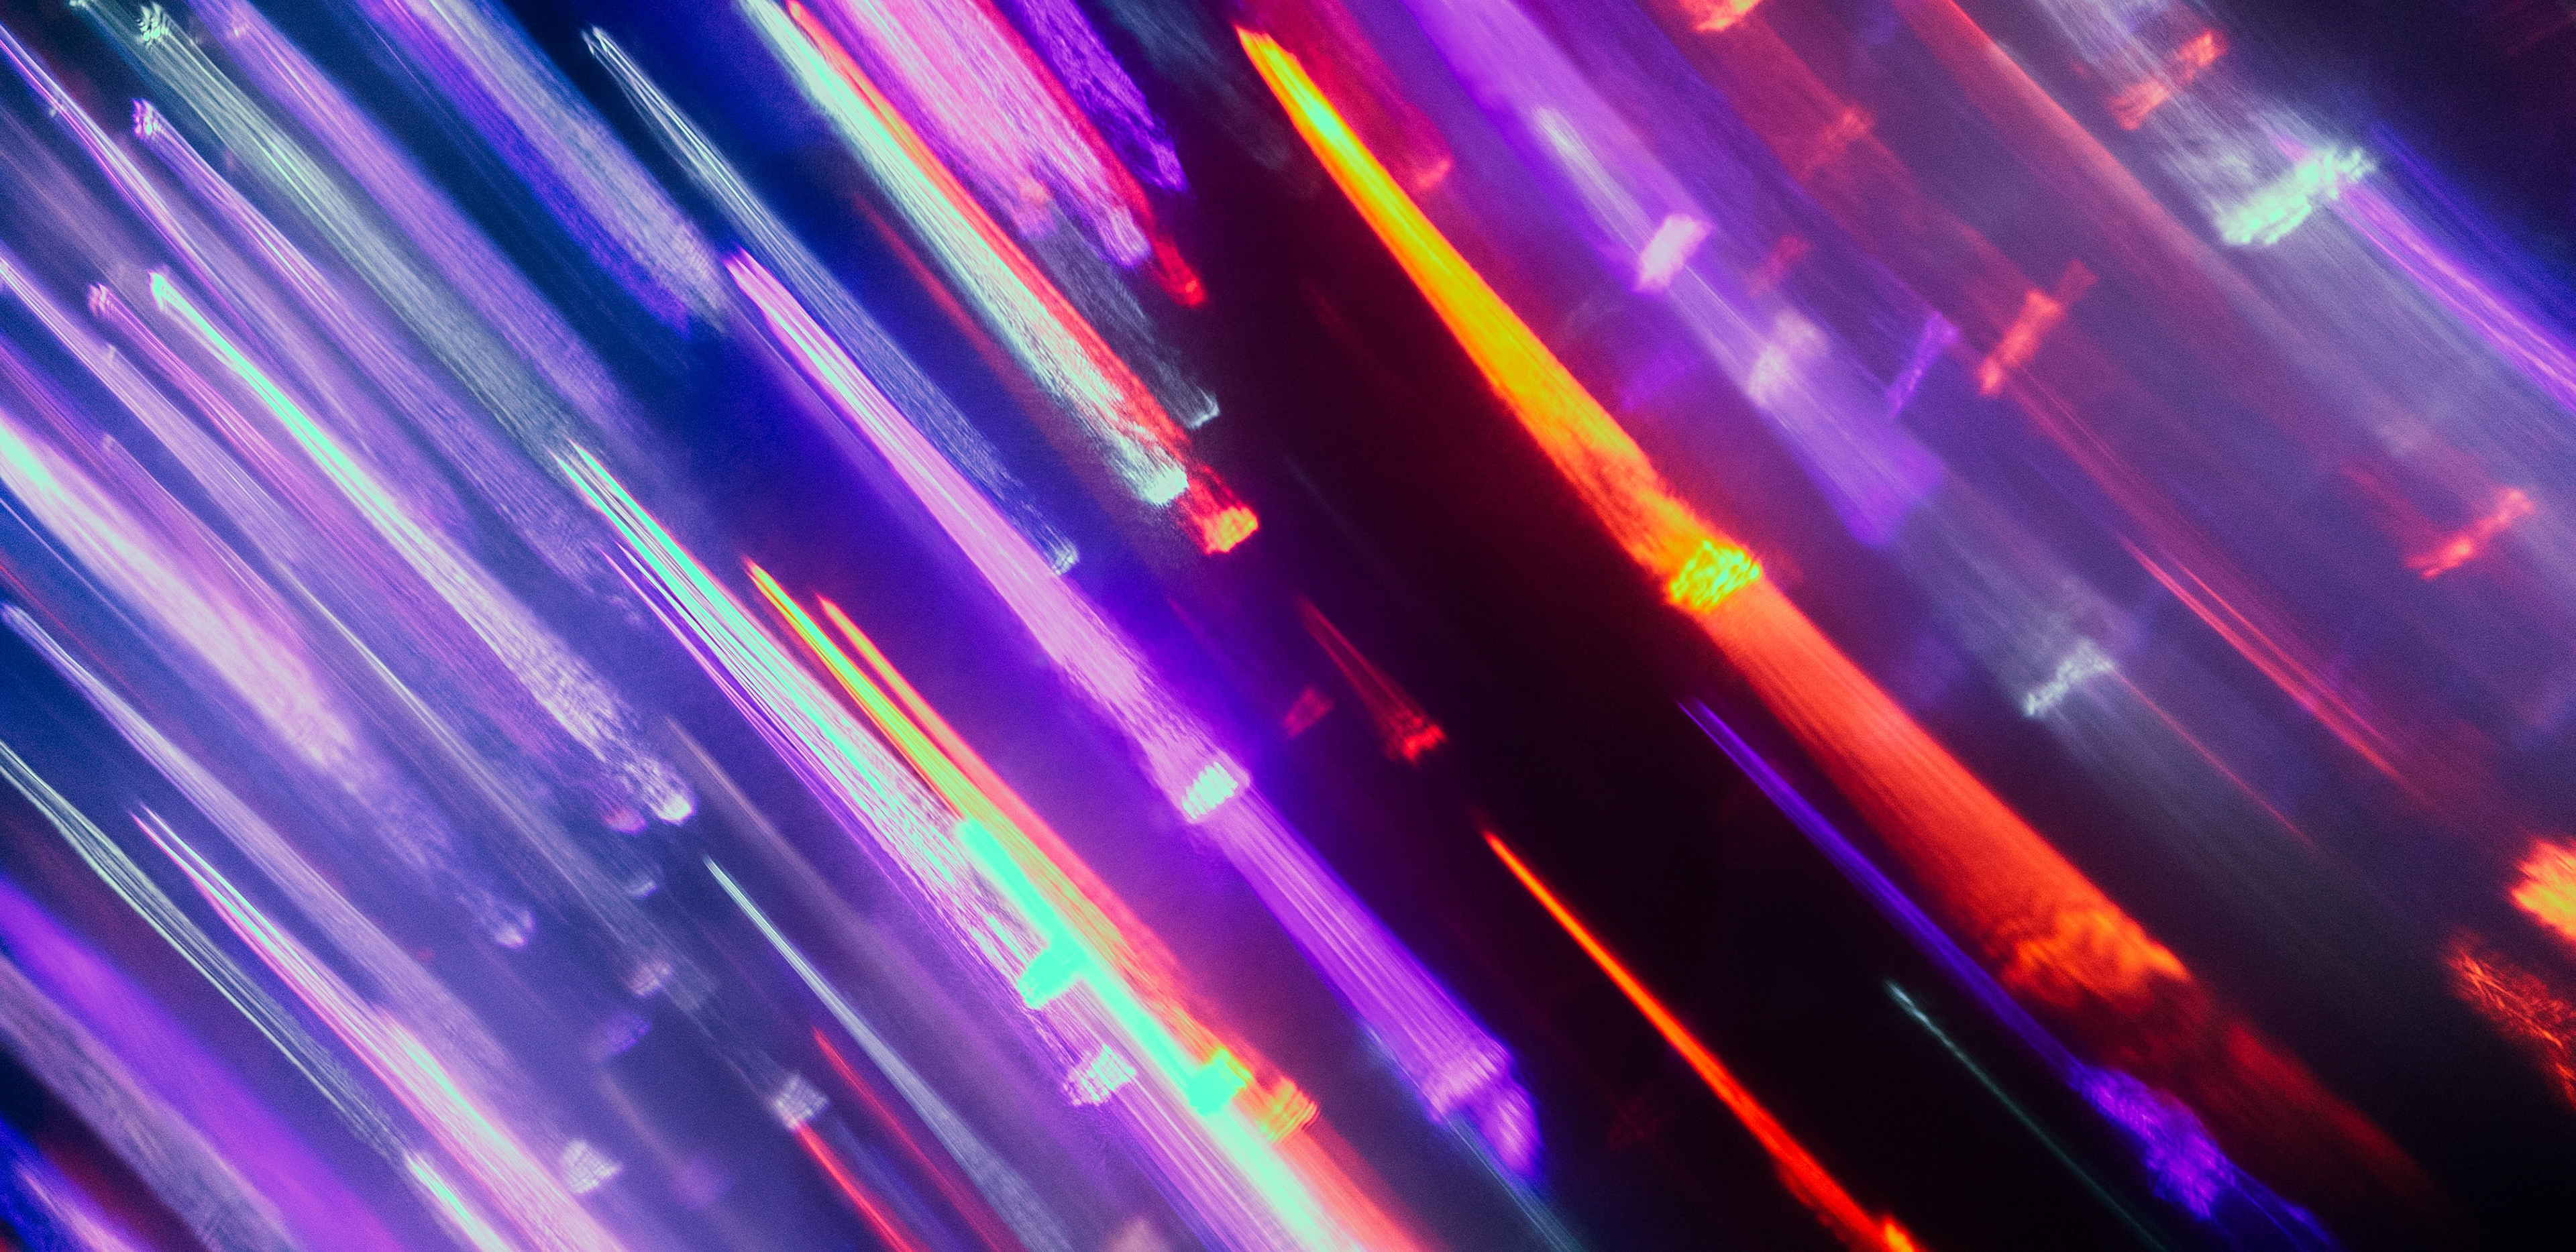
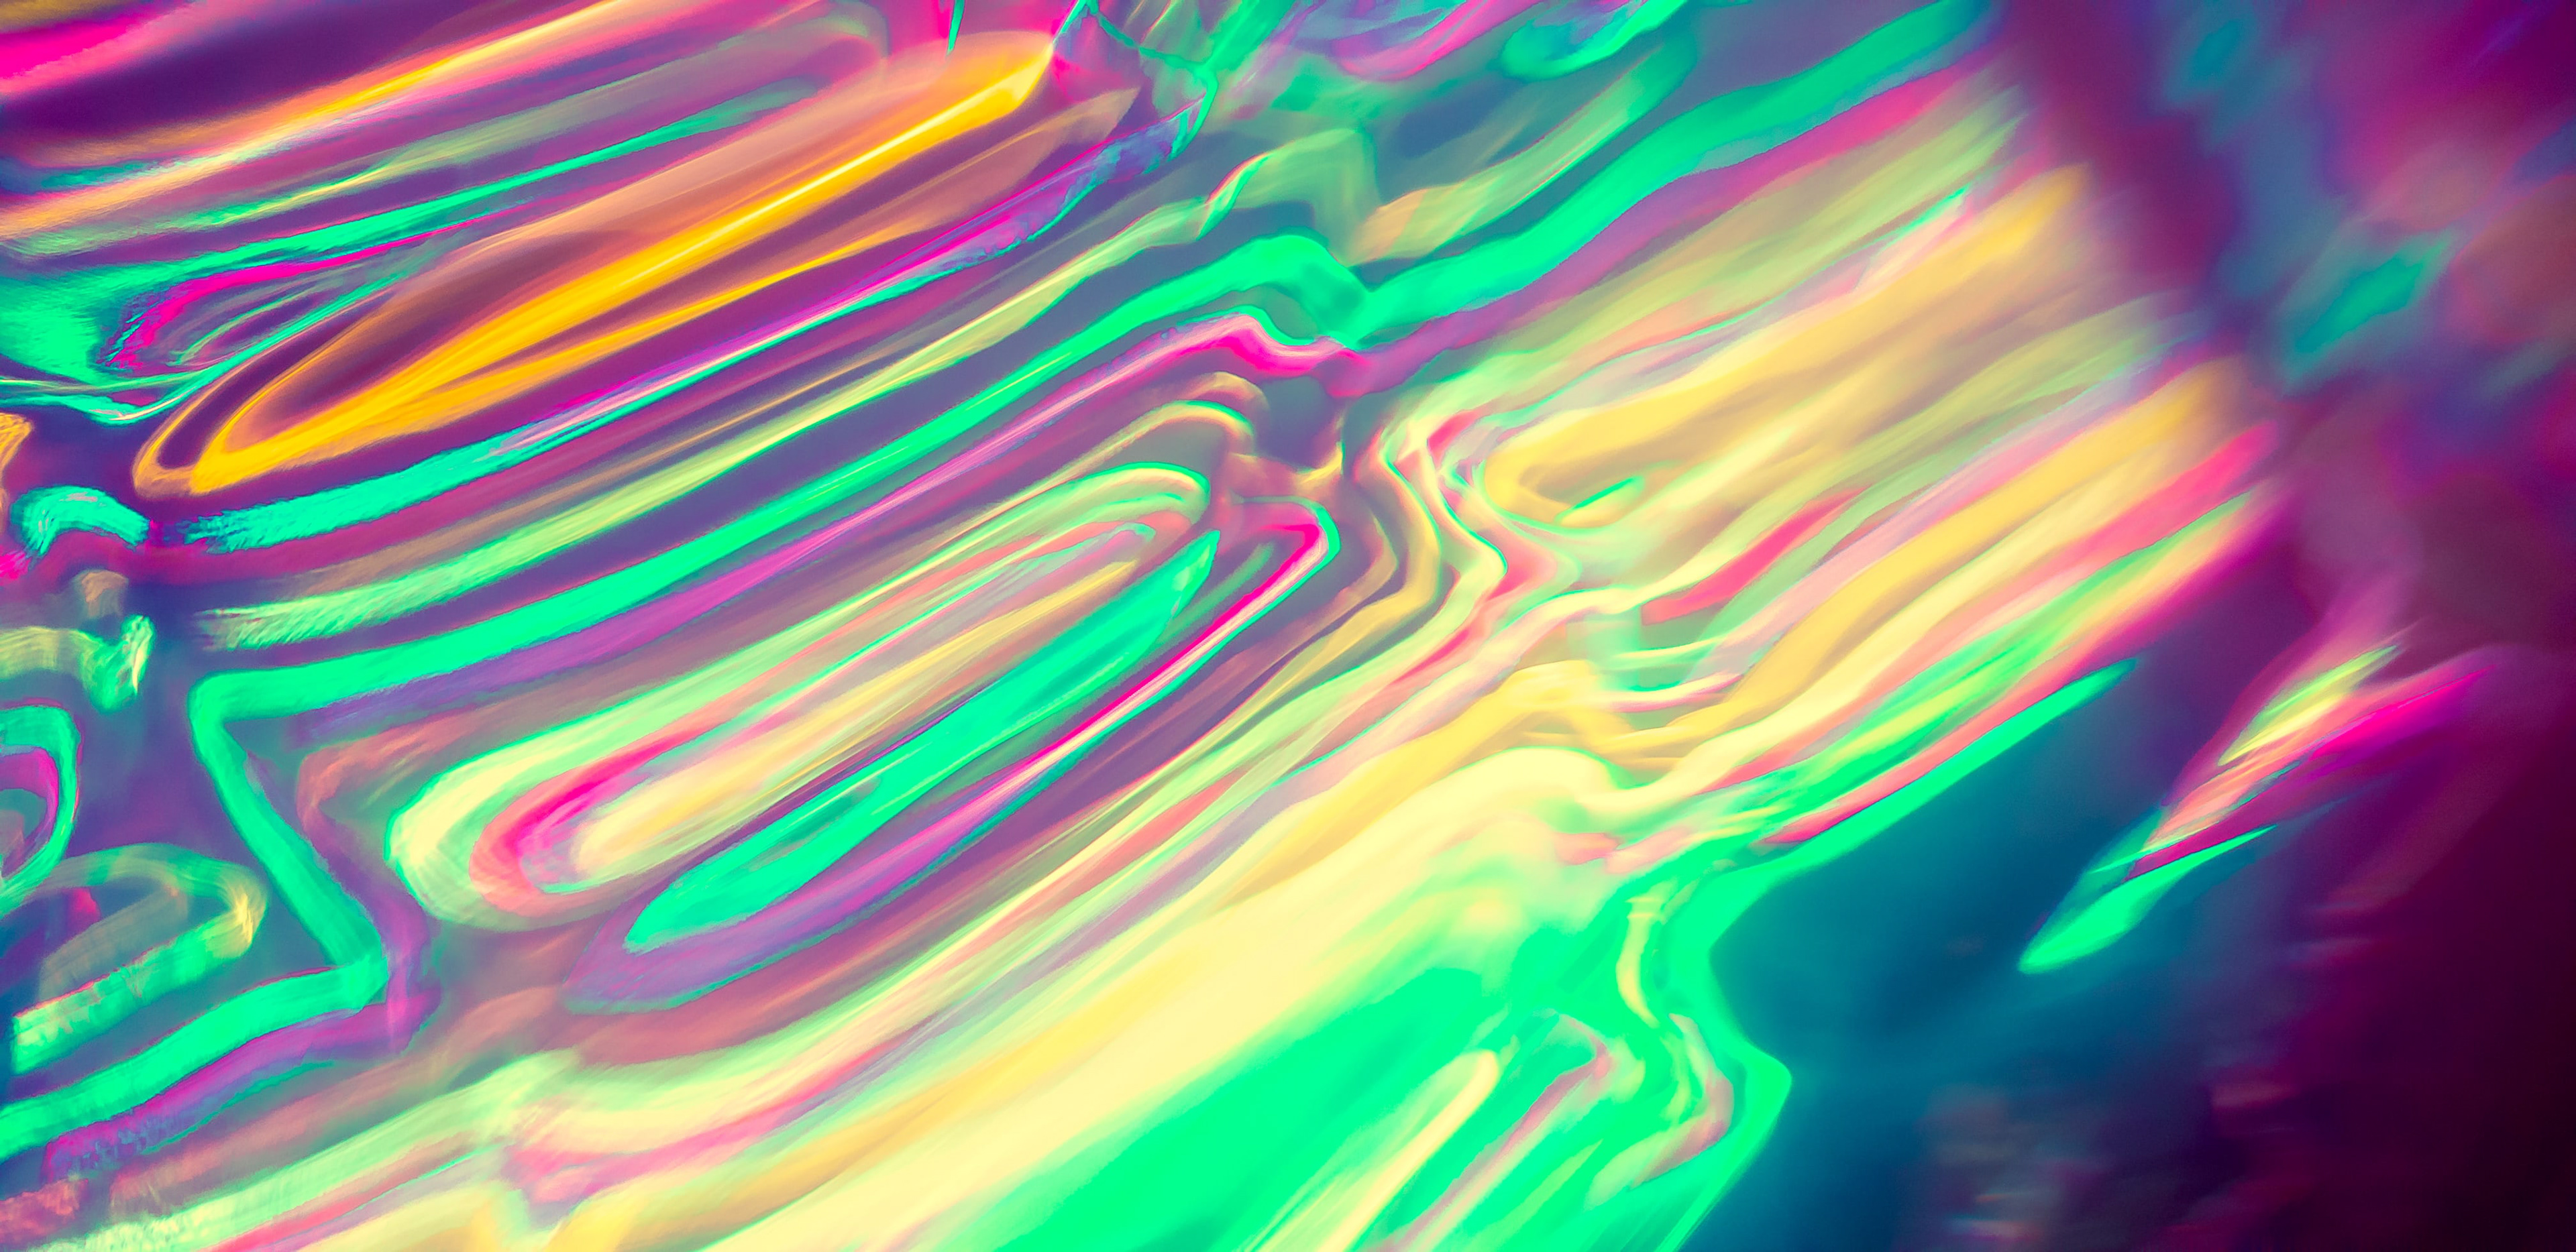
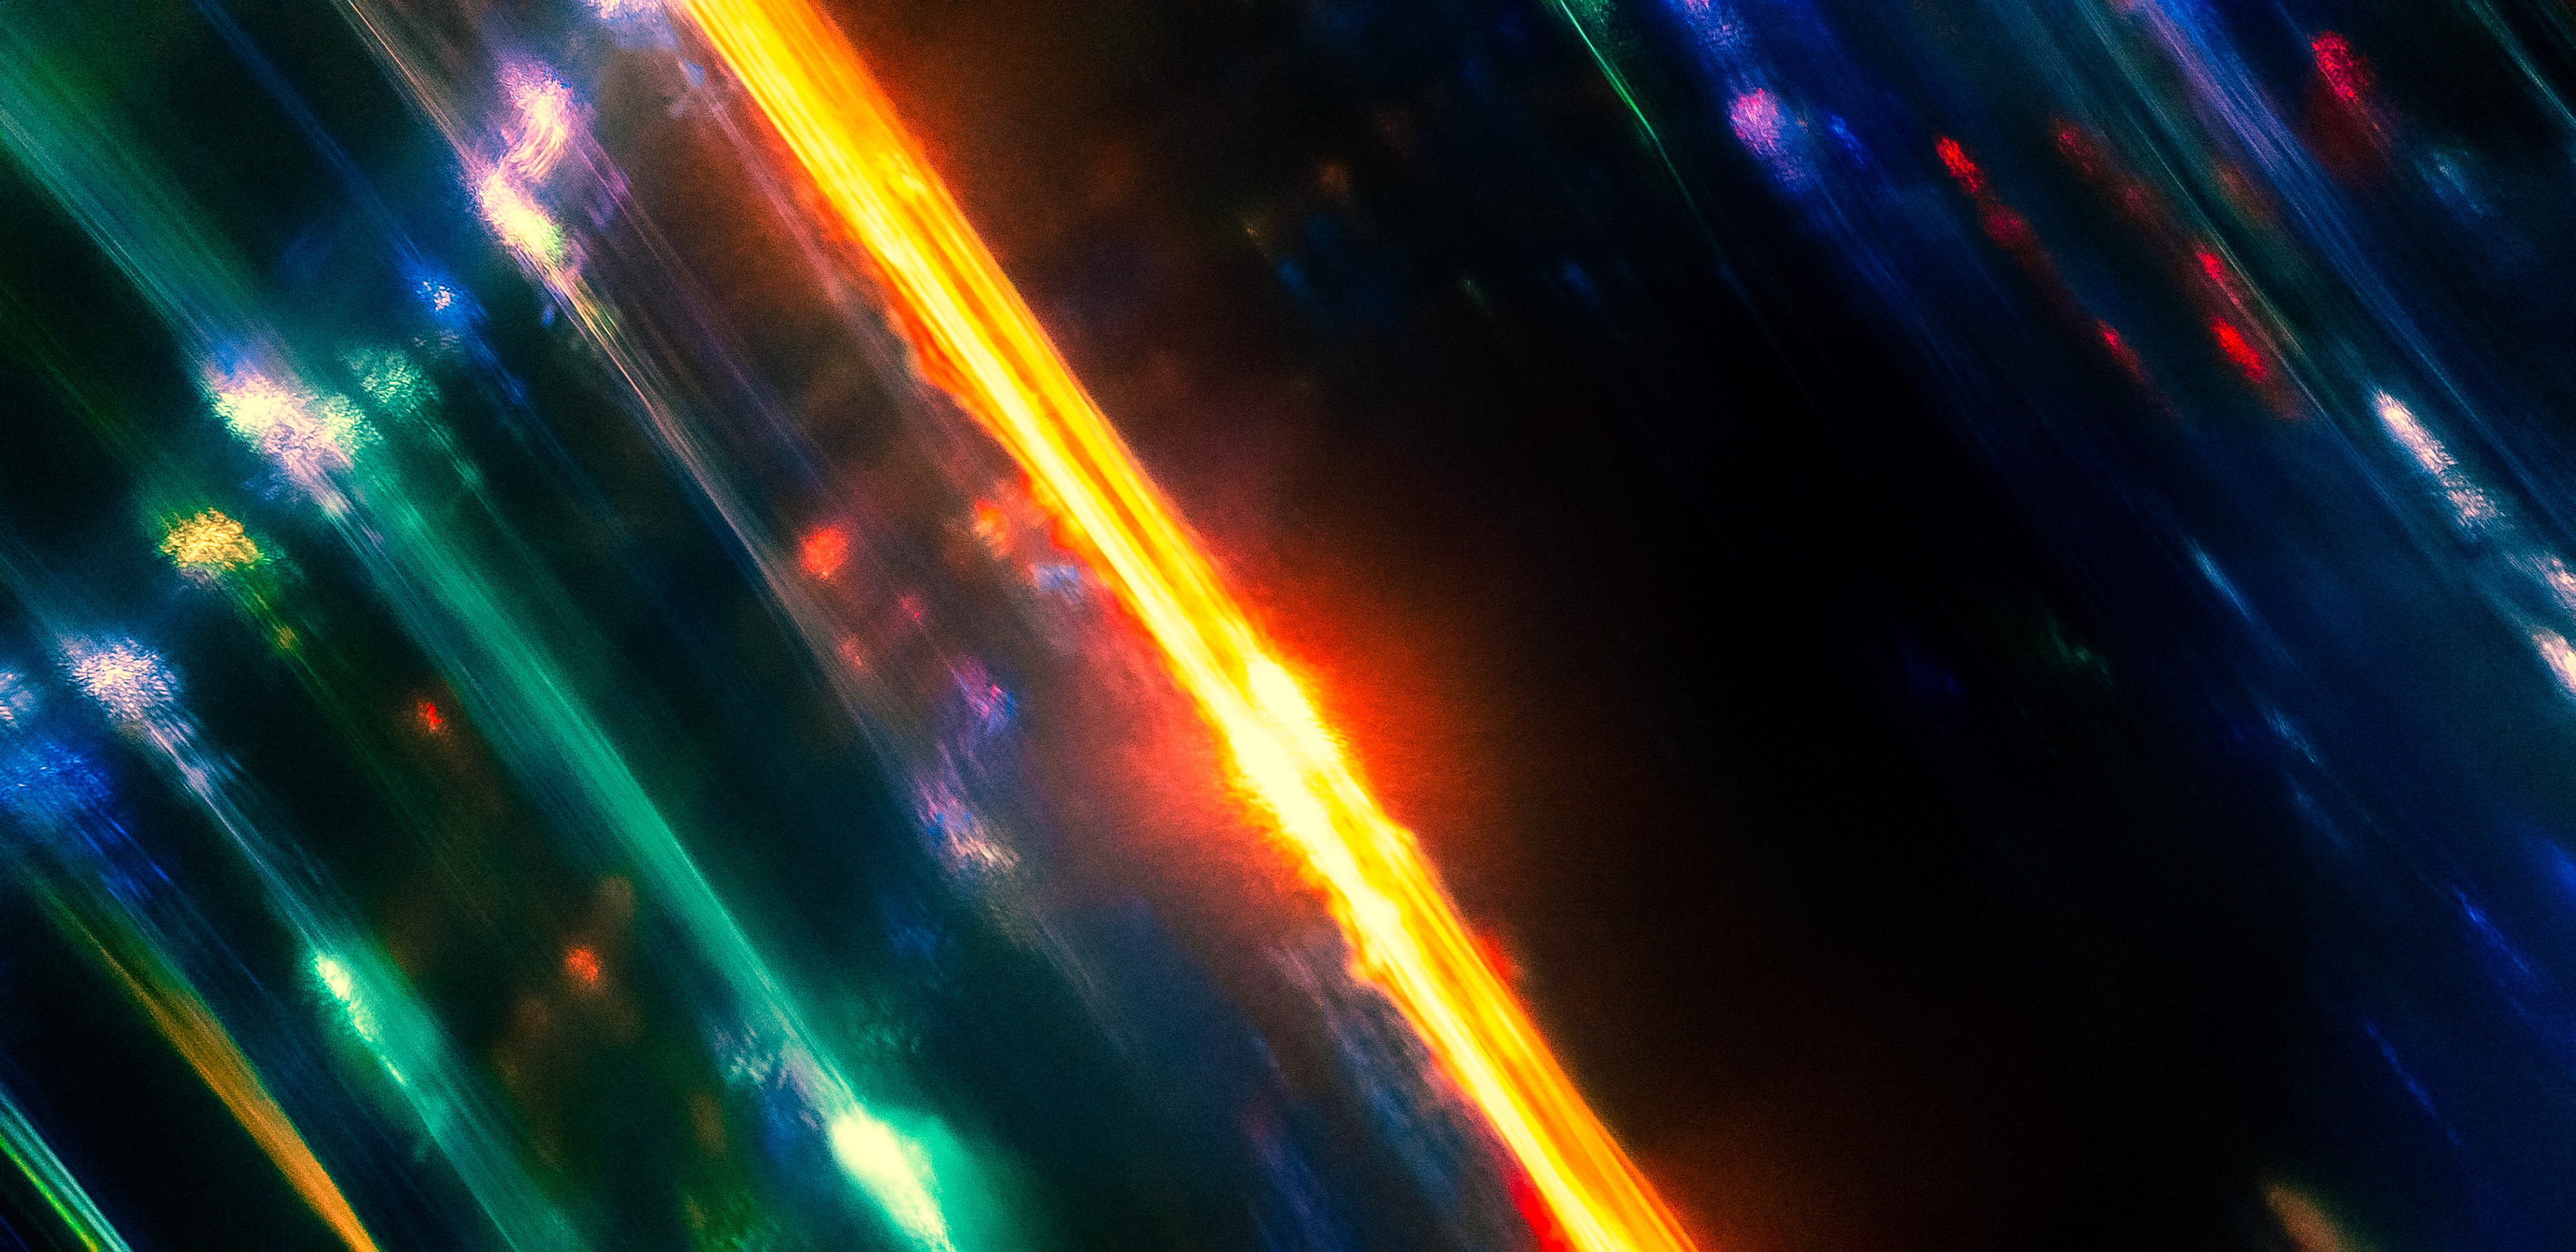
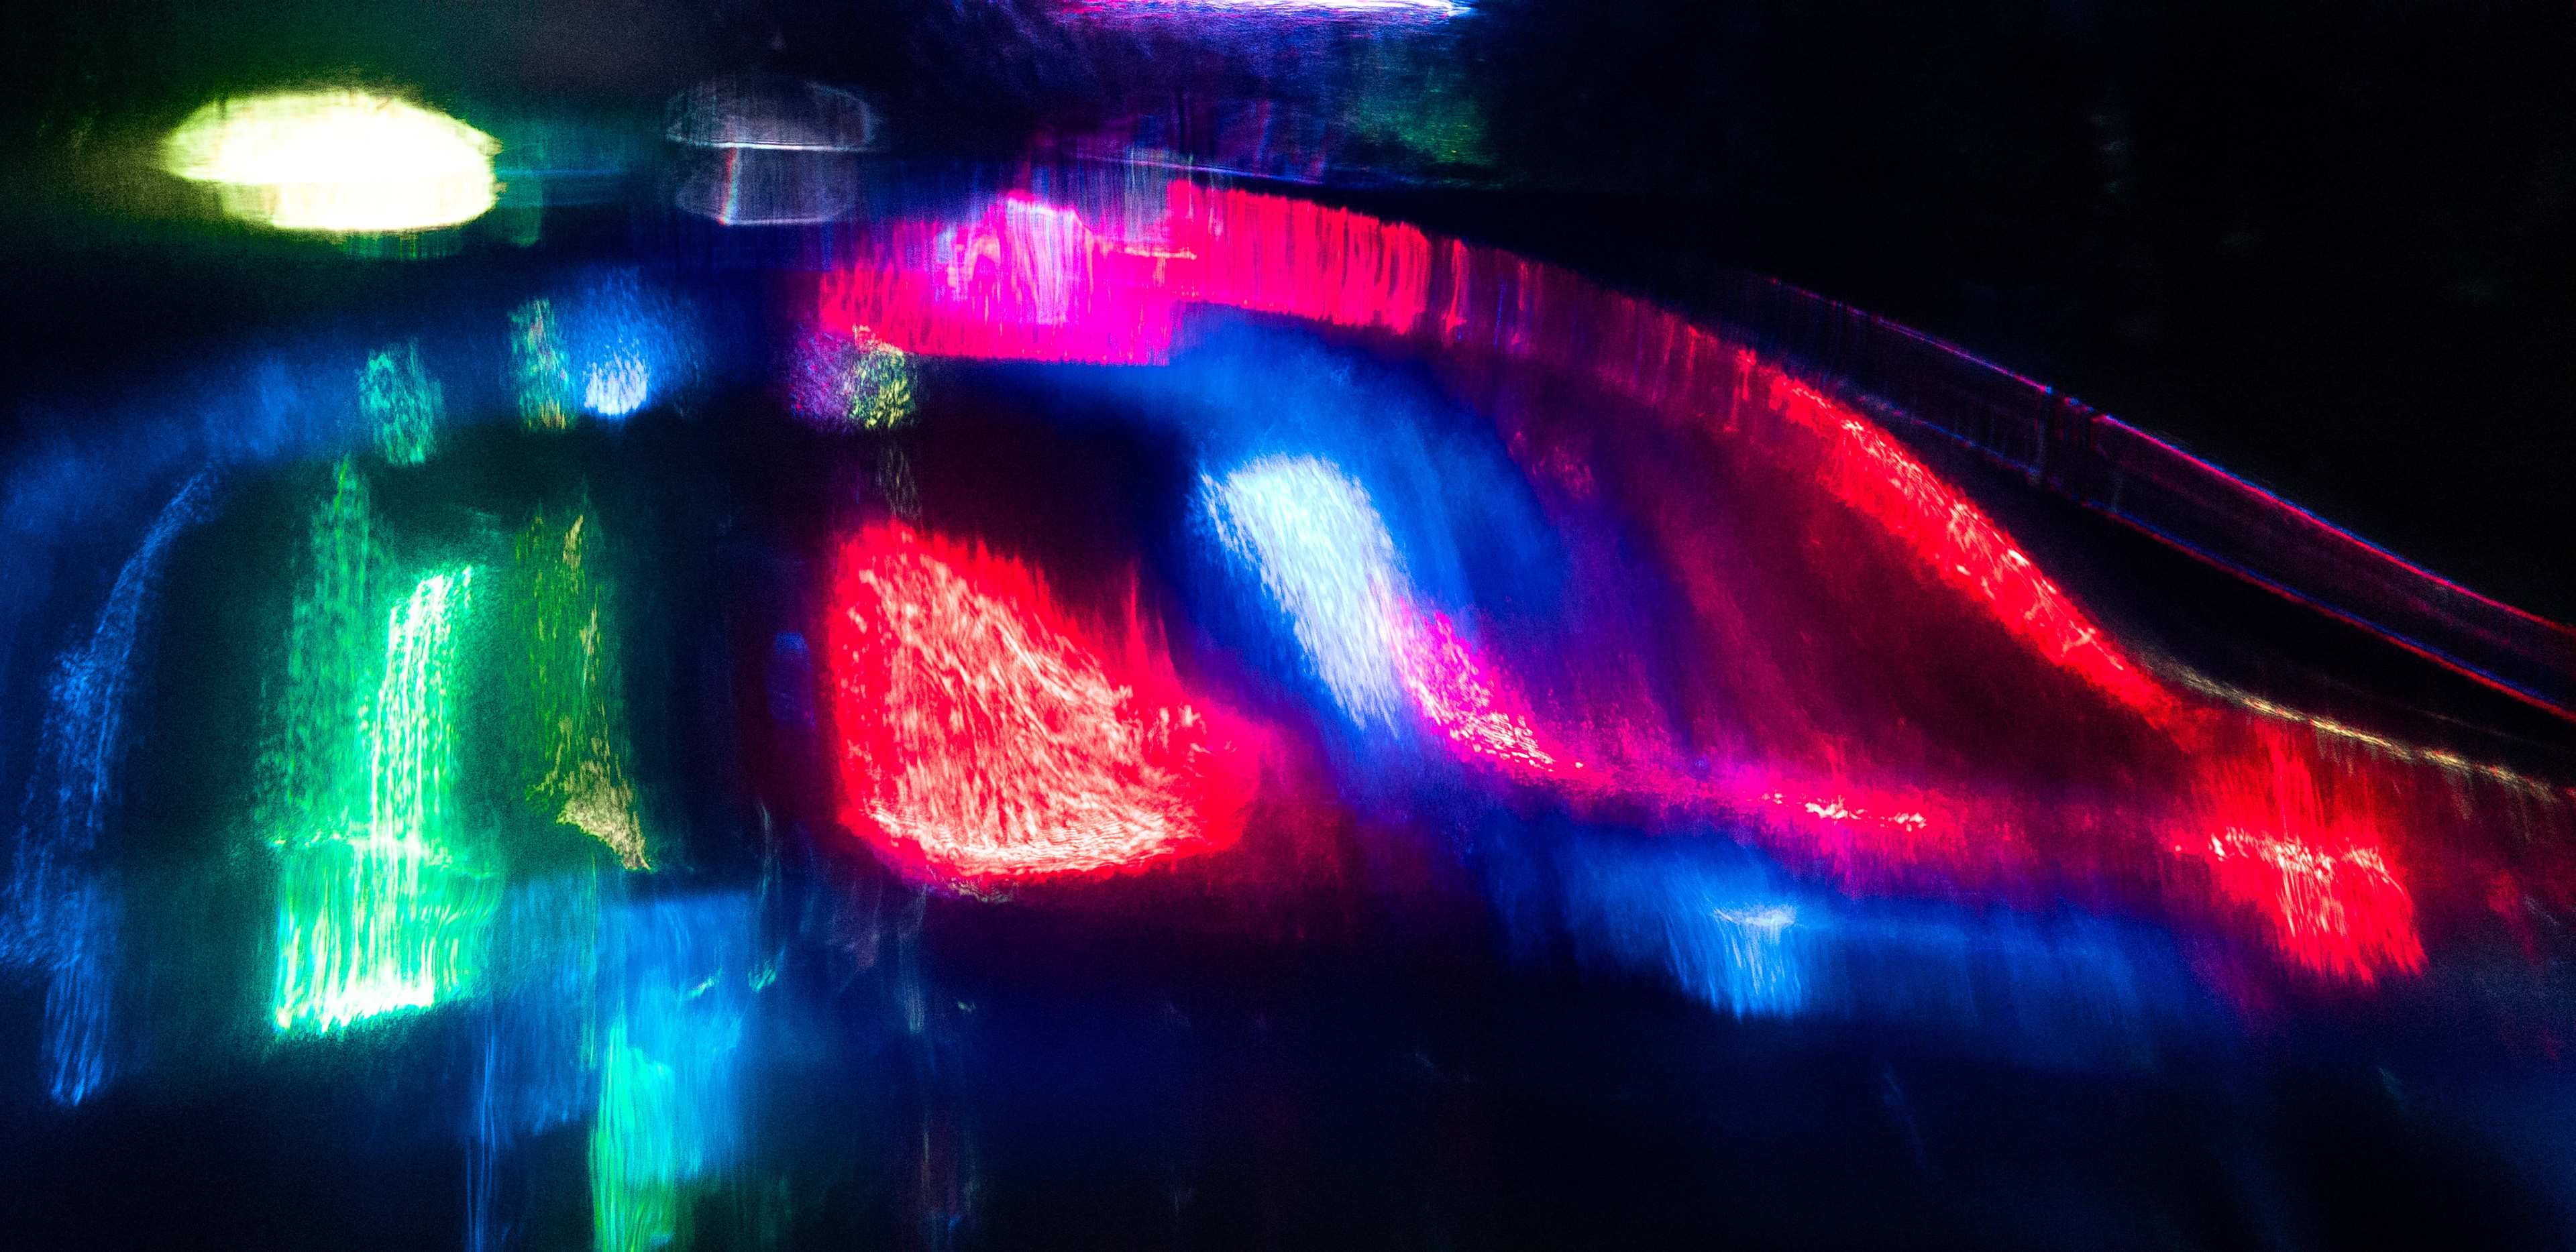
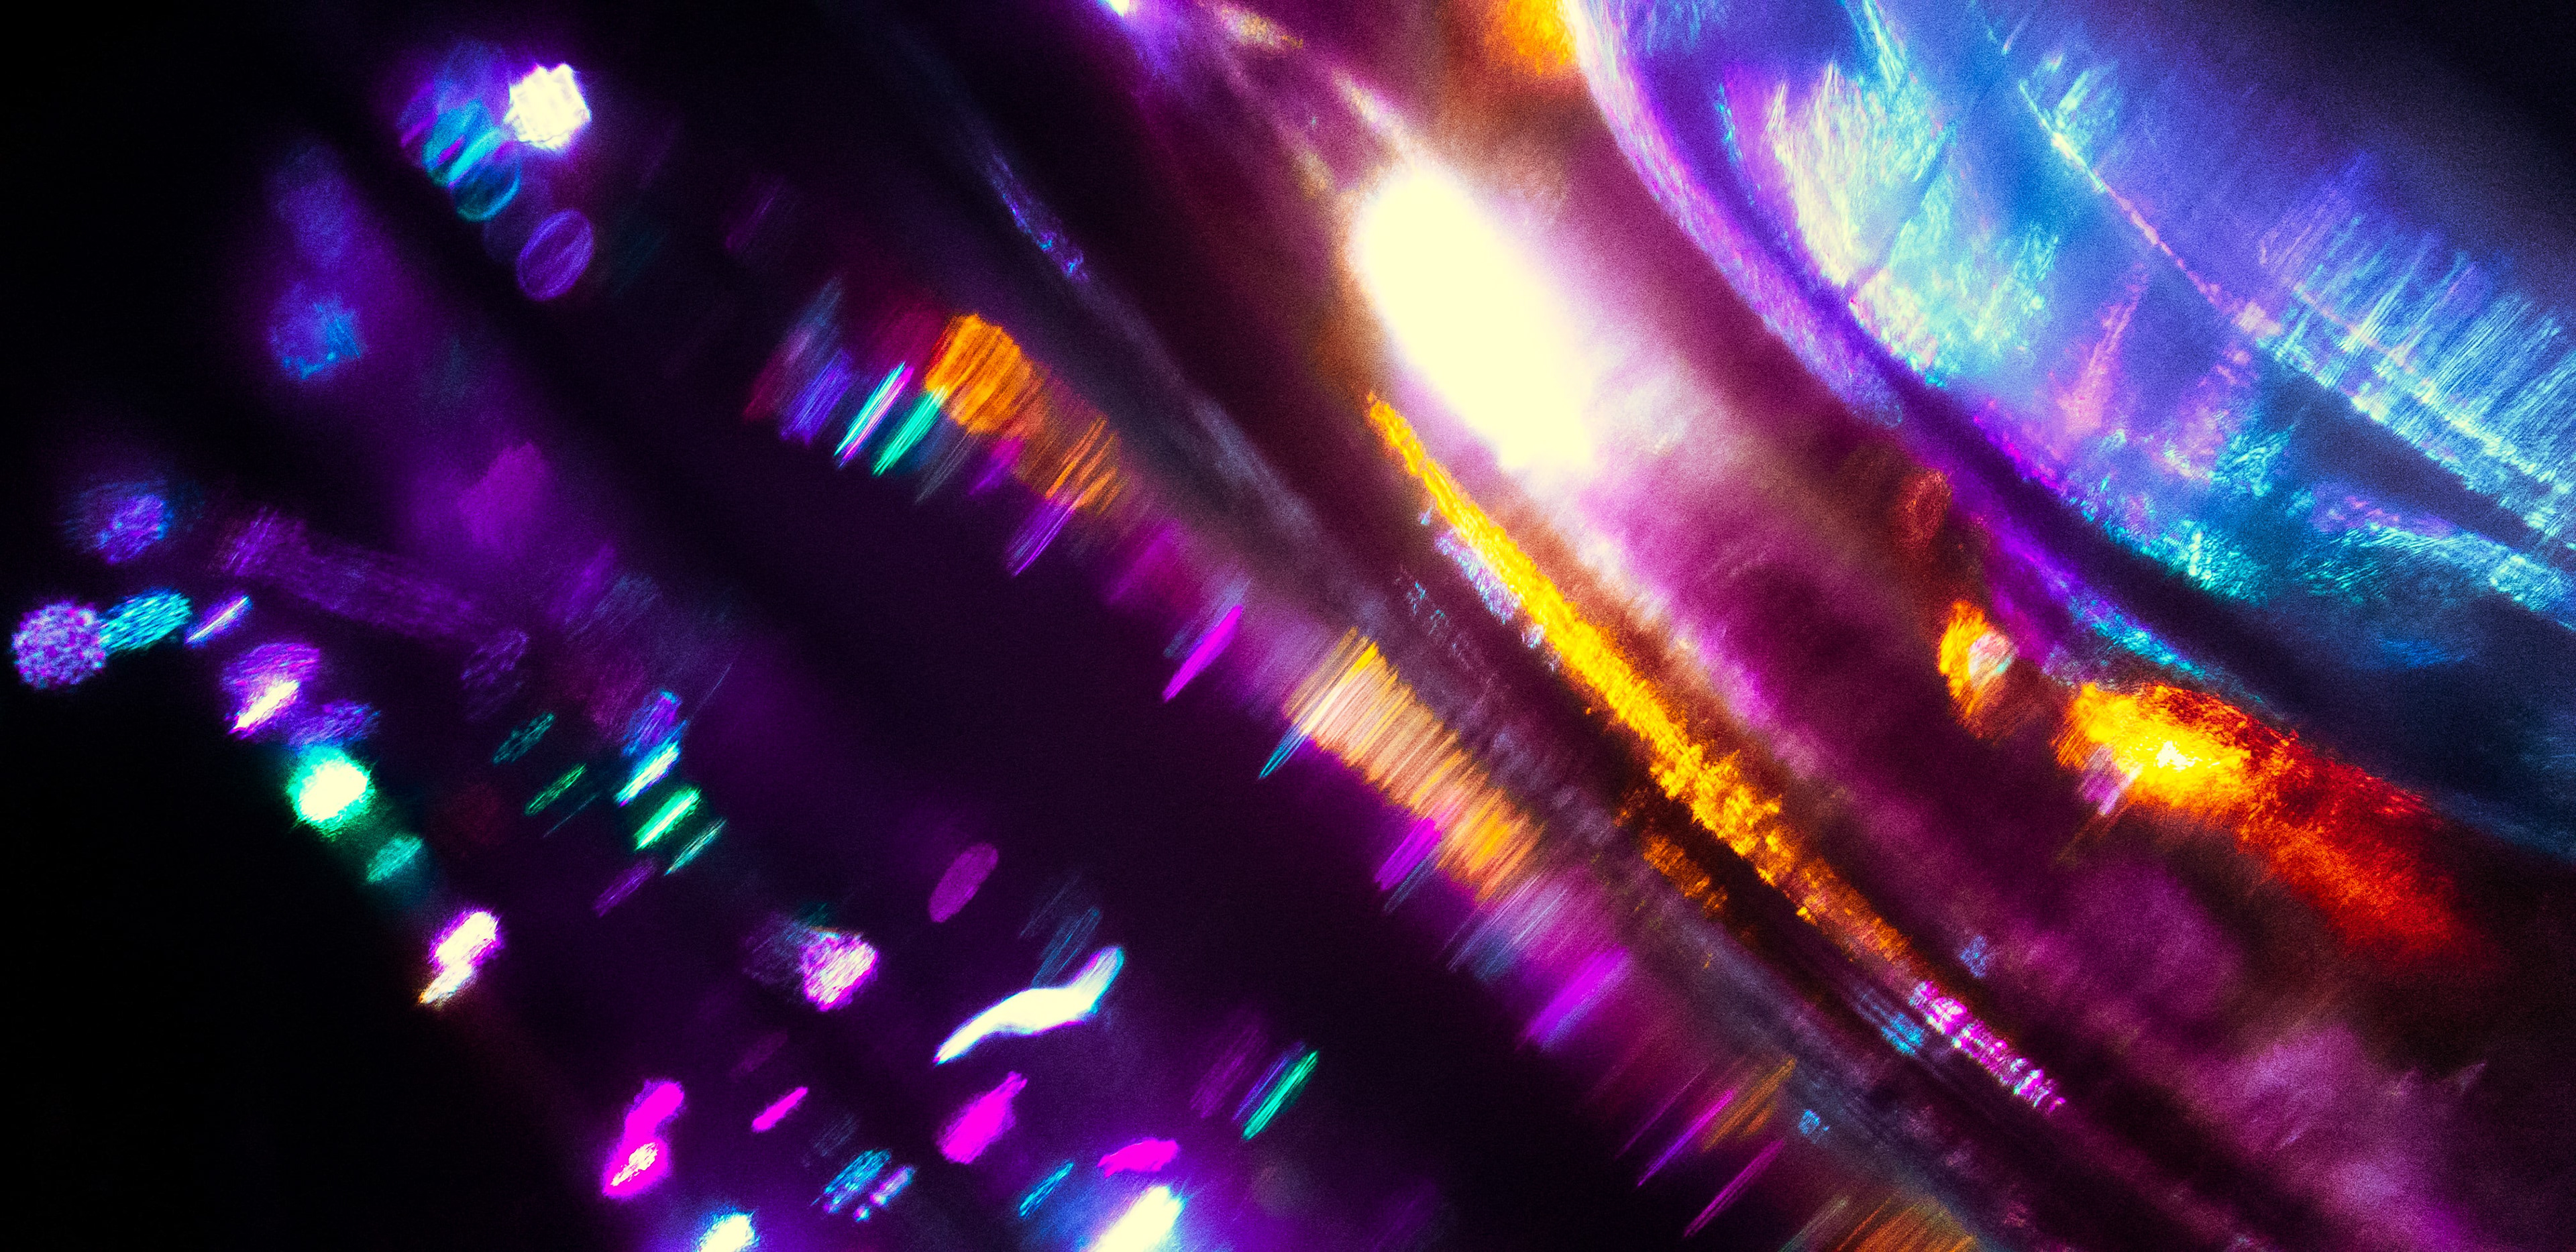
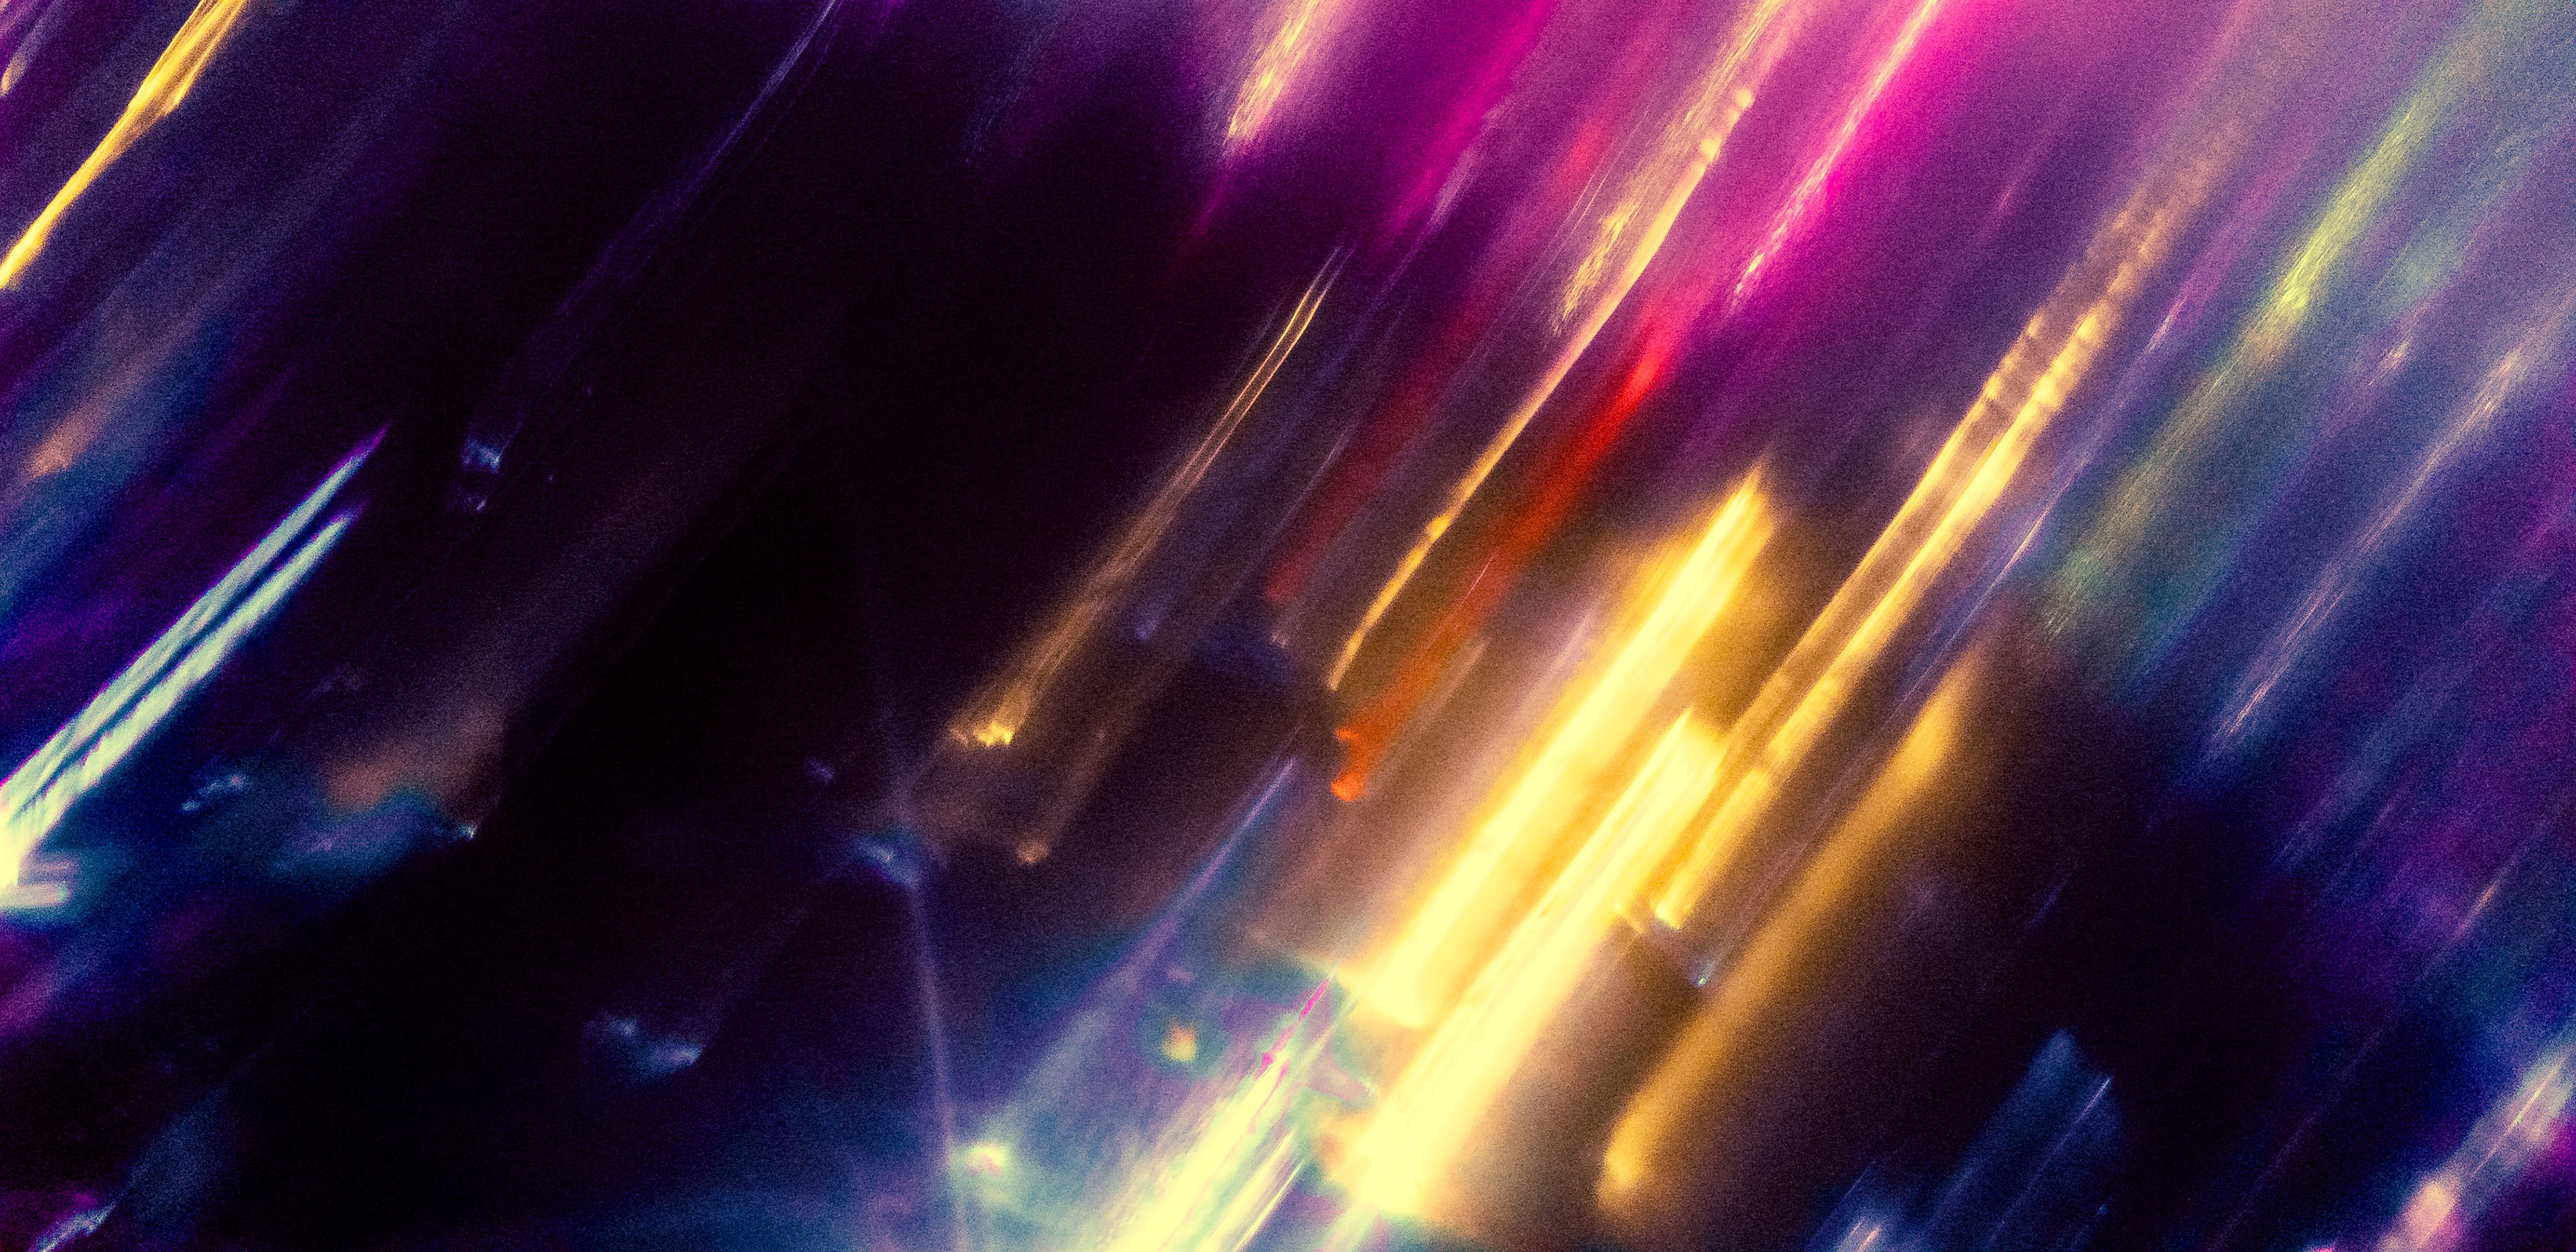
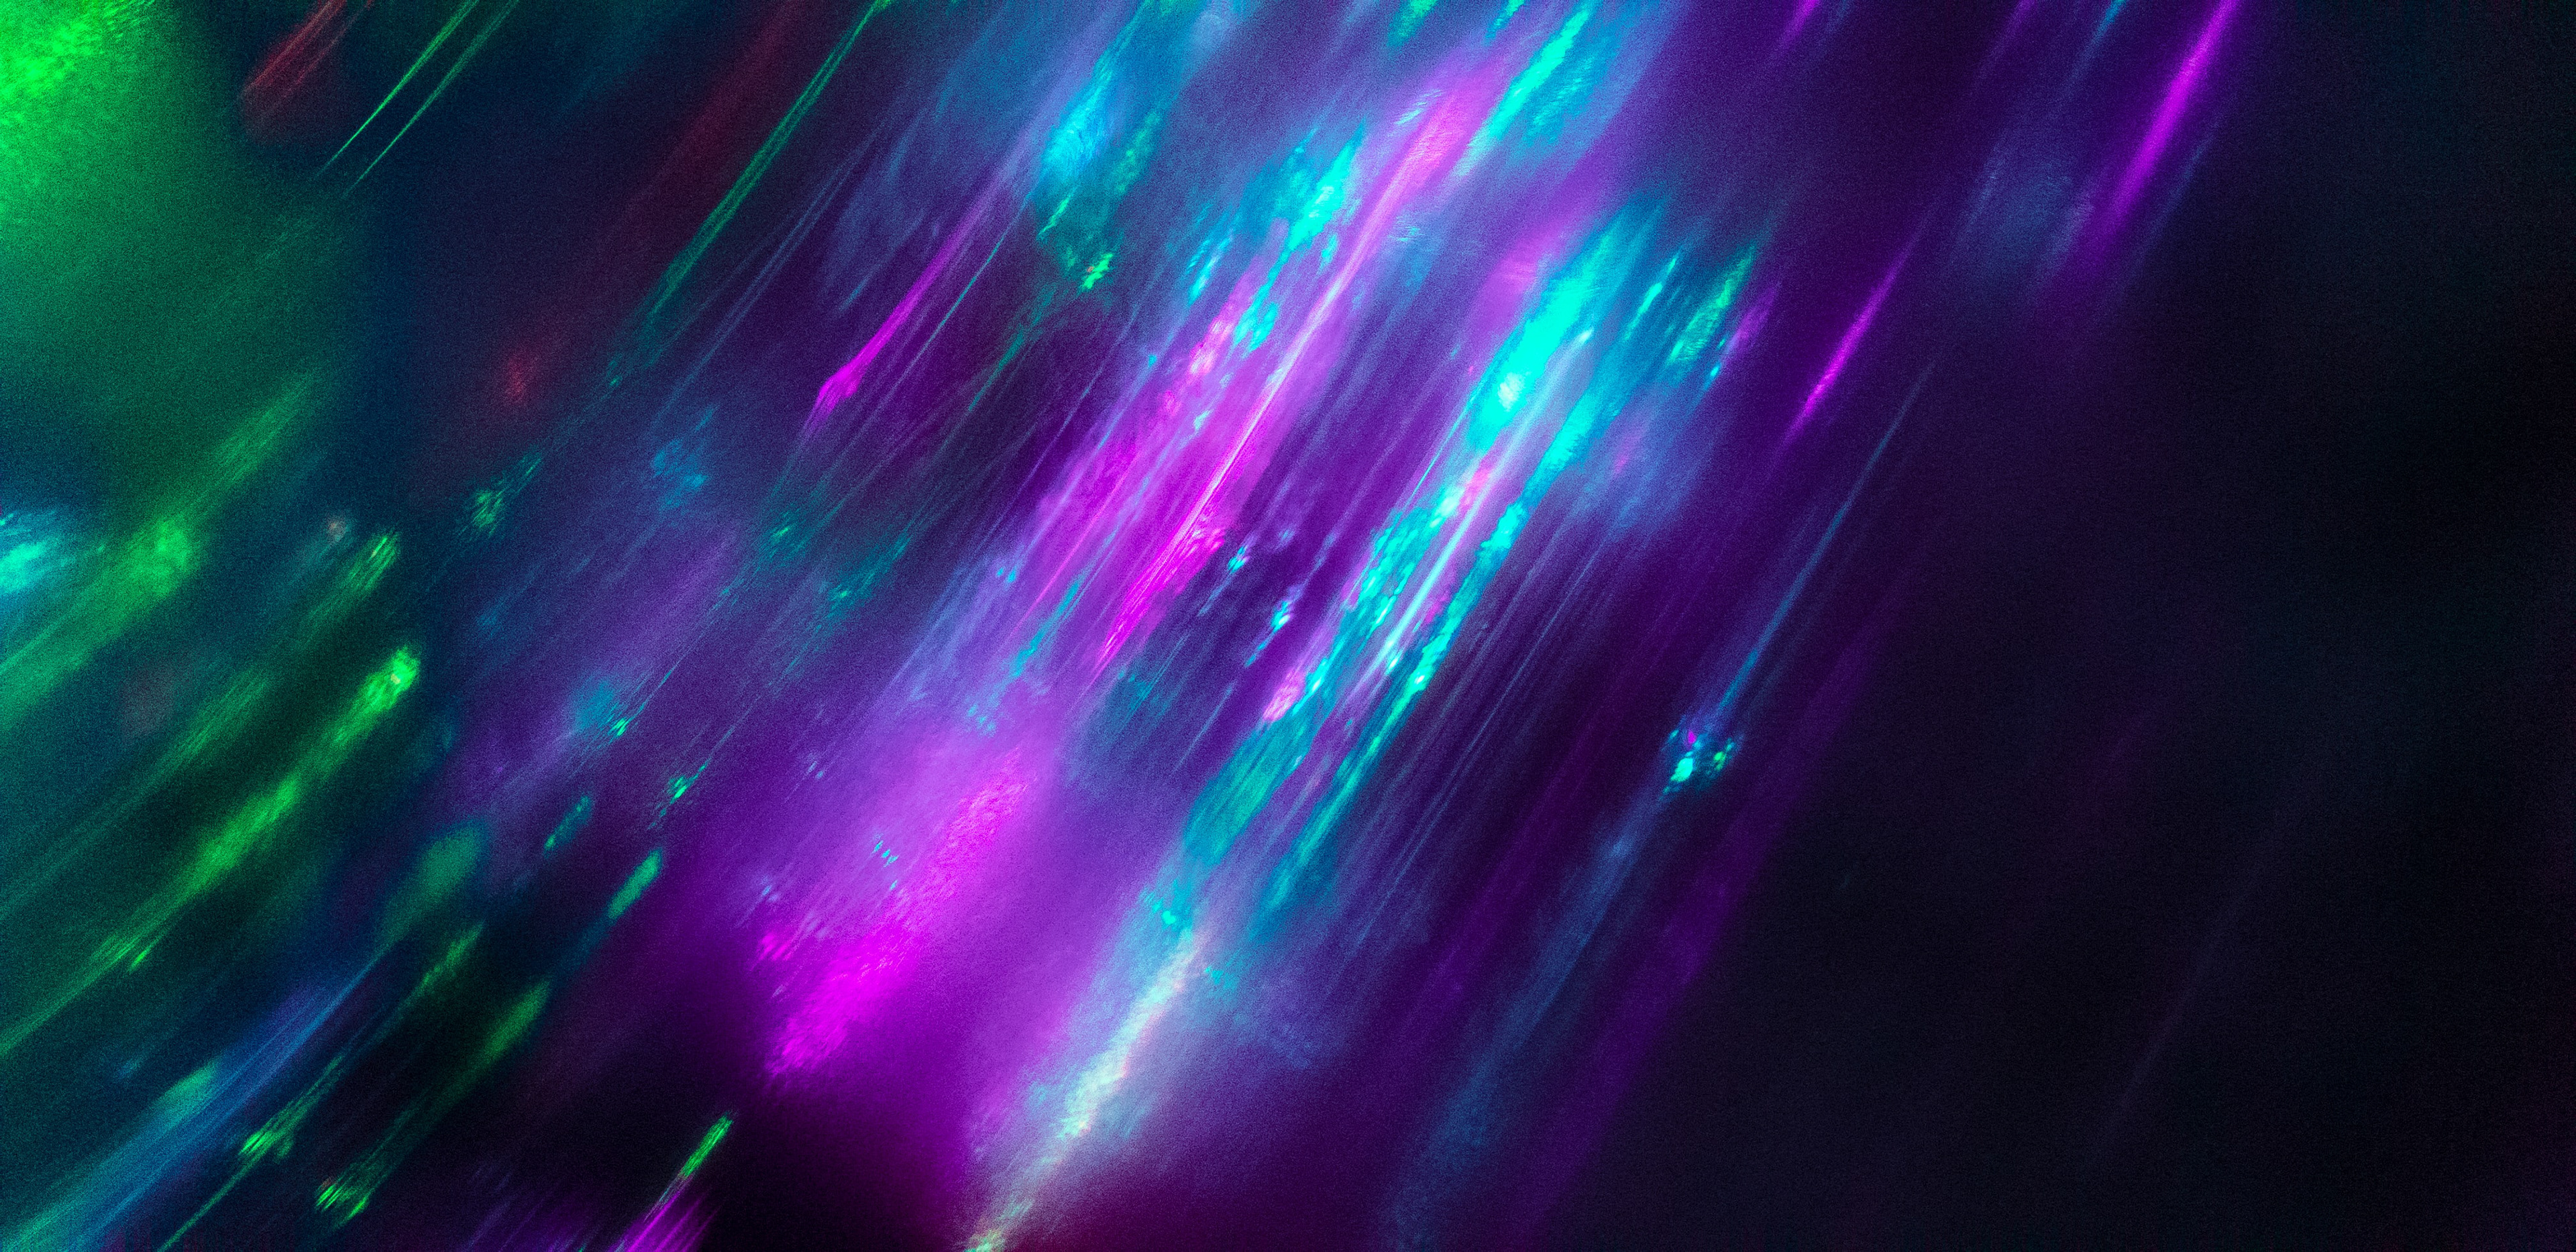
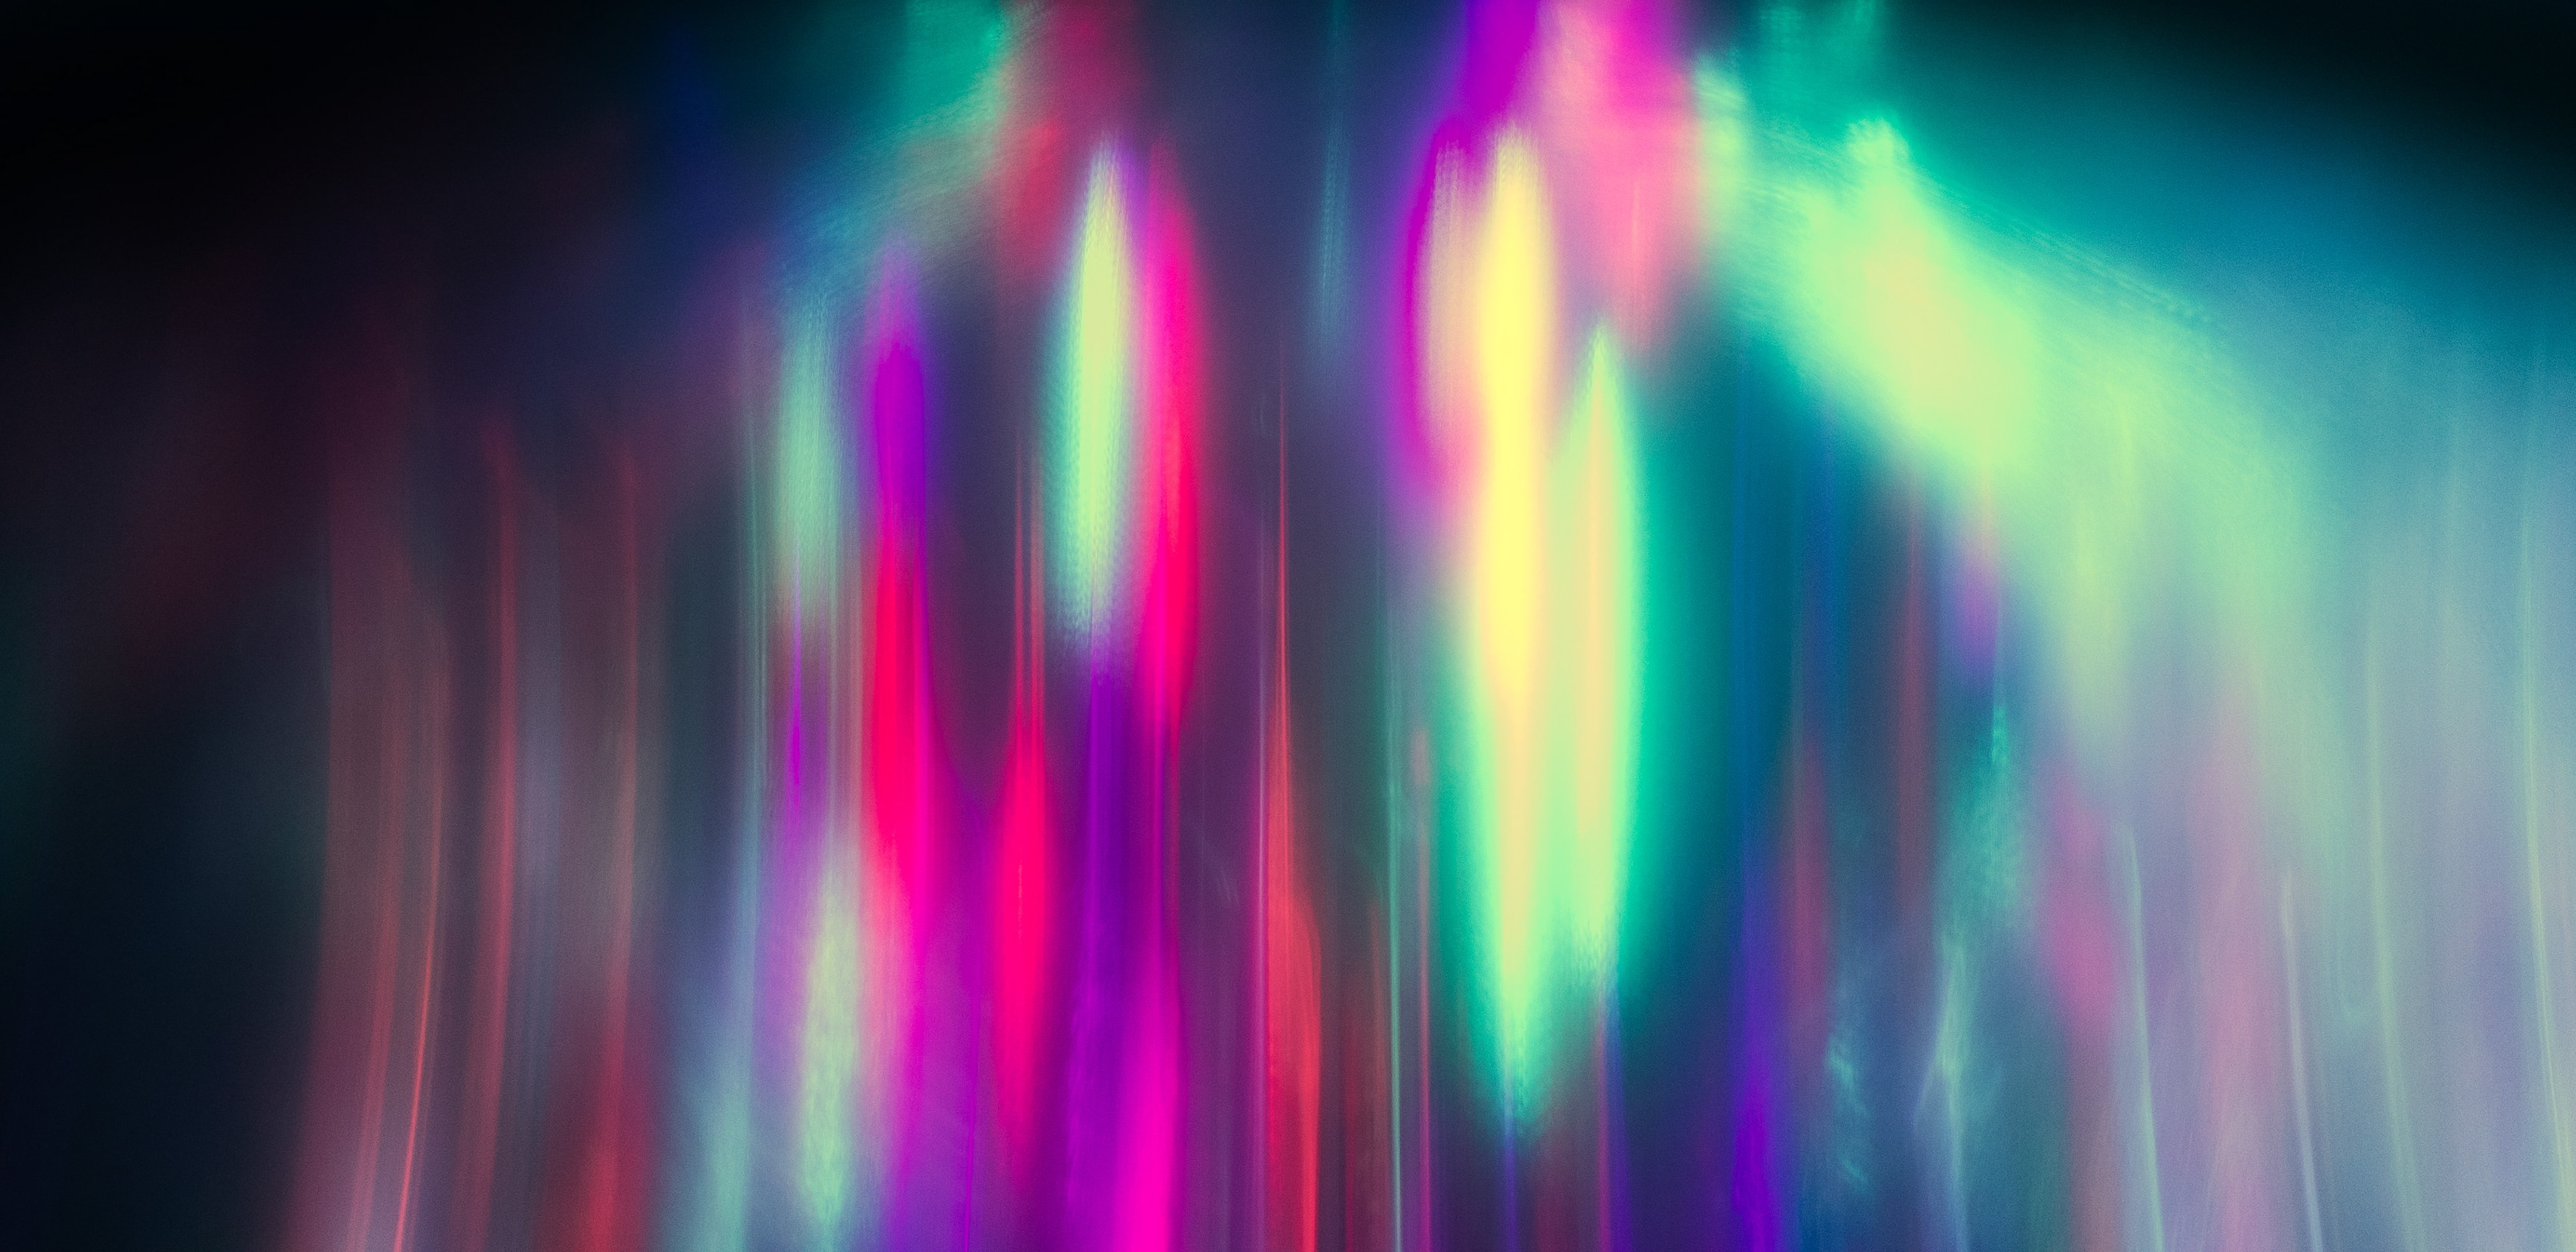
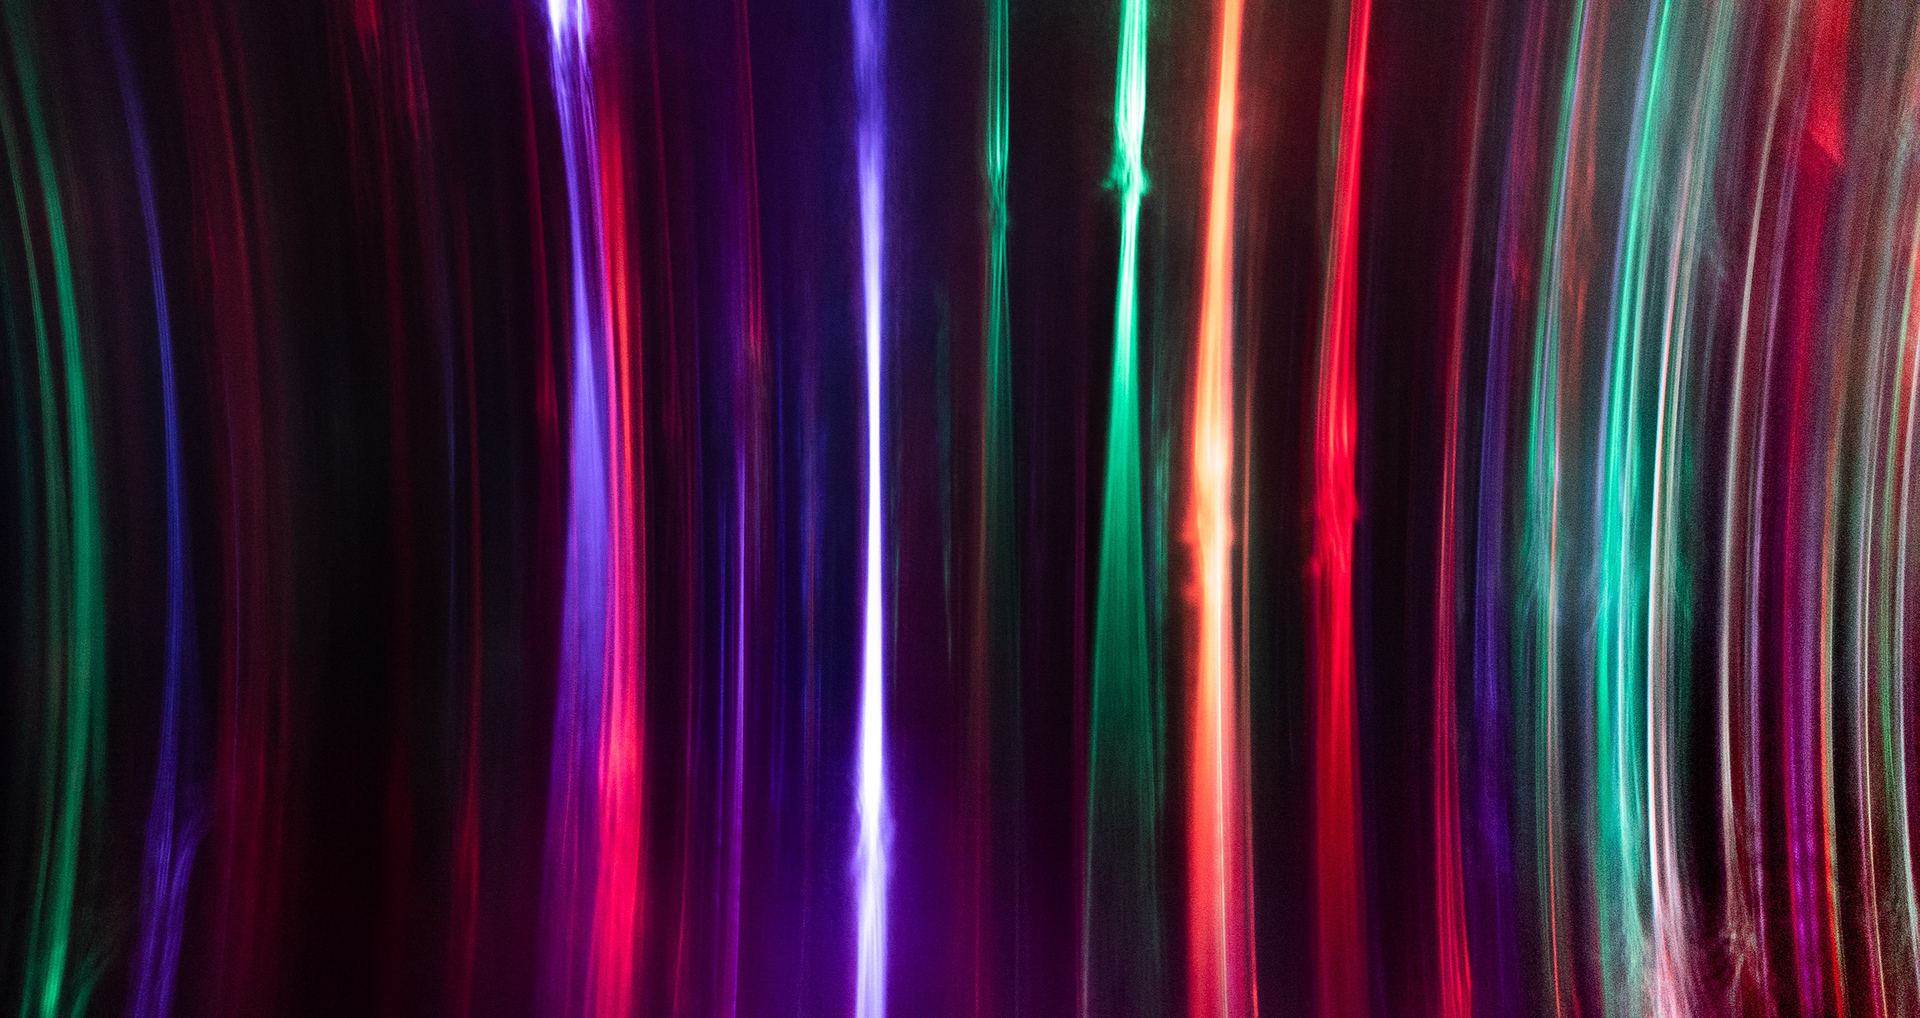
Inspired by the kaleidoscopic streaks of the Bifrost in the Marvel Cinematic Universe and the wormhole in Interstellar, I used my Samsung Galaxy S9 to capture light as it was bent, split and warped into different patterns by the curves and bevels in different shot glasses, a pint glass, a tumbler and a translucent stapler.
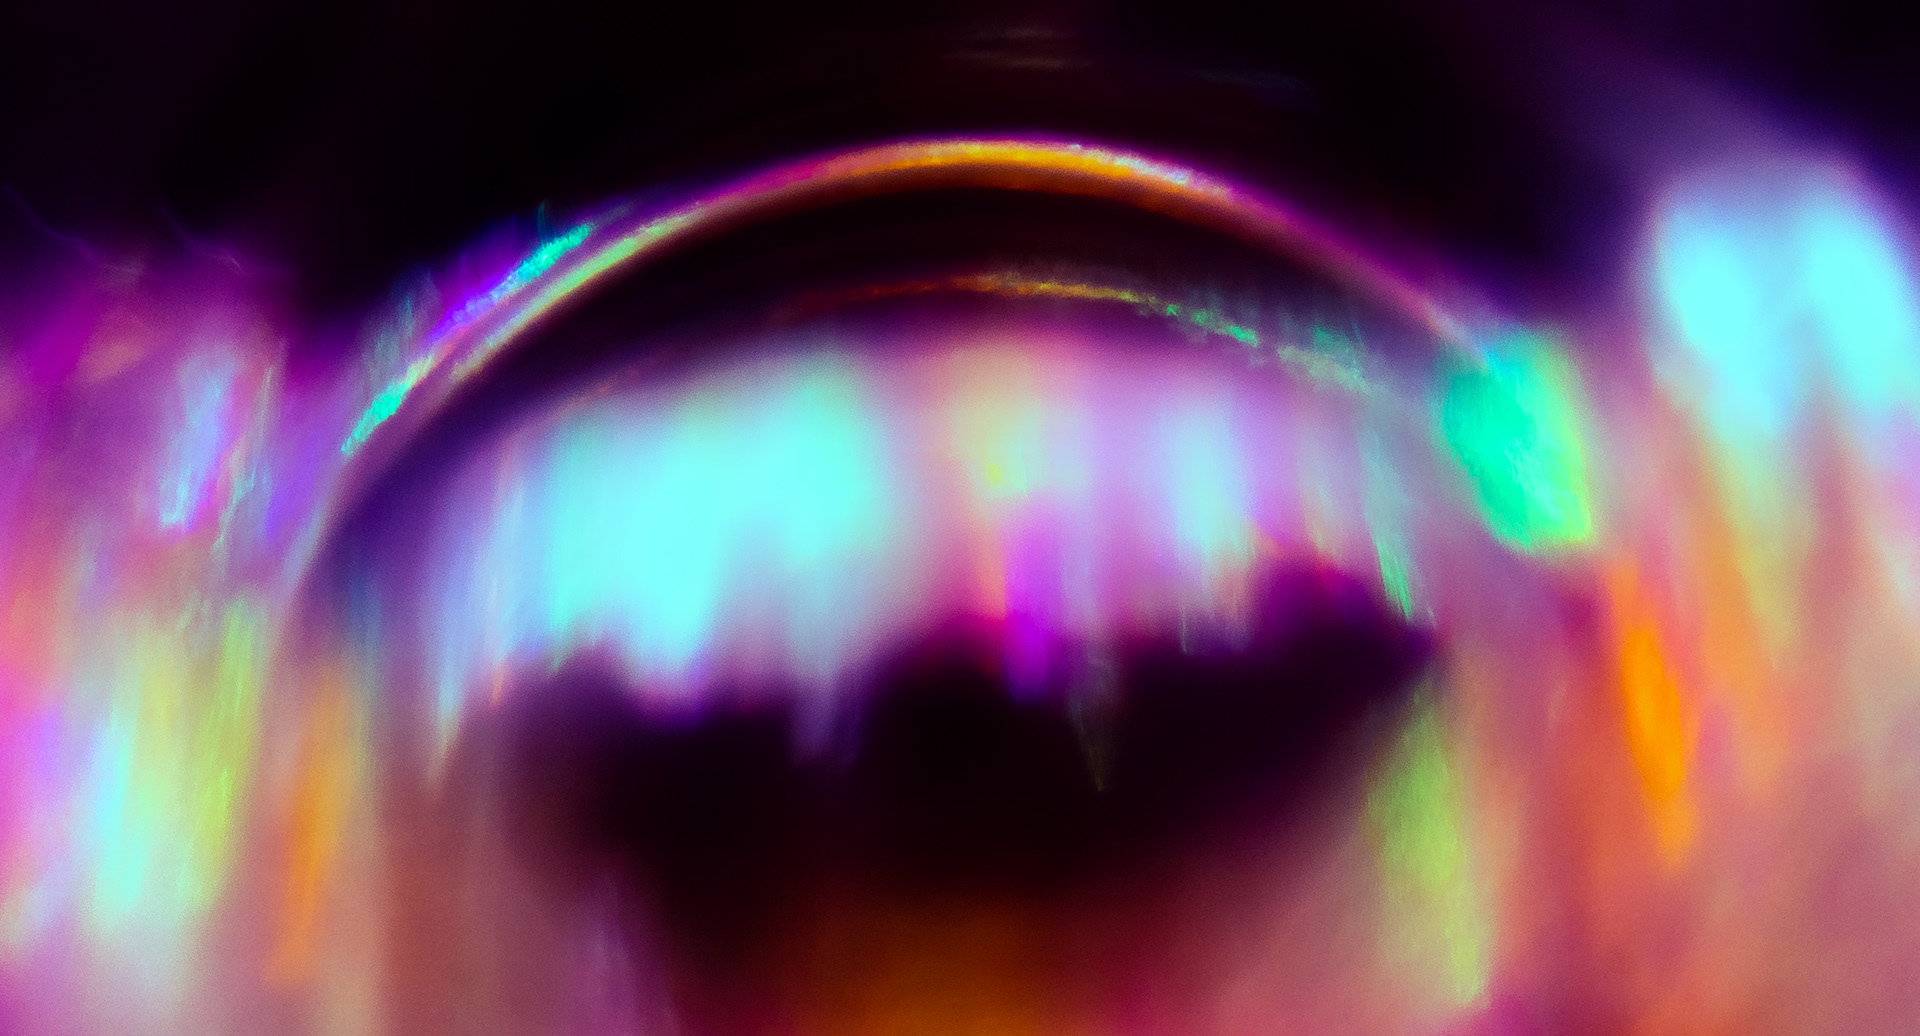


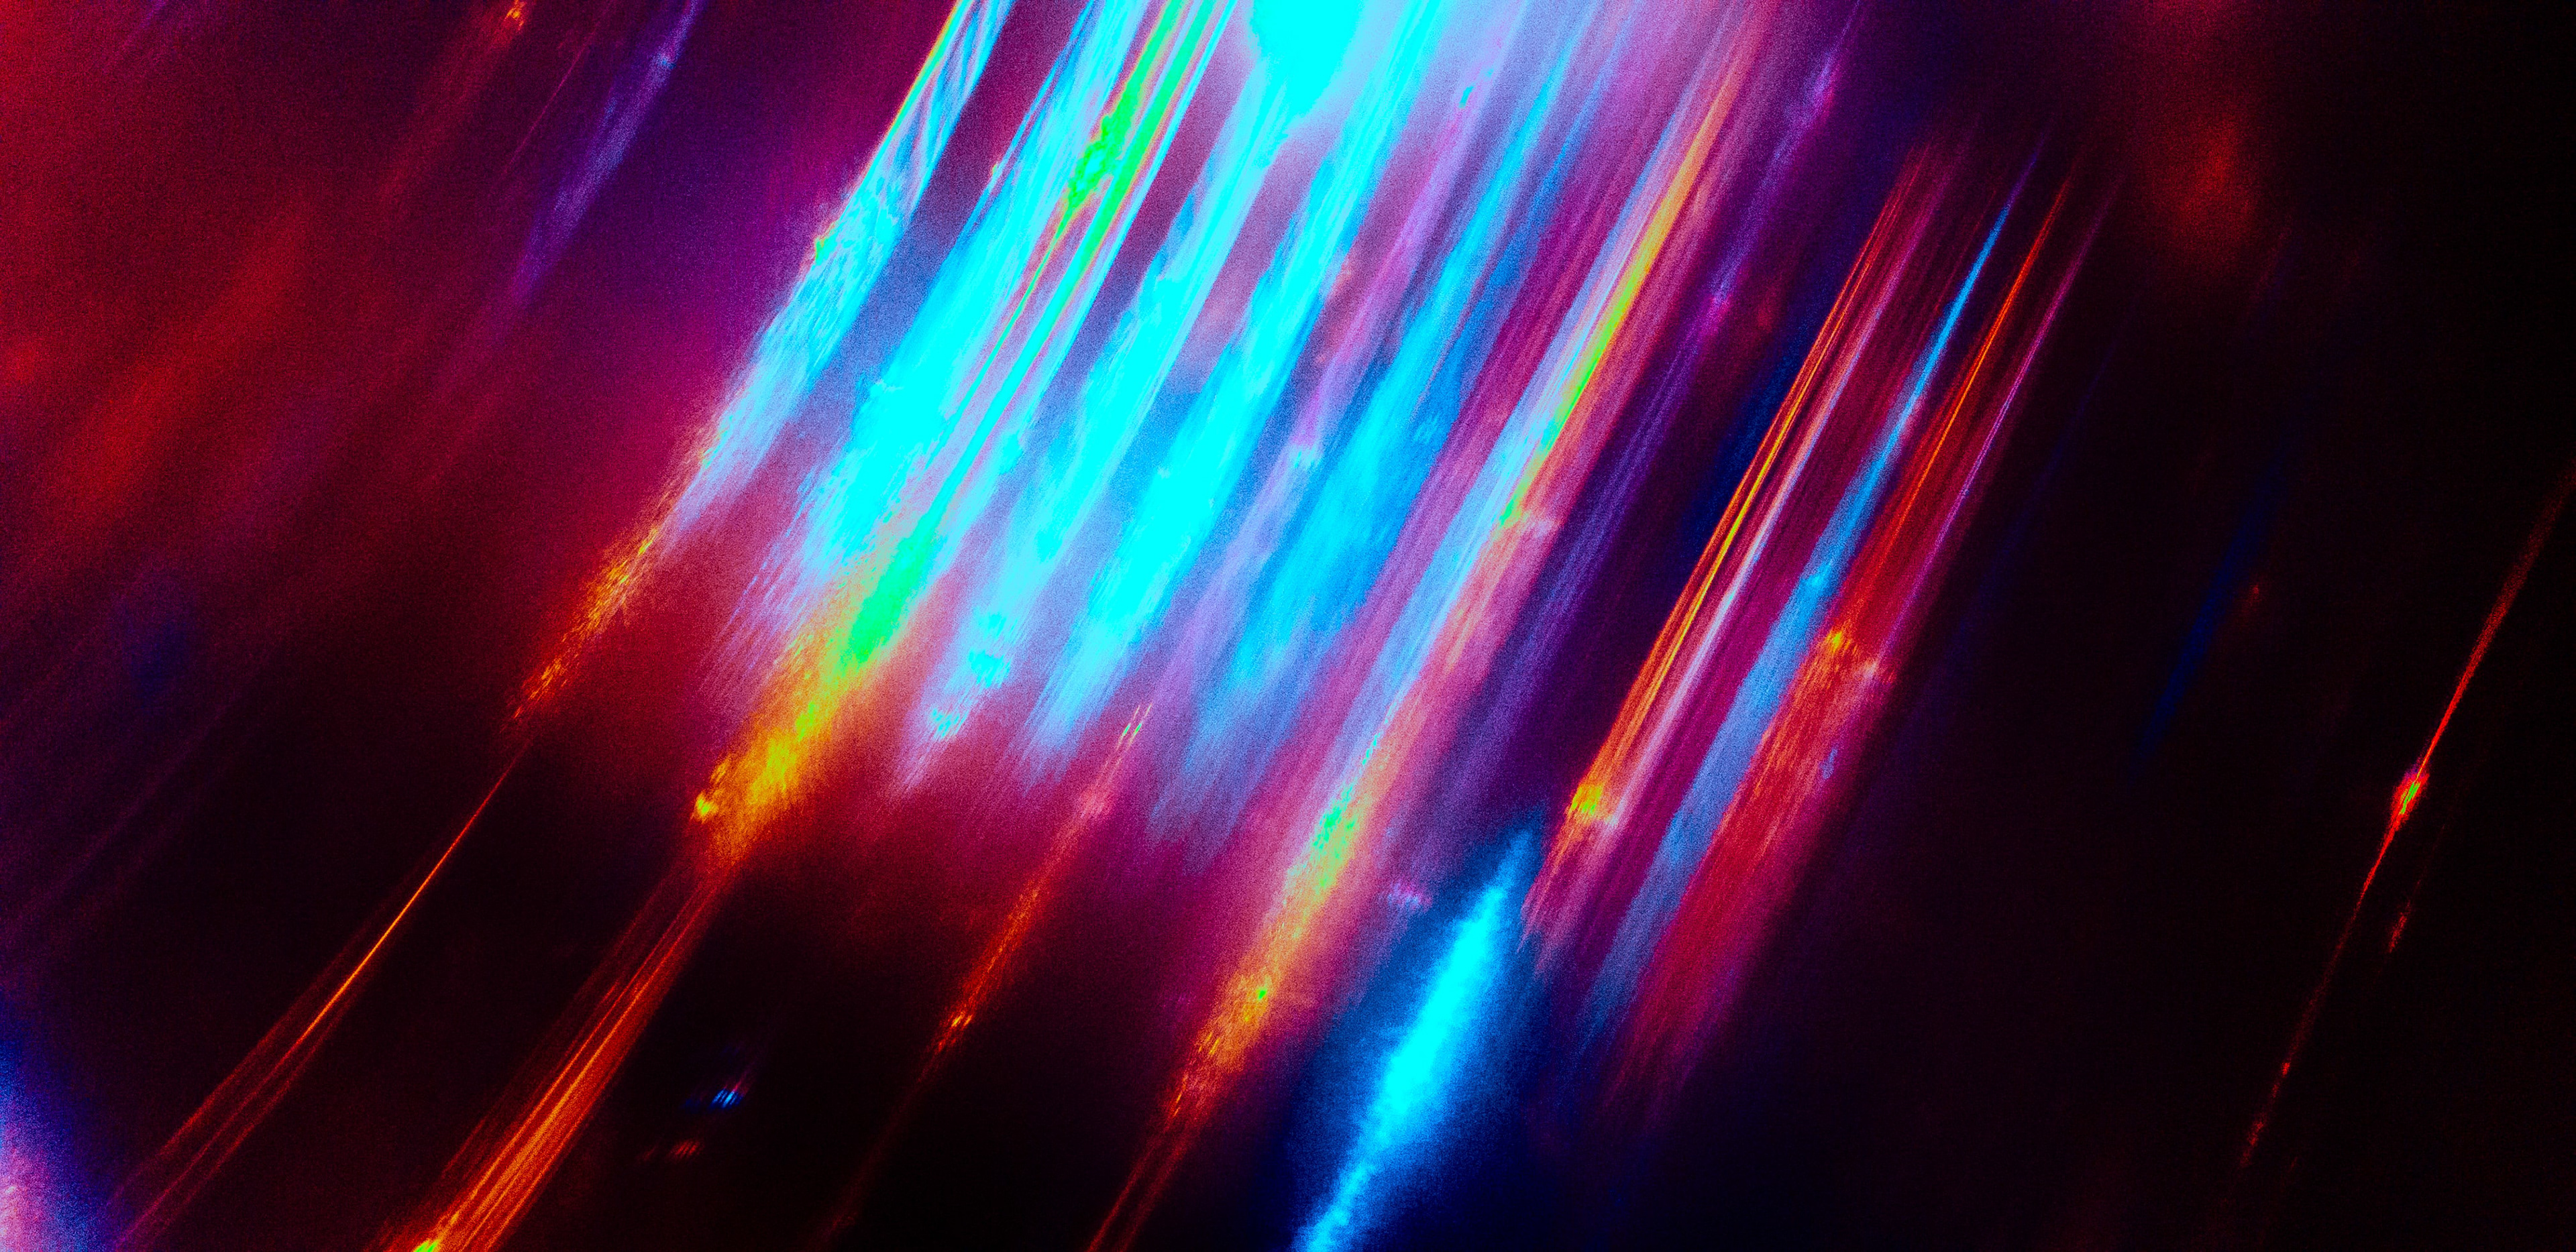
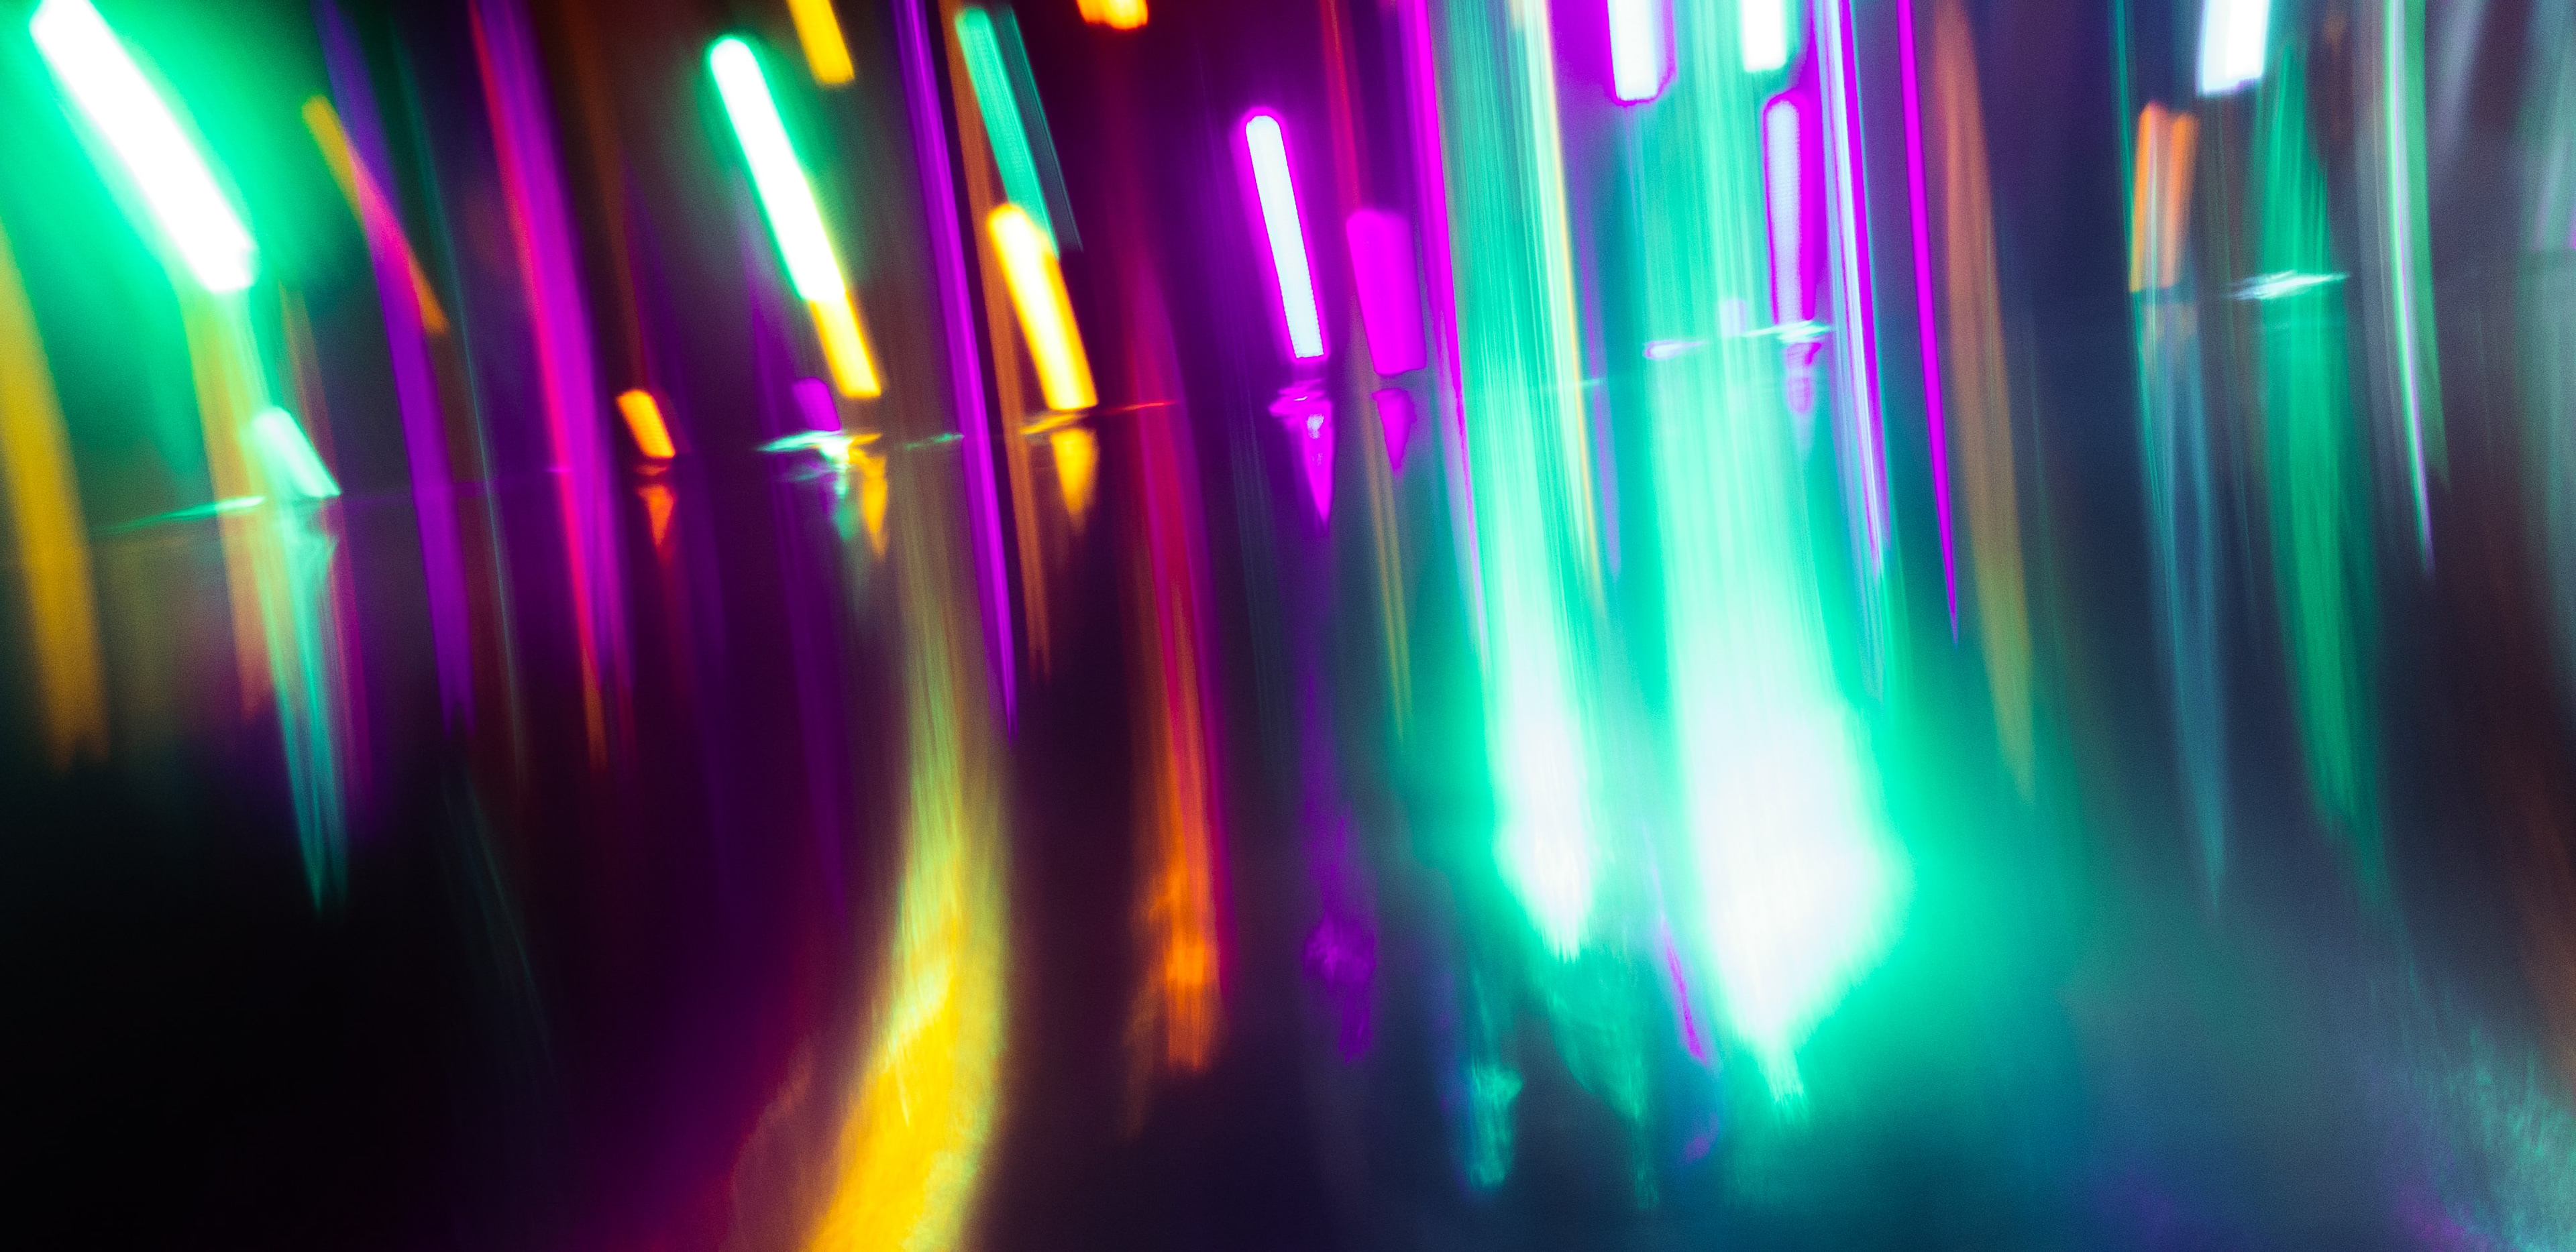
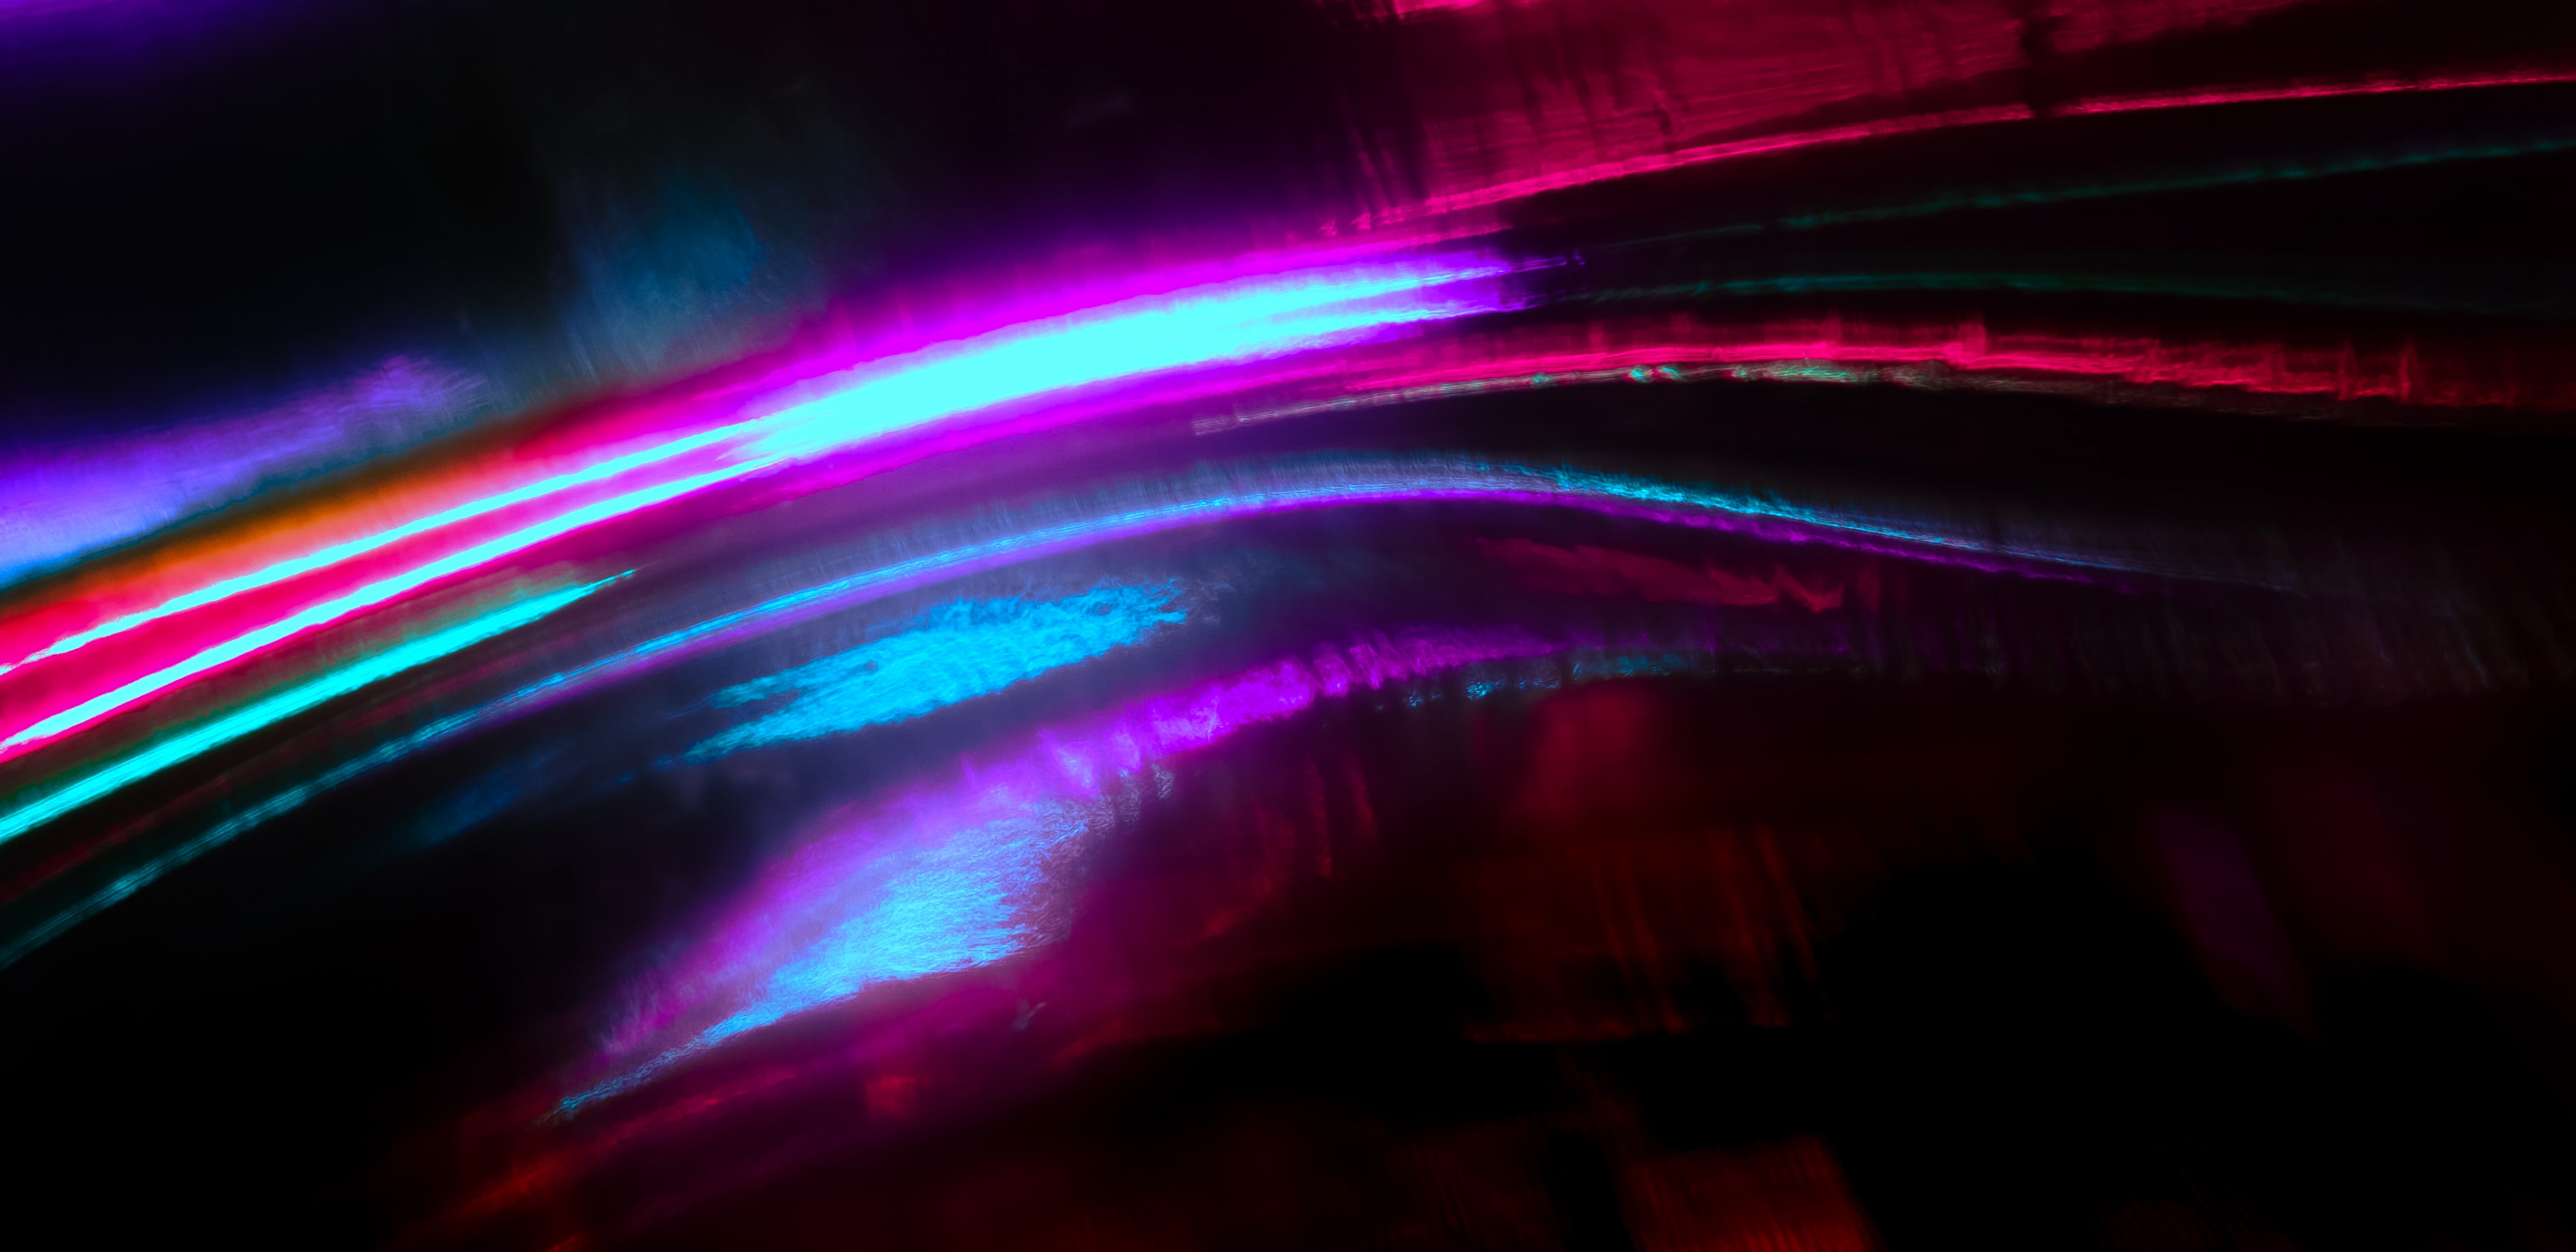
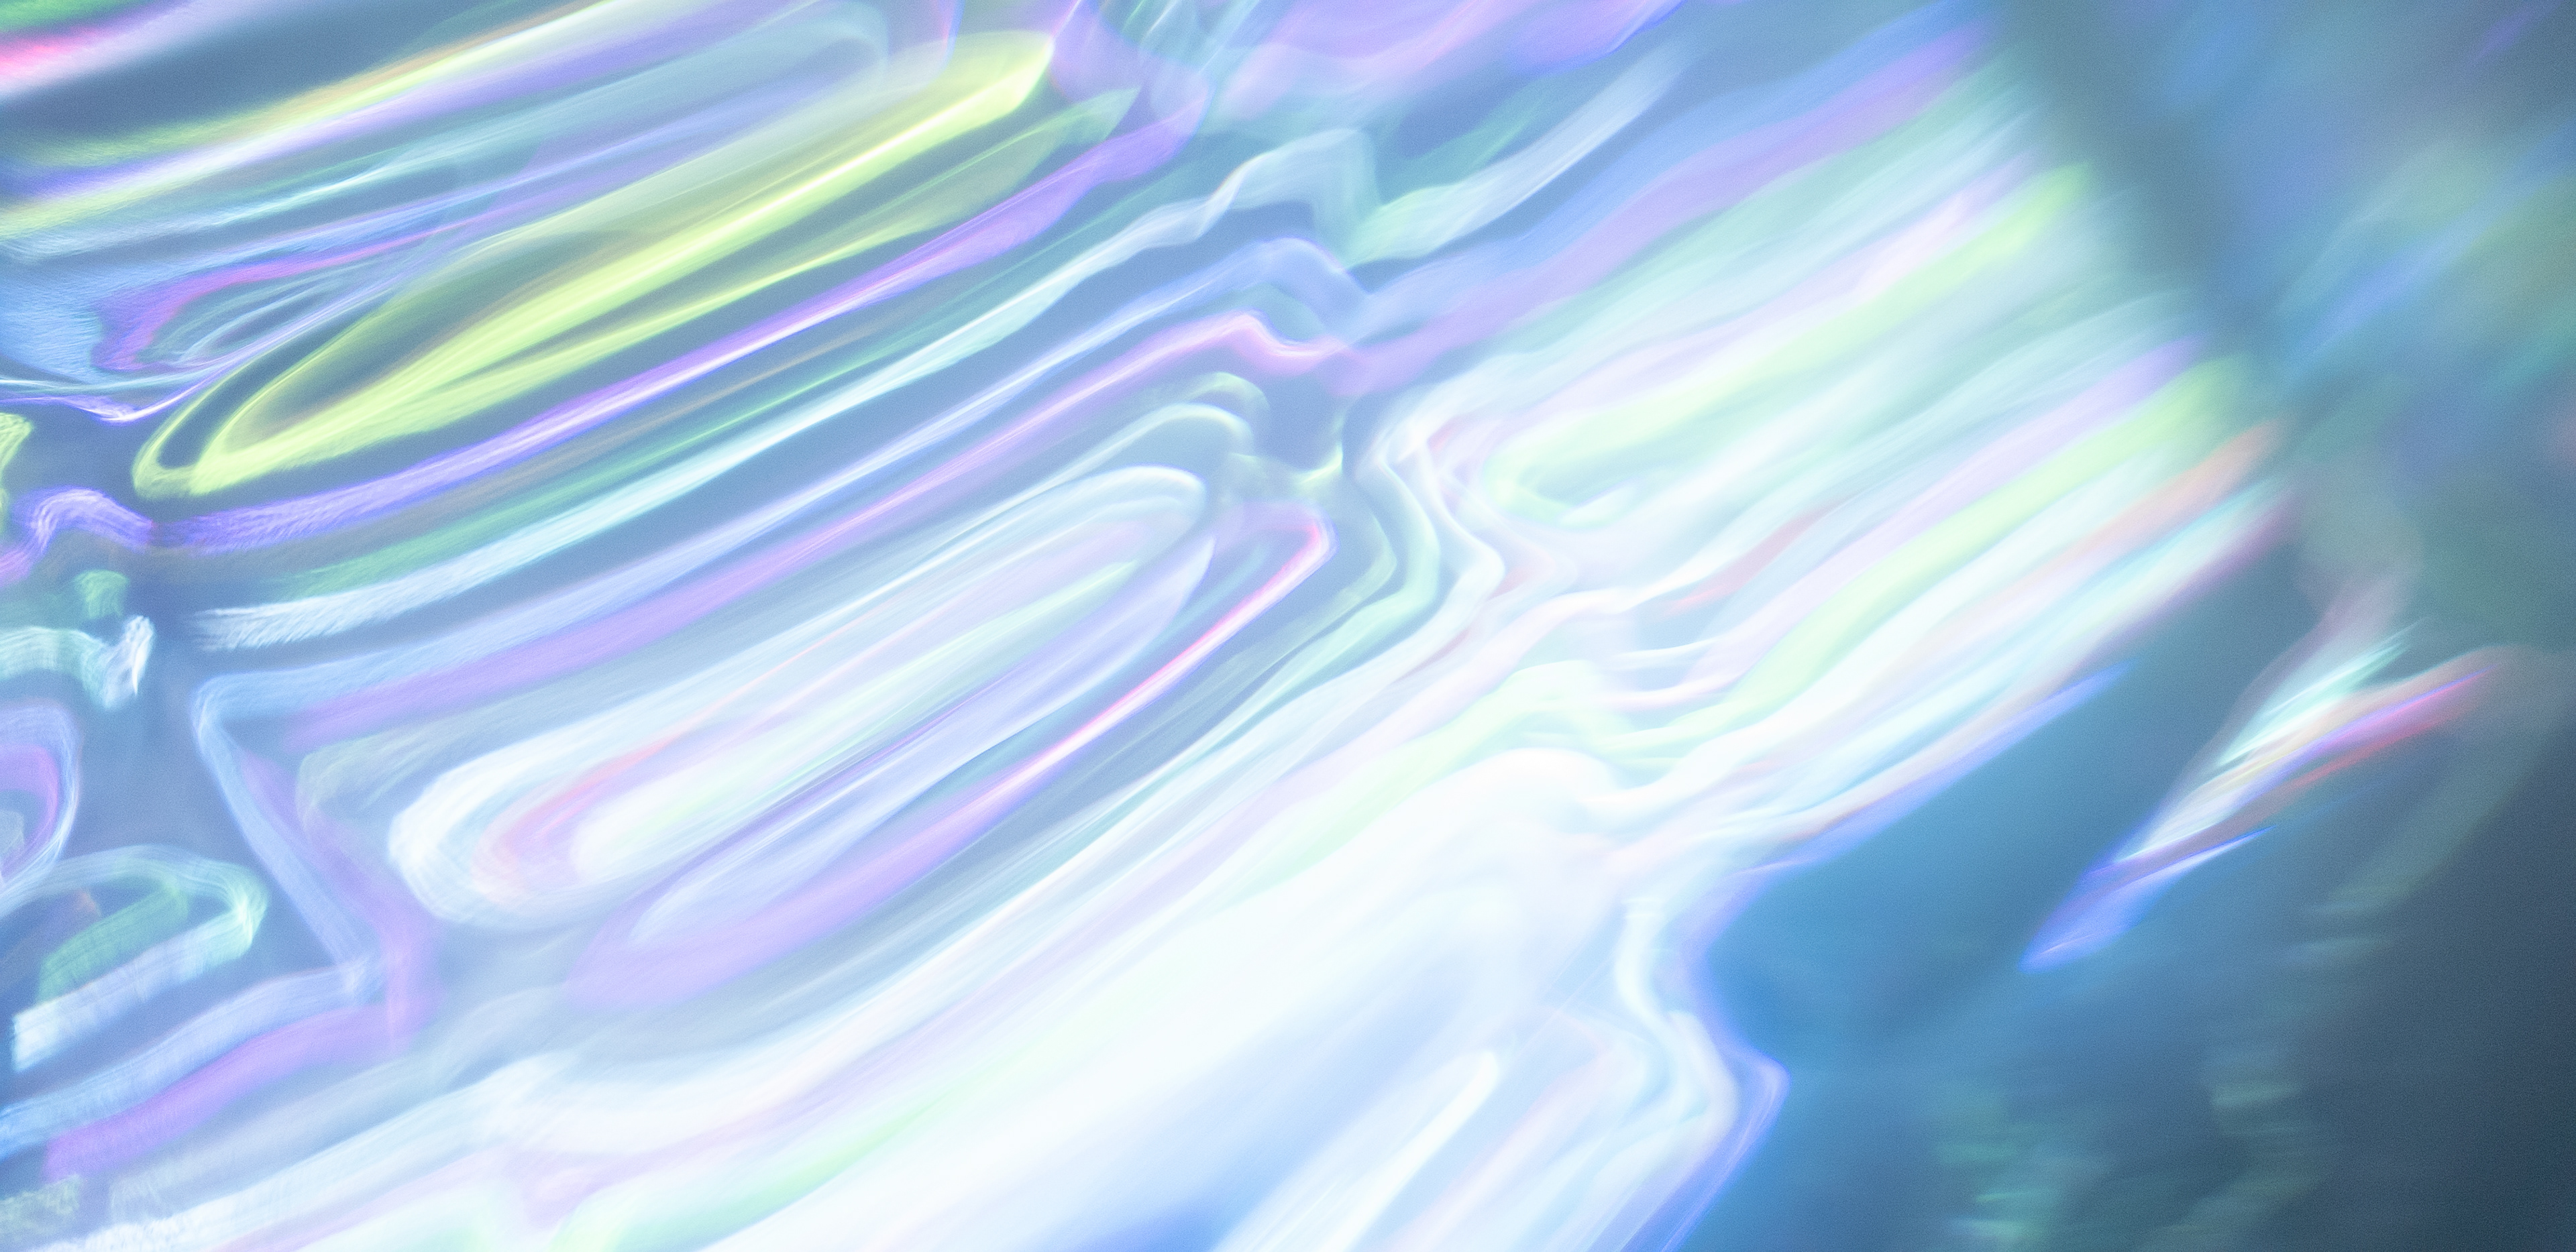
PINT GLASS
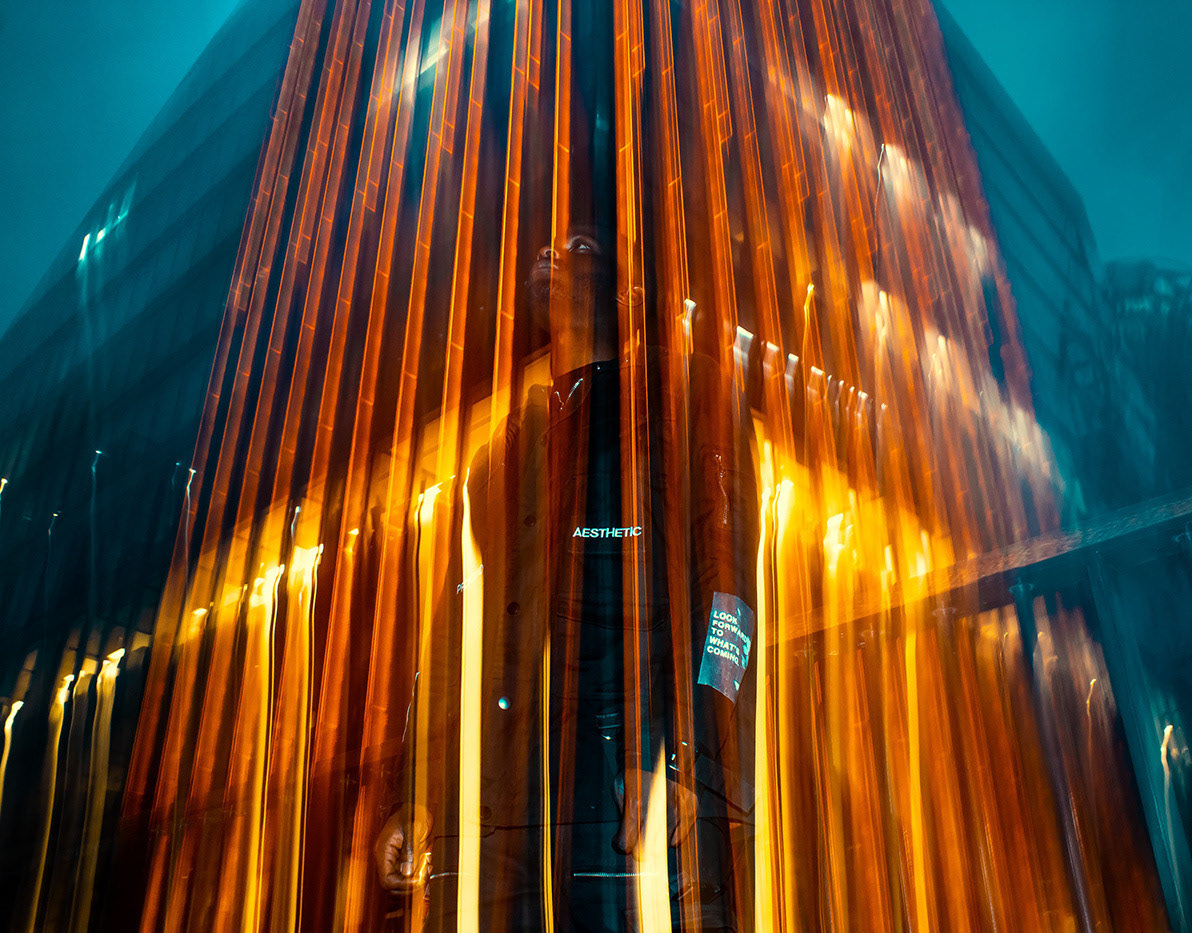
Great for long exposures and flashbacks to 2001: A Space Odyssey, the ripples of this tankard would split light rays along multiple circular pathways, and they are free to drag in any direction, with a little bit of precision. Long exposures with this dragging technique easily made for my favourite compositions in this series.
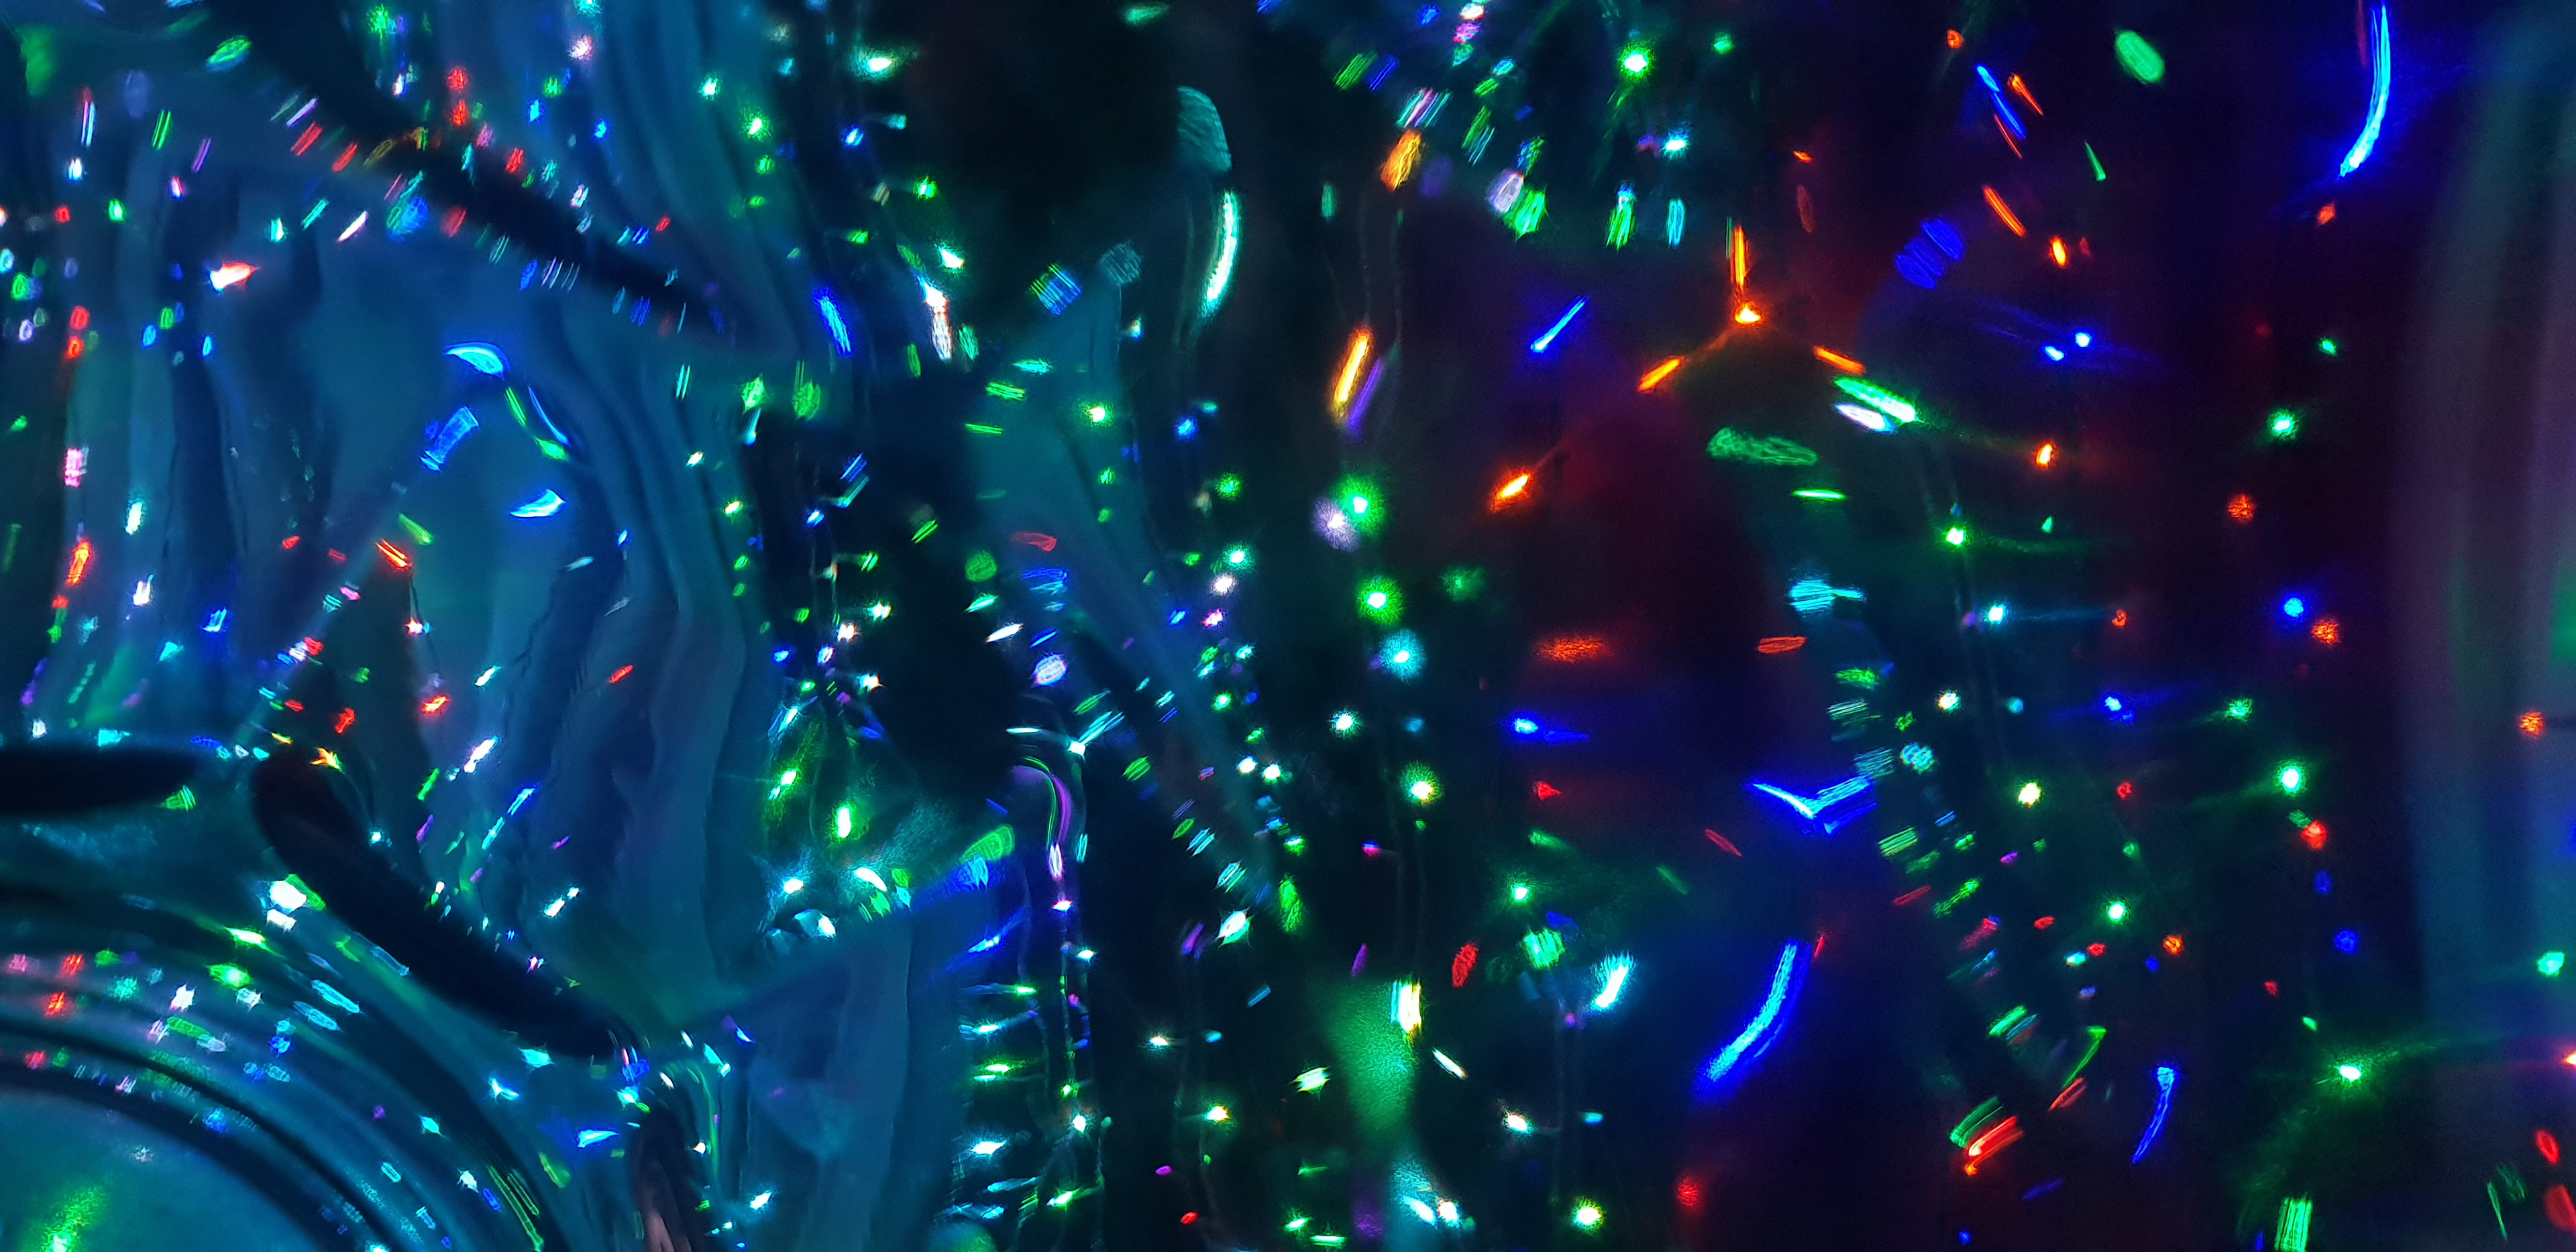
TUMBLER
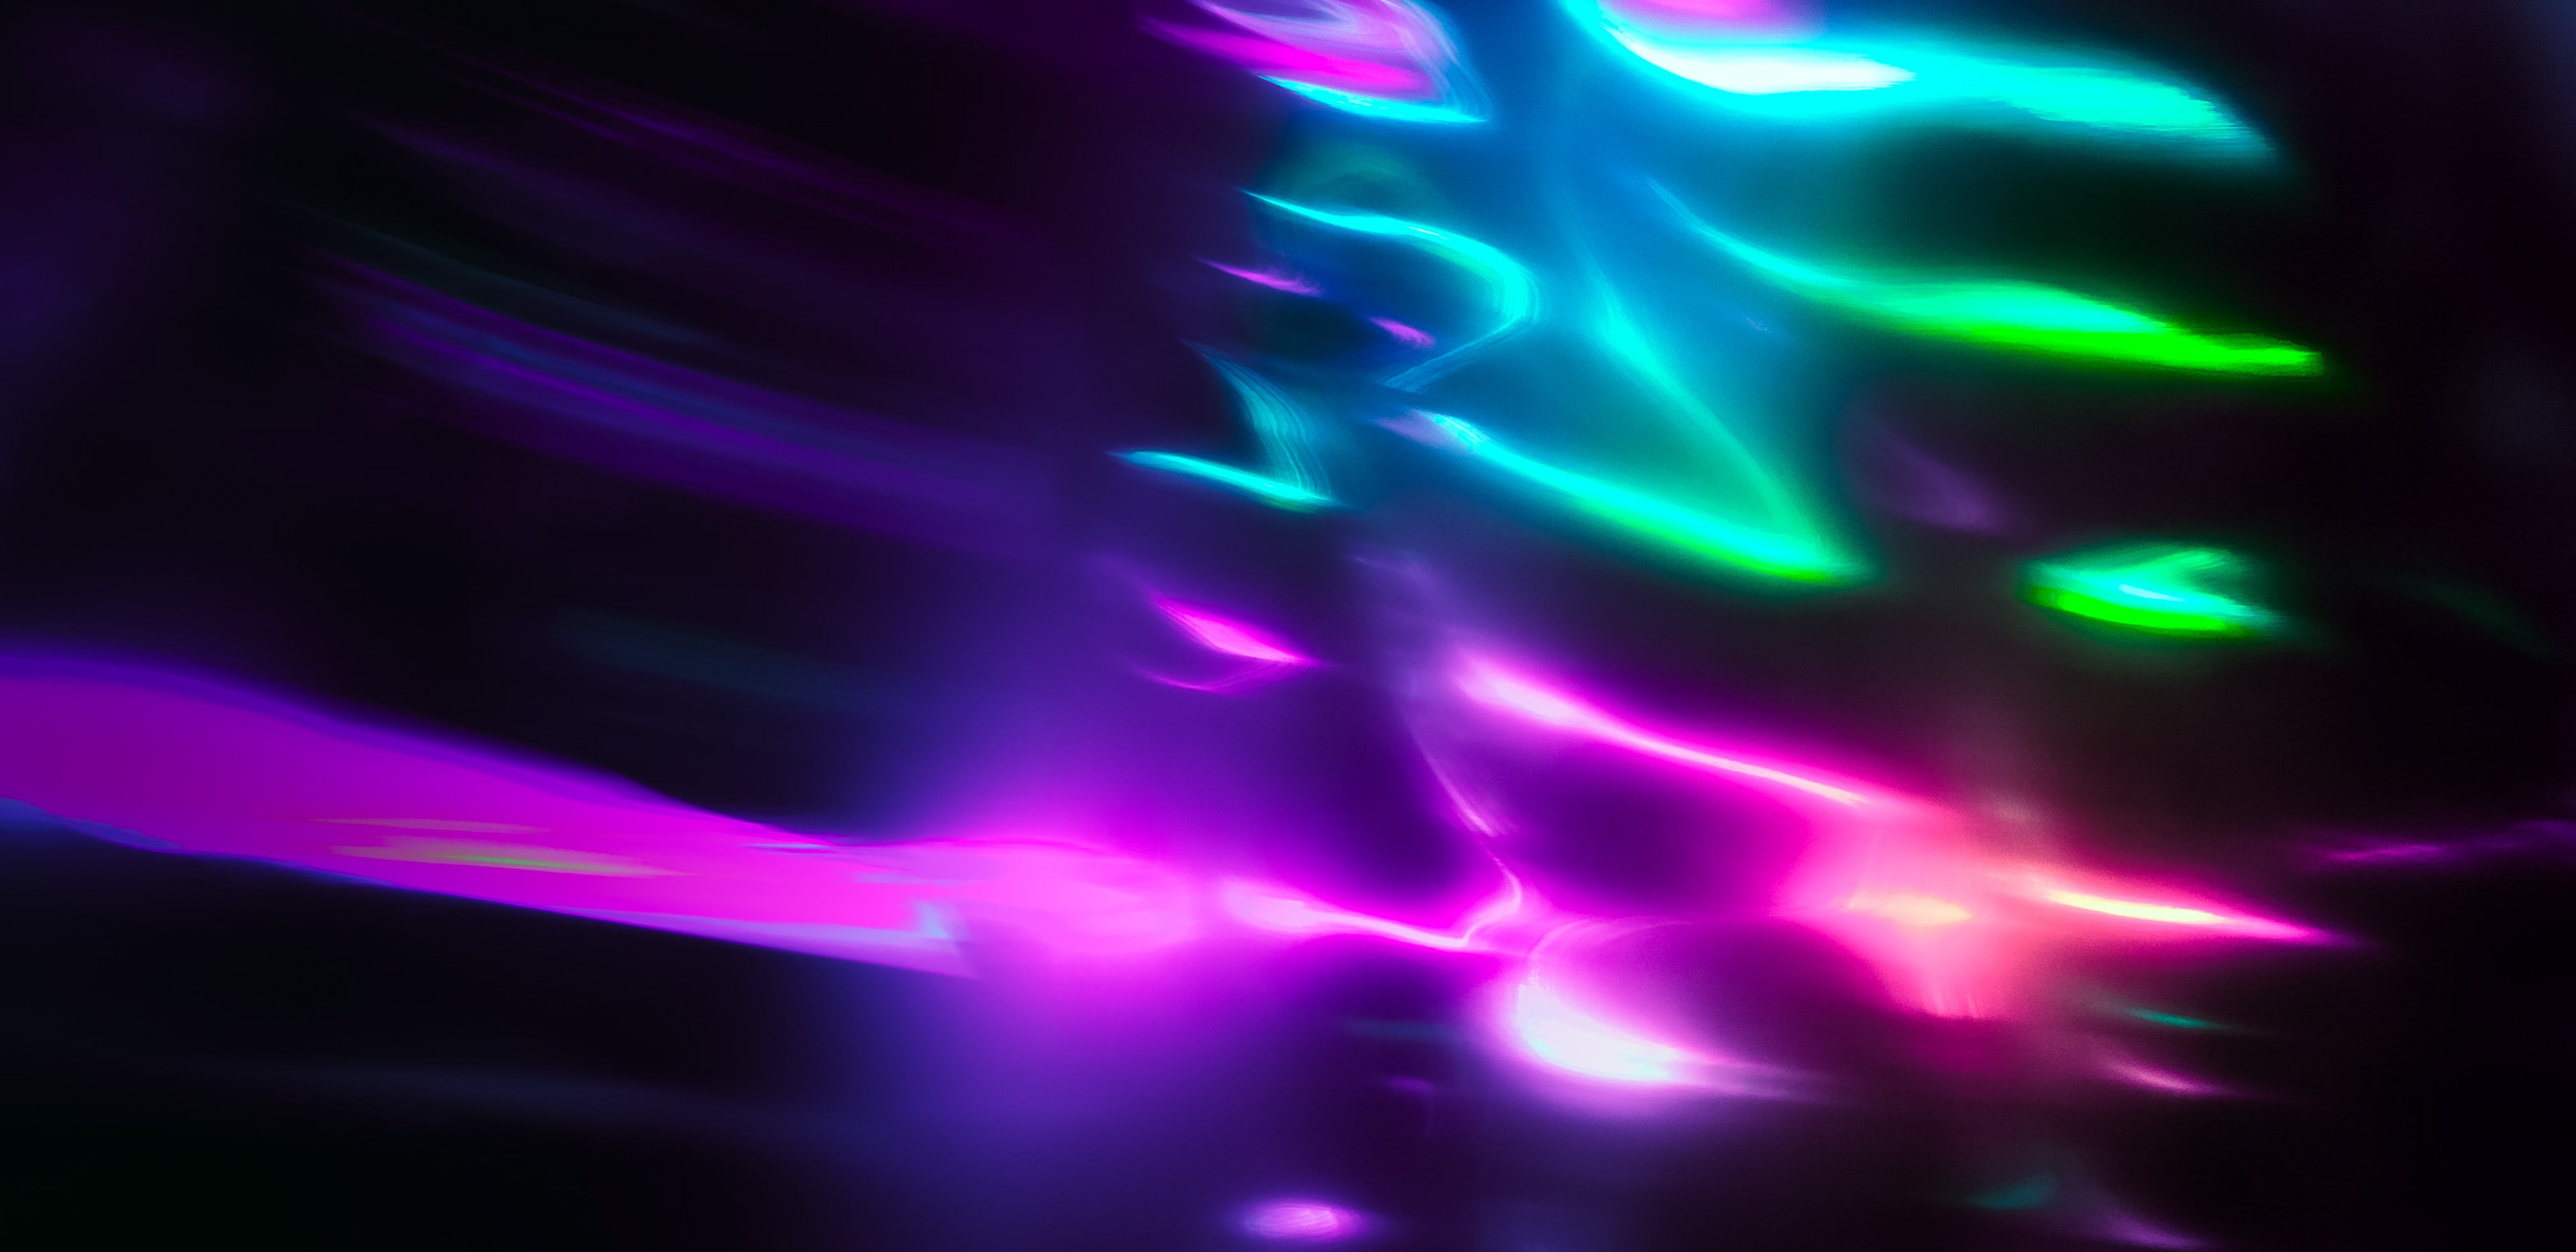
Angling the base of a tumbler made for a great surface for lights to curve around during long exposures. Placing the lens against one part of the rim and framing the other also exposes some ethereal circular patterns.
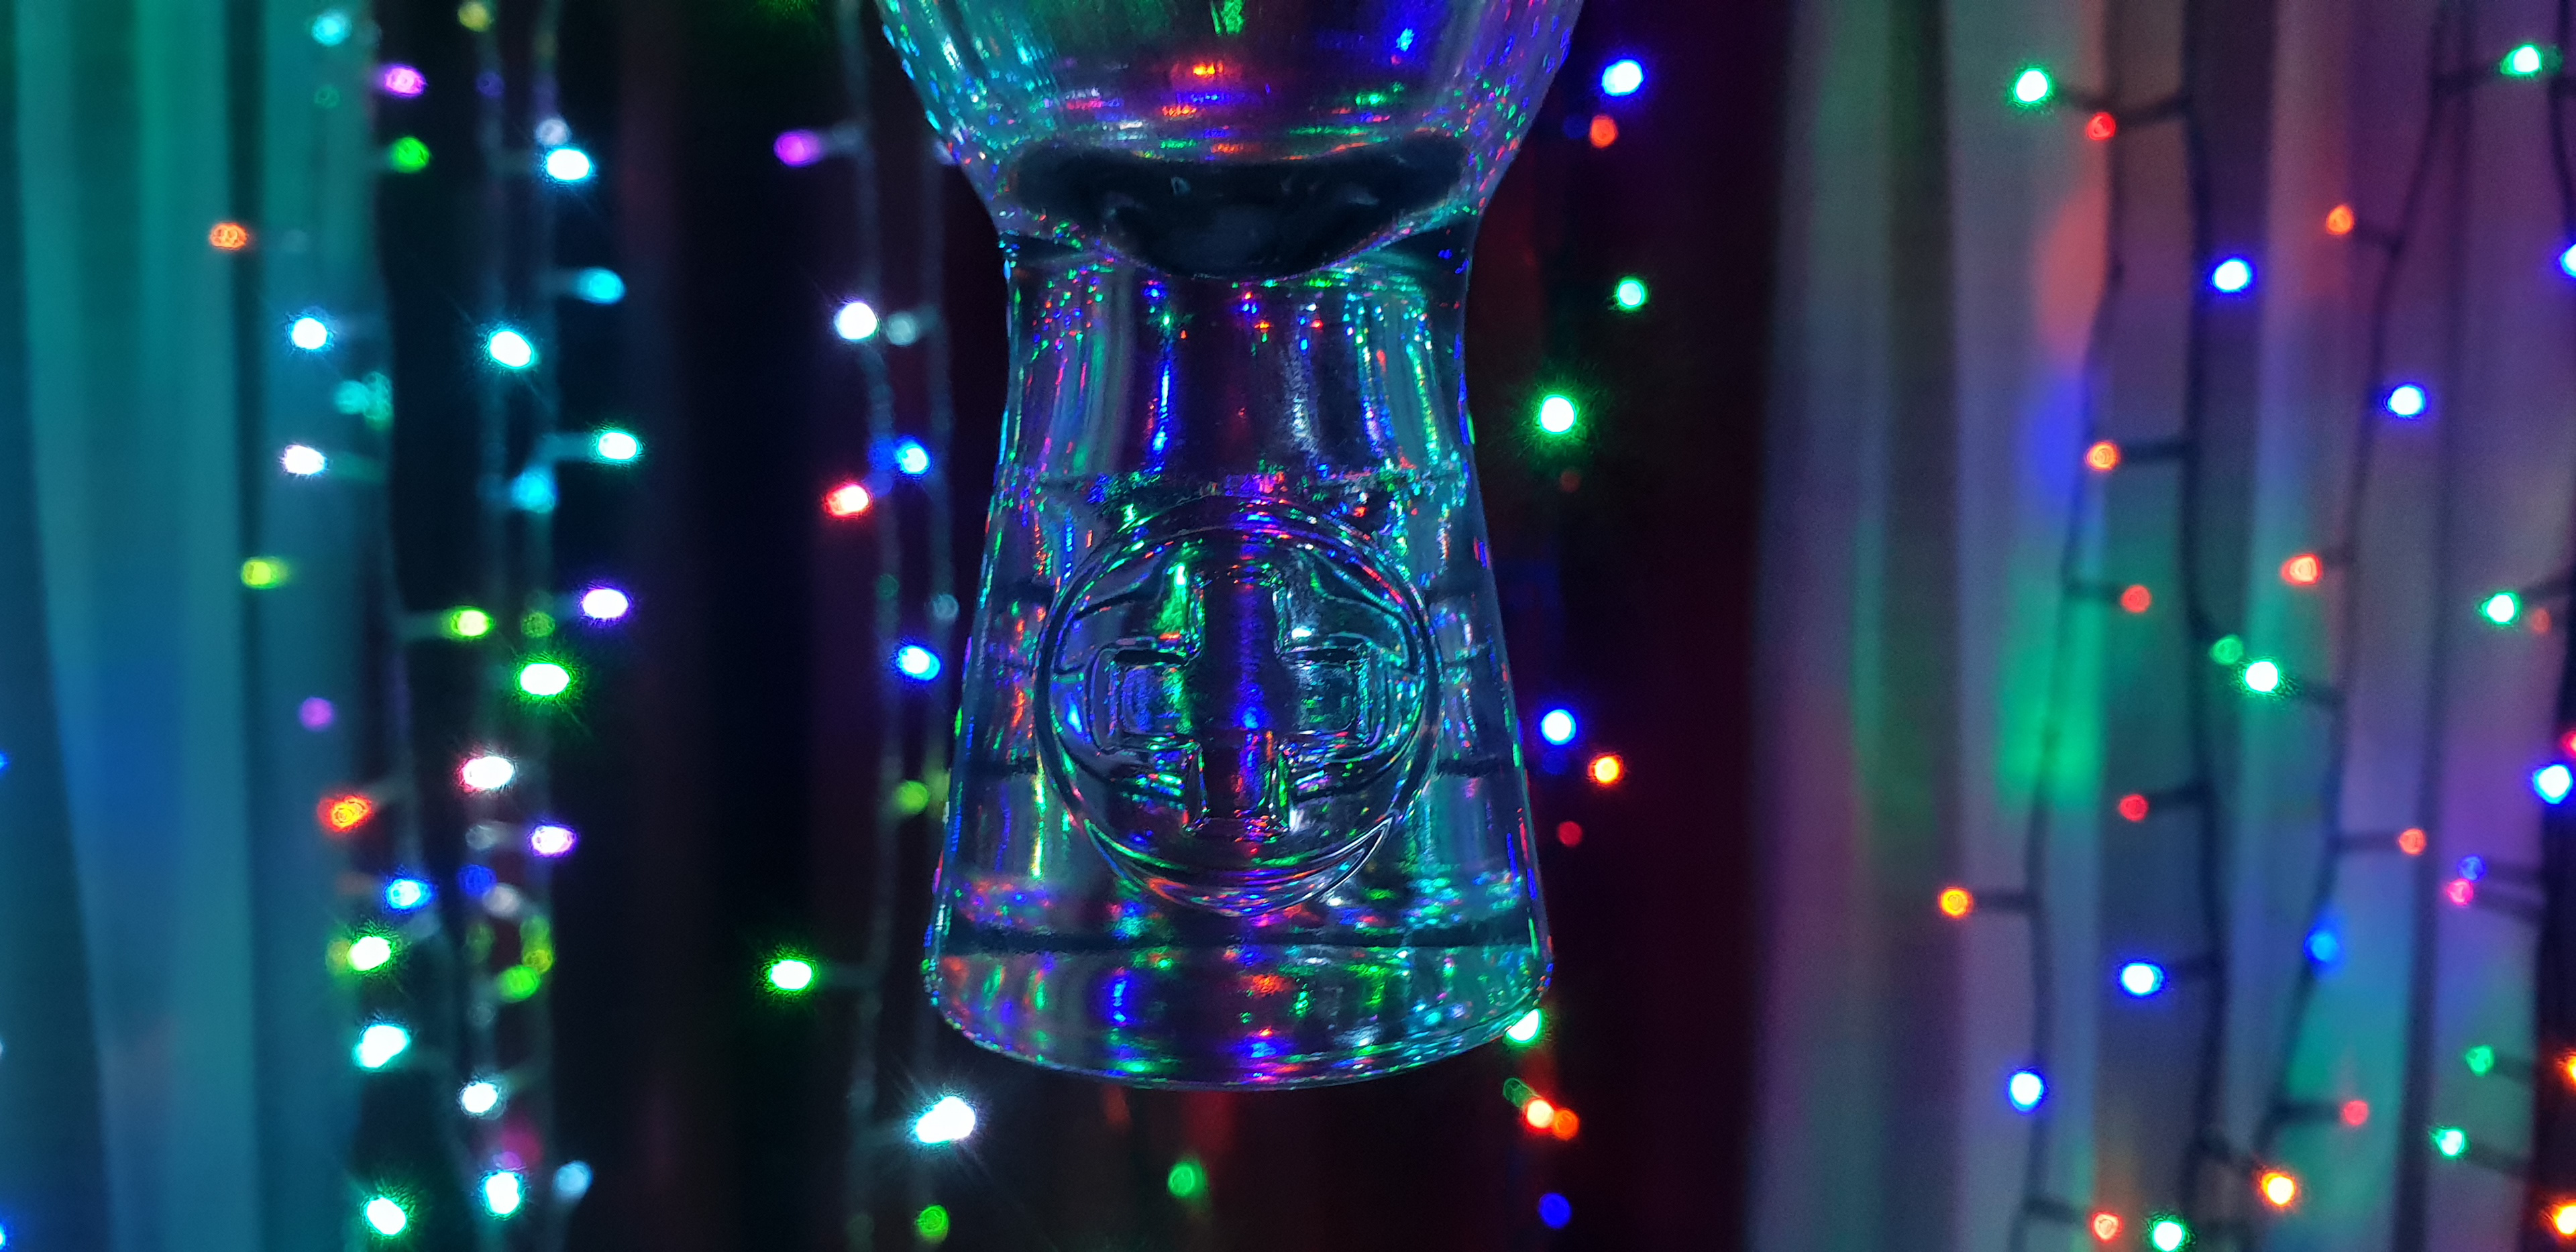
UNICUM GLASS
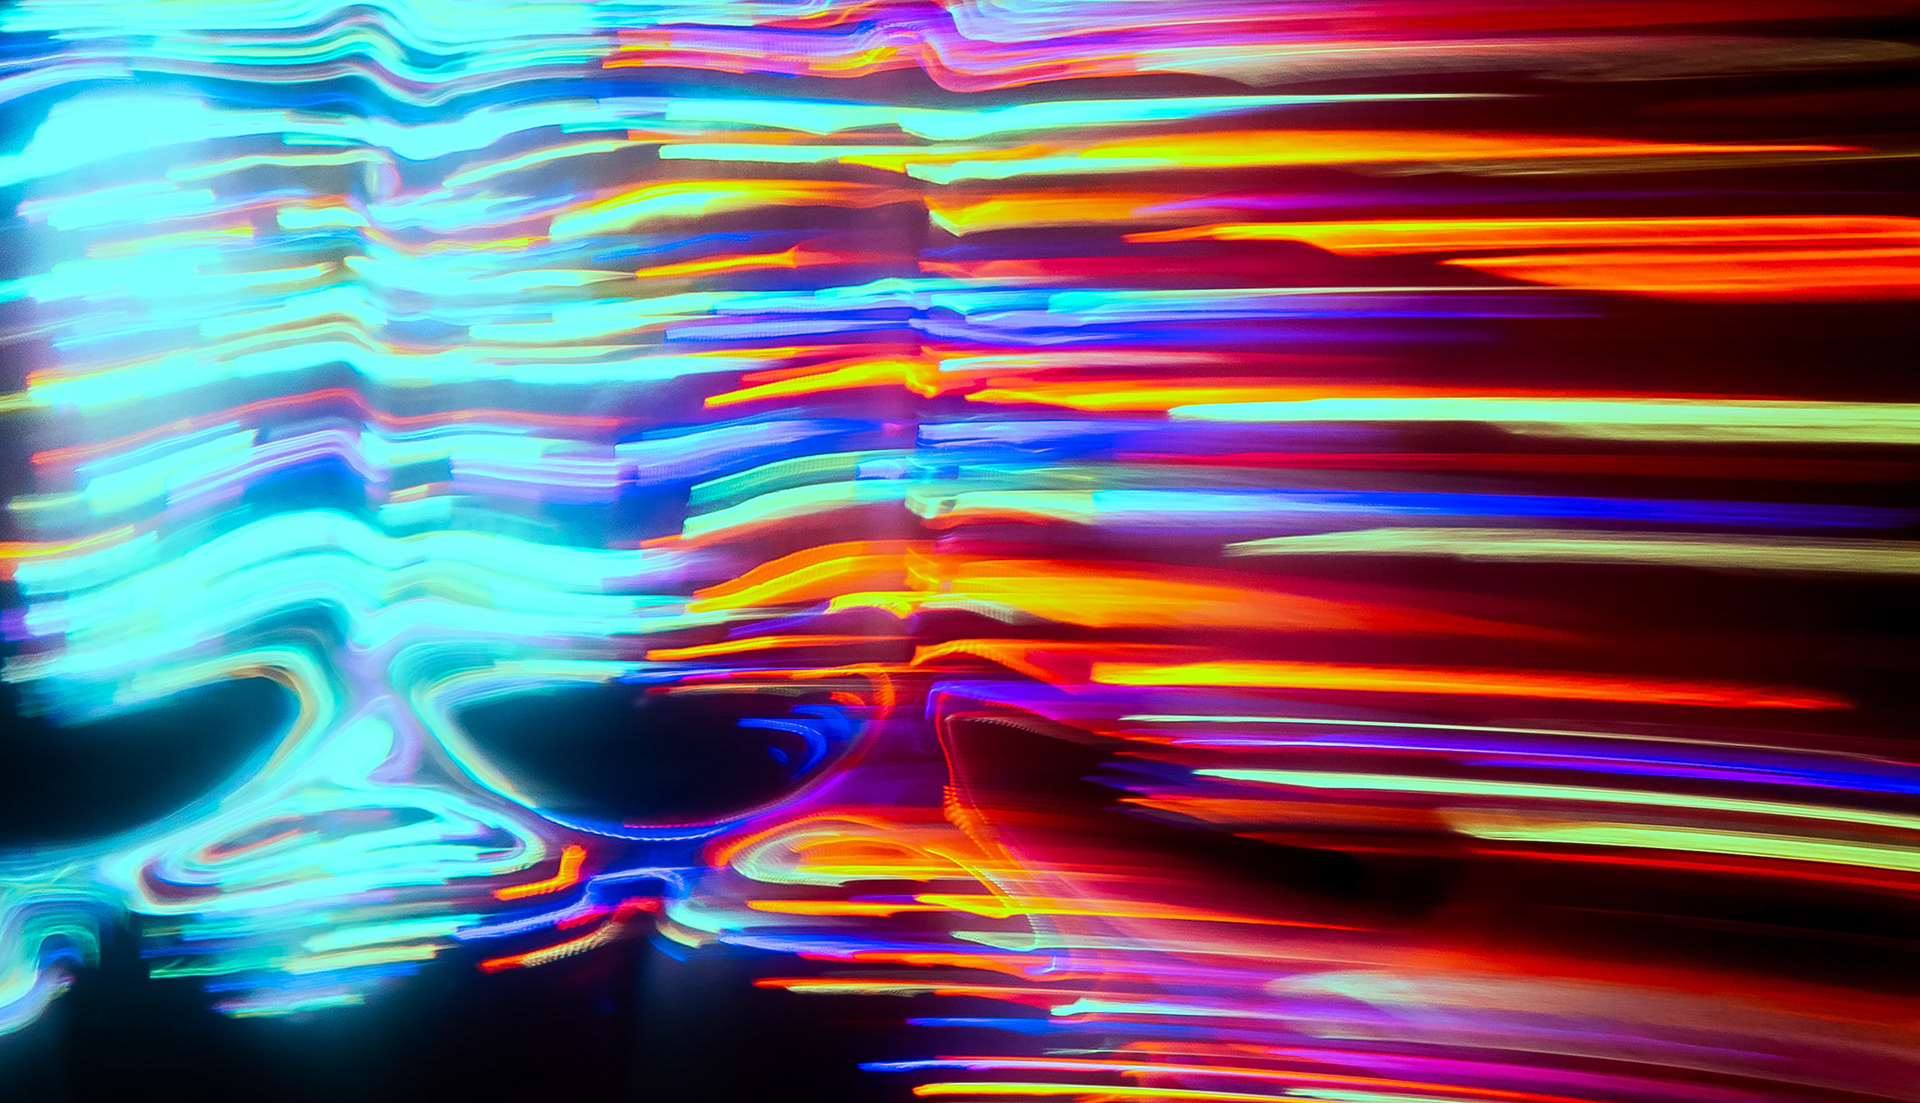
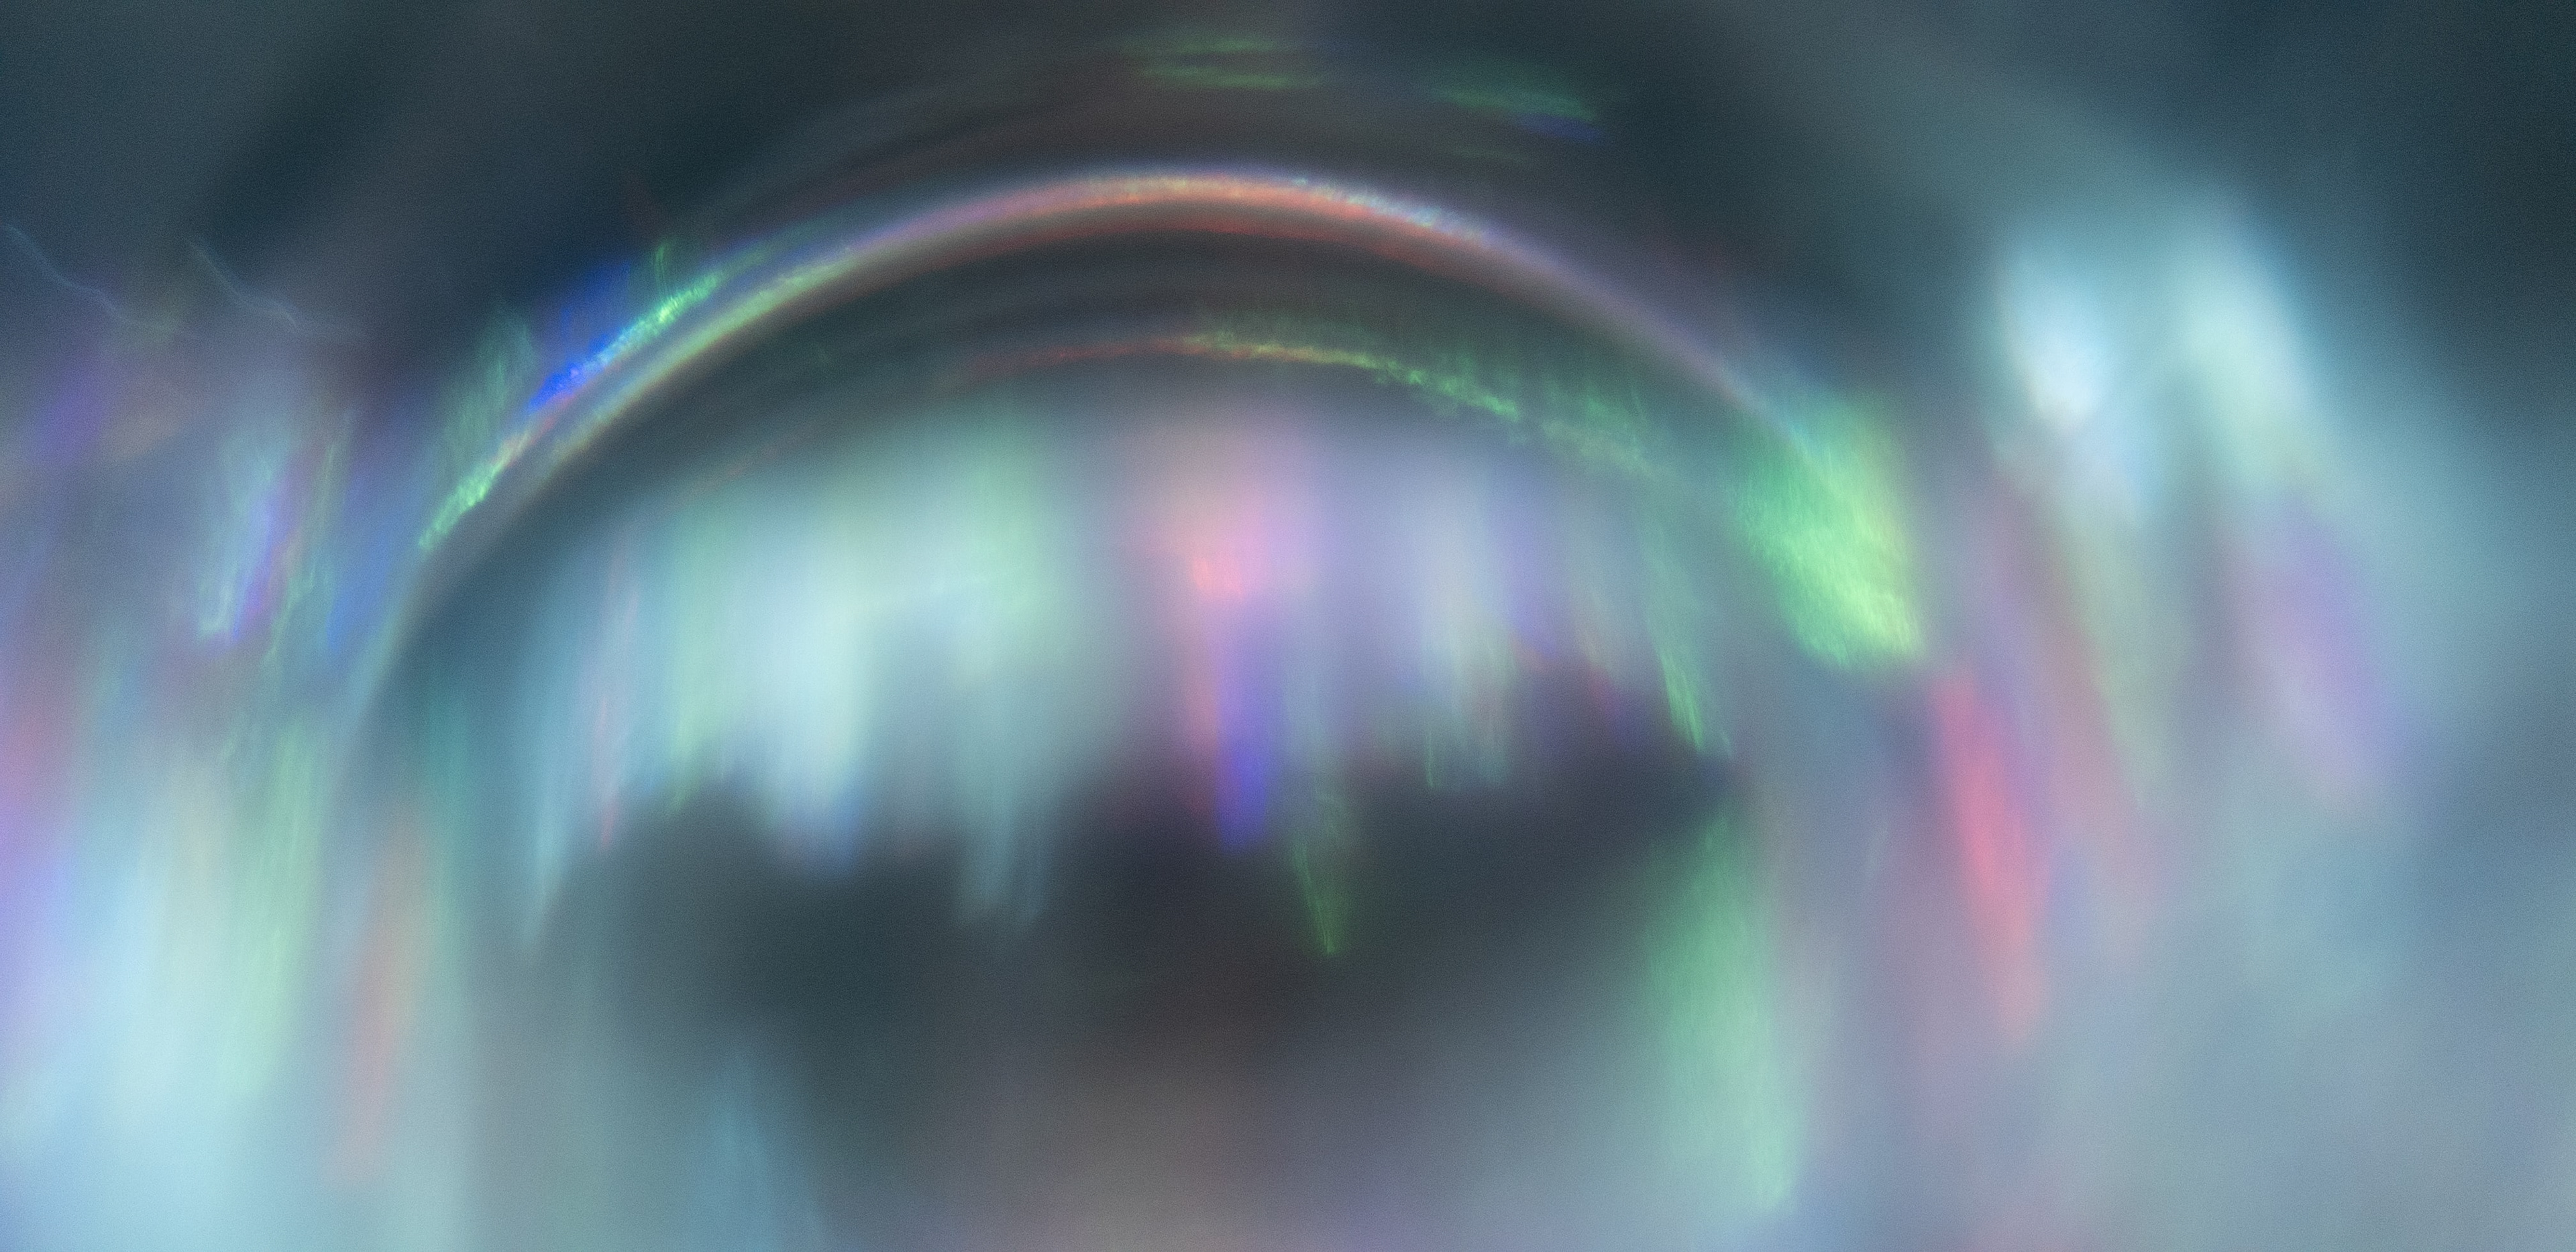
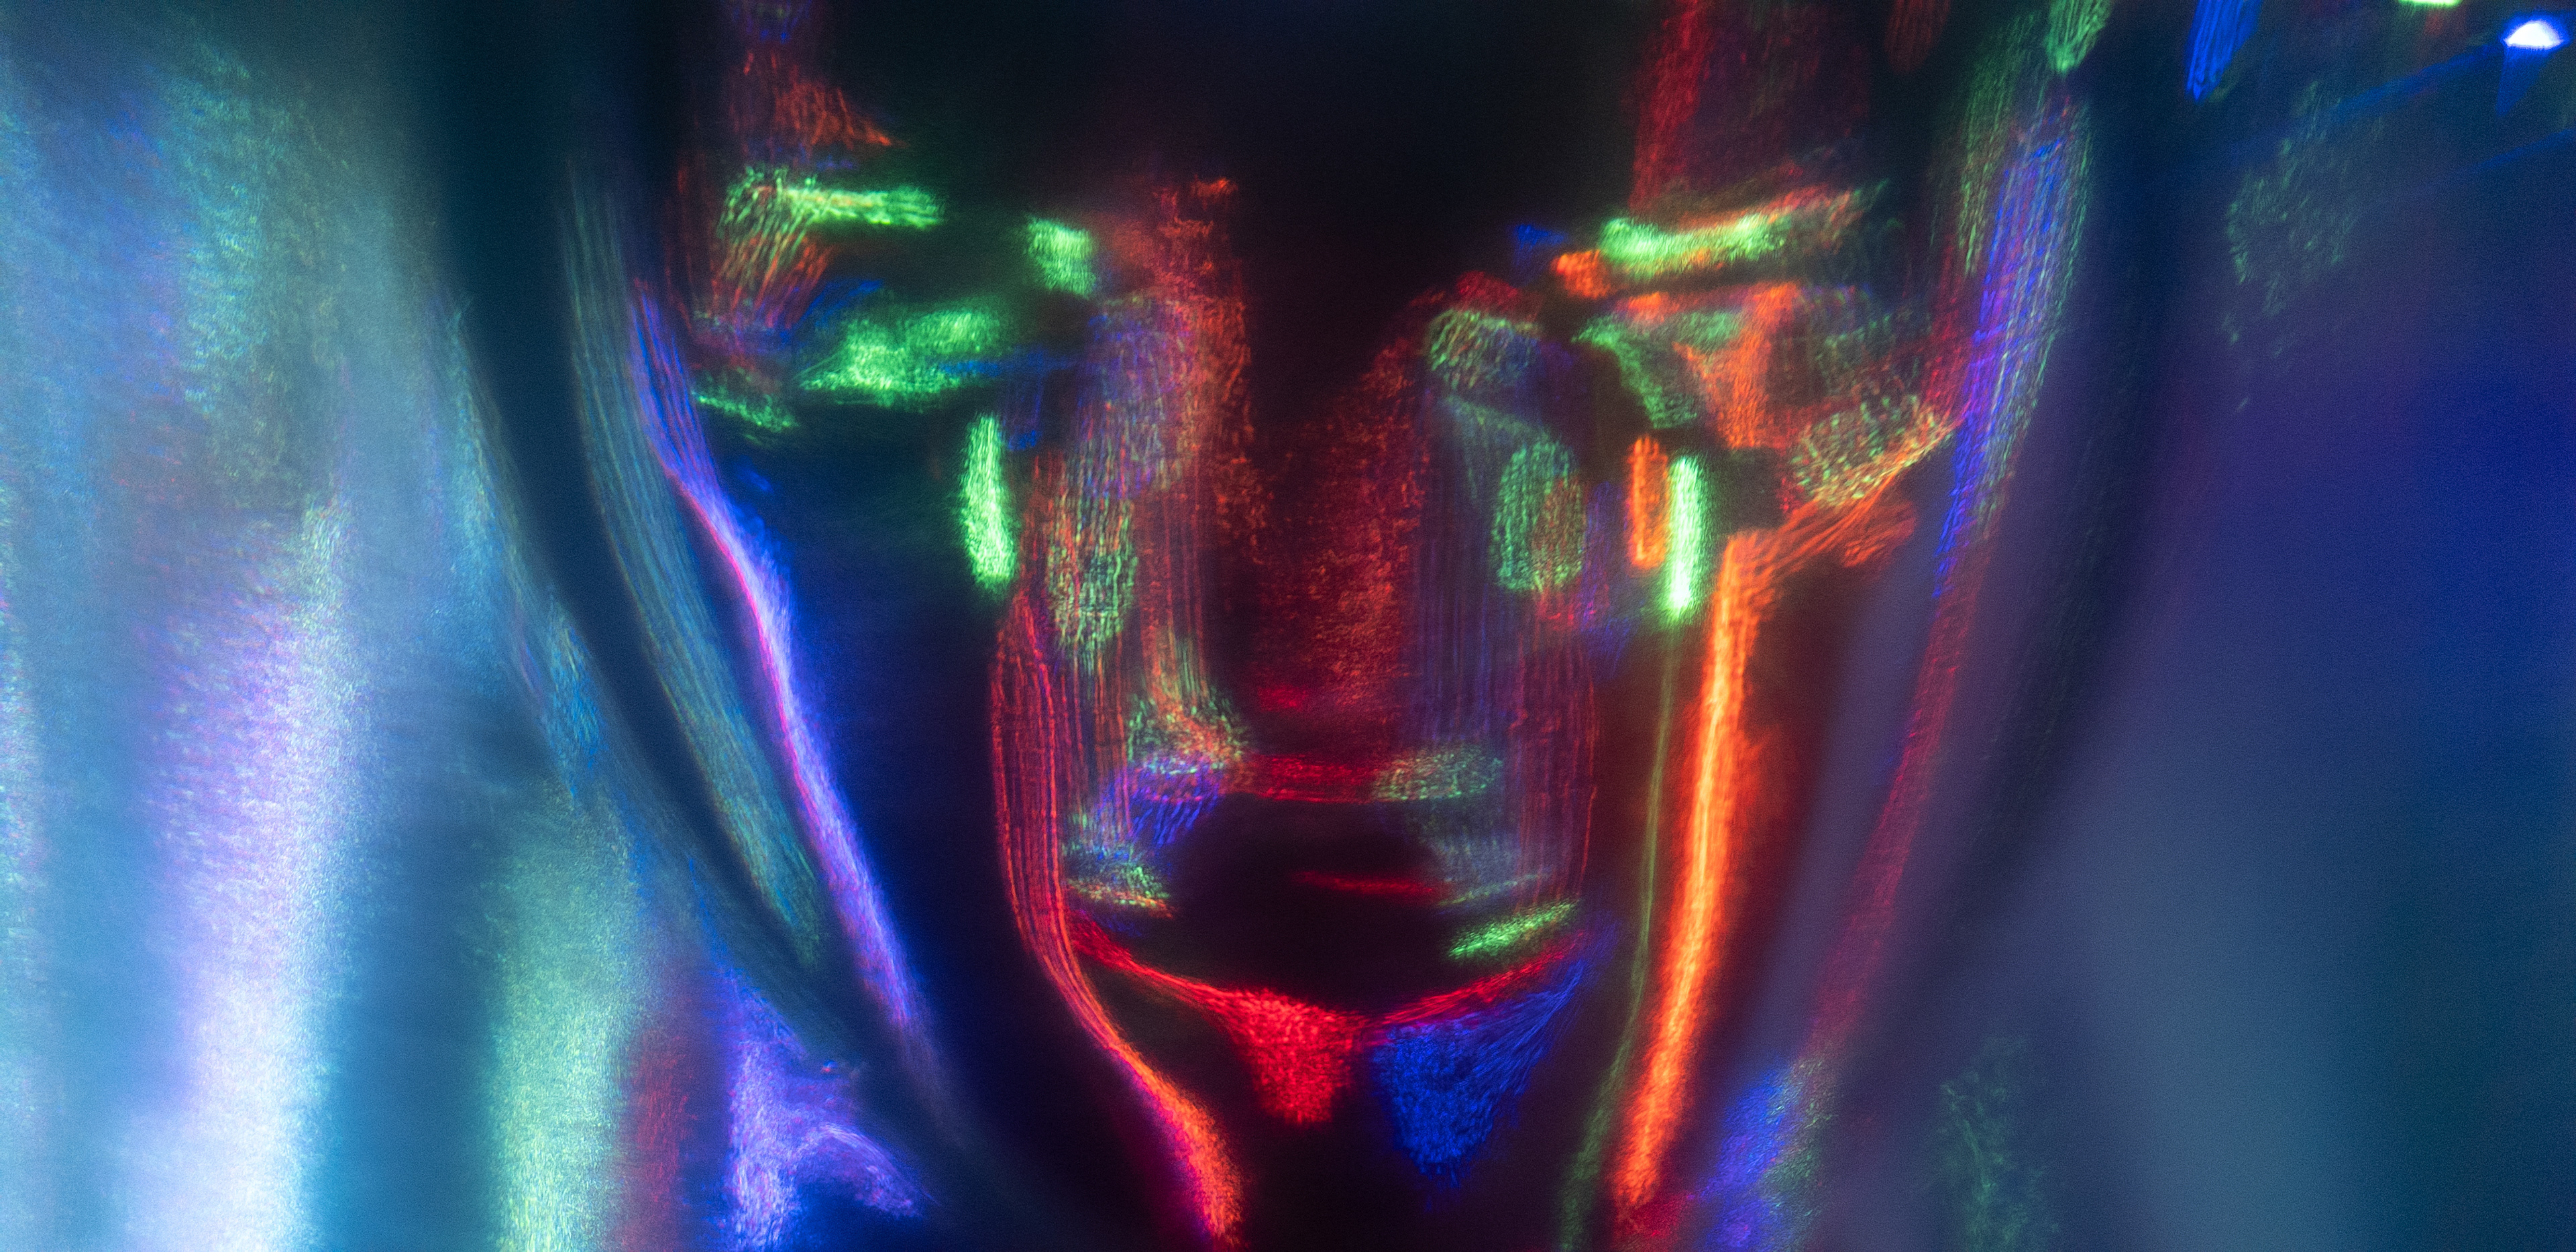
The bottom half of the beveled plus symbol makes a face. And it’s crying. The happiest accident of my career, right there.
STAPLER
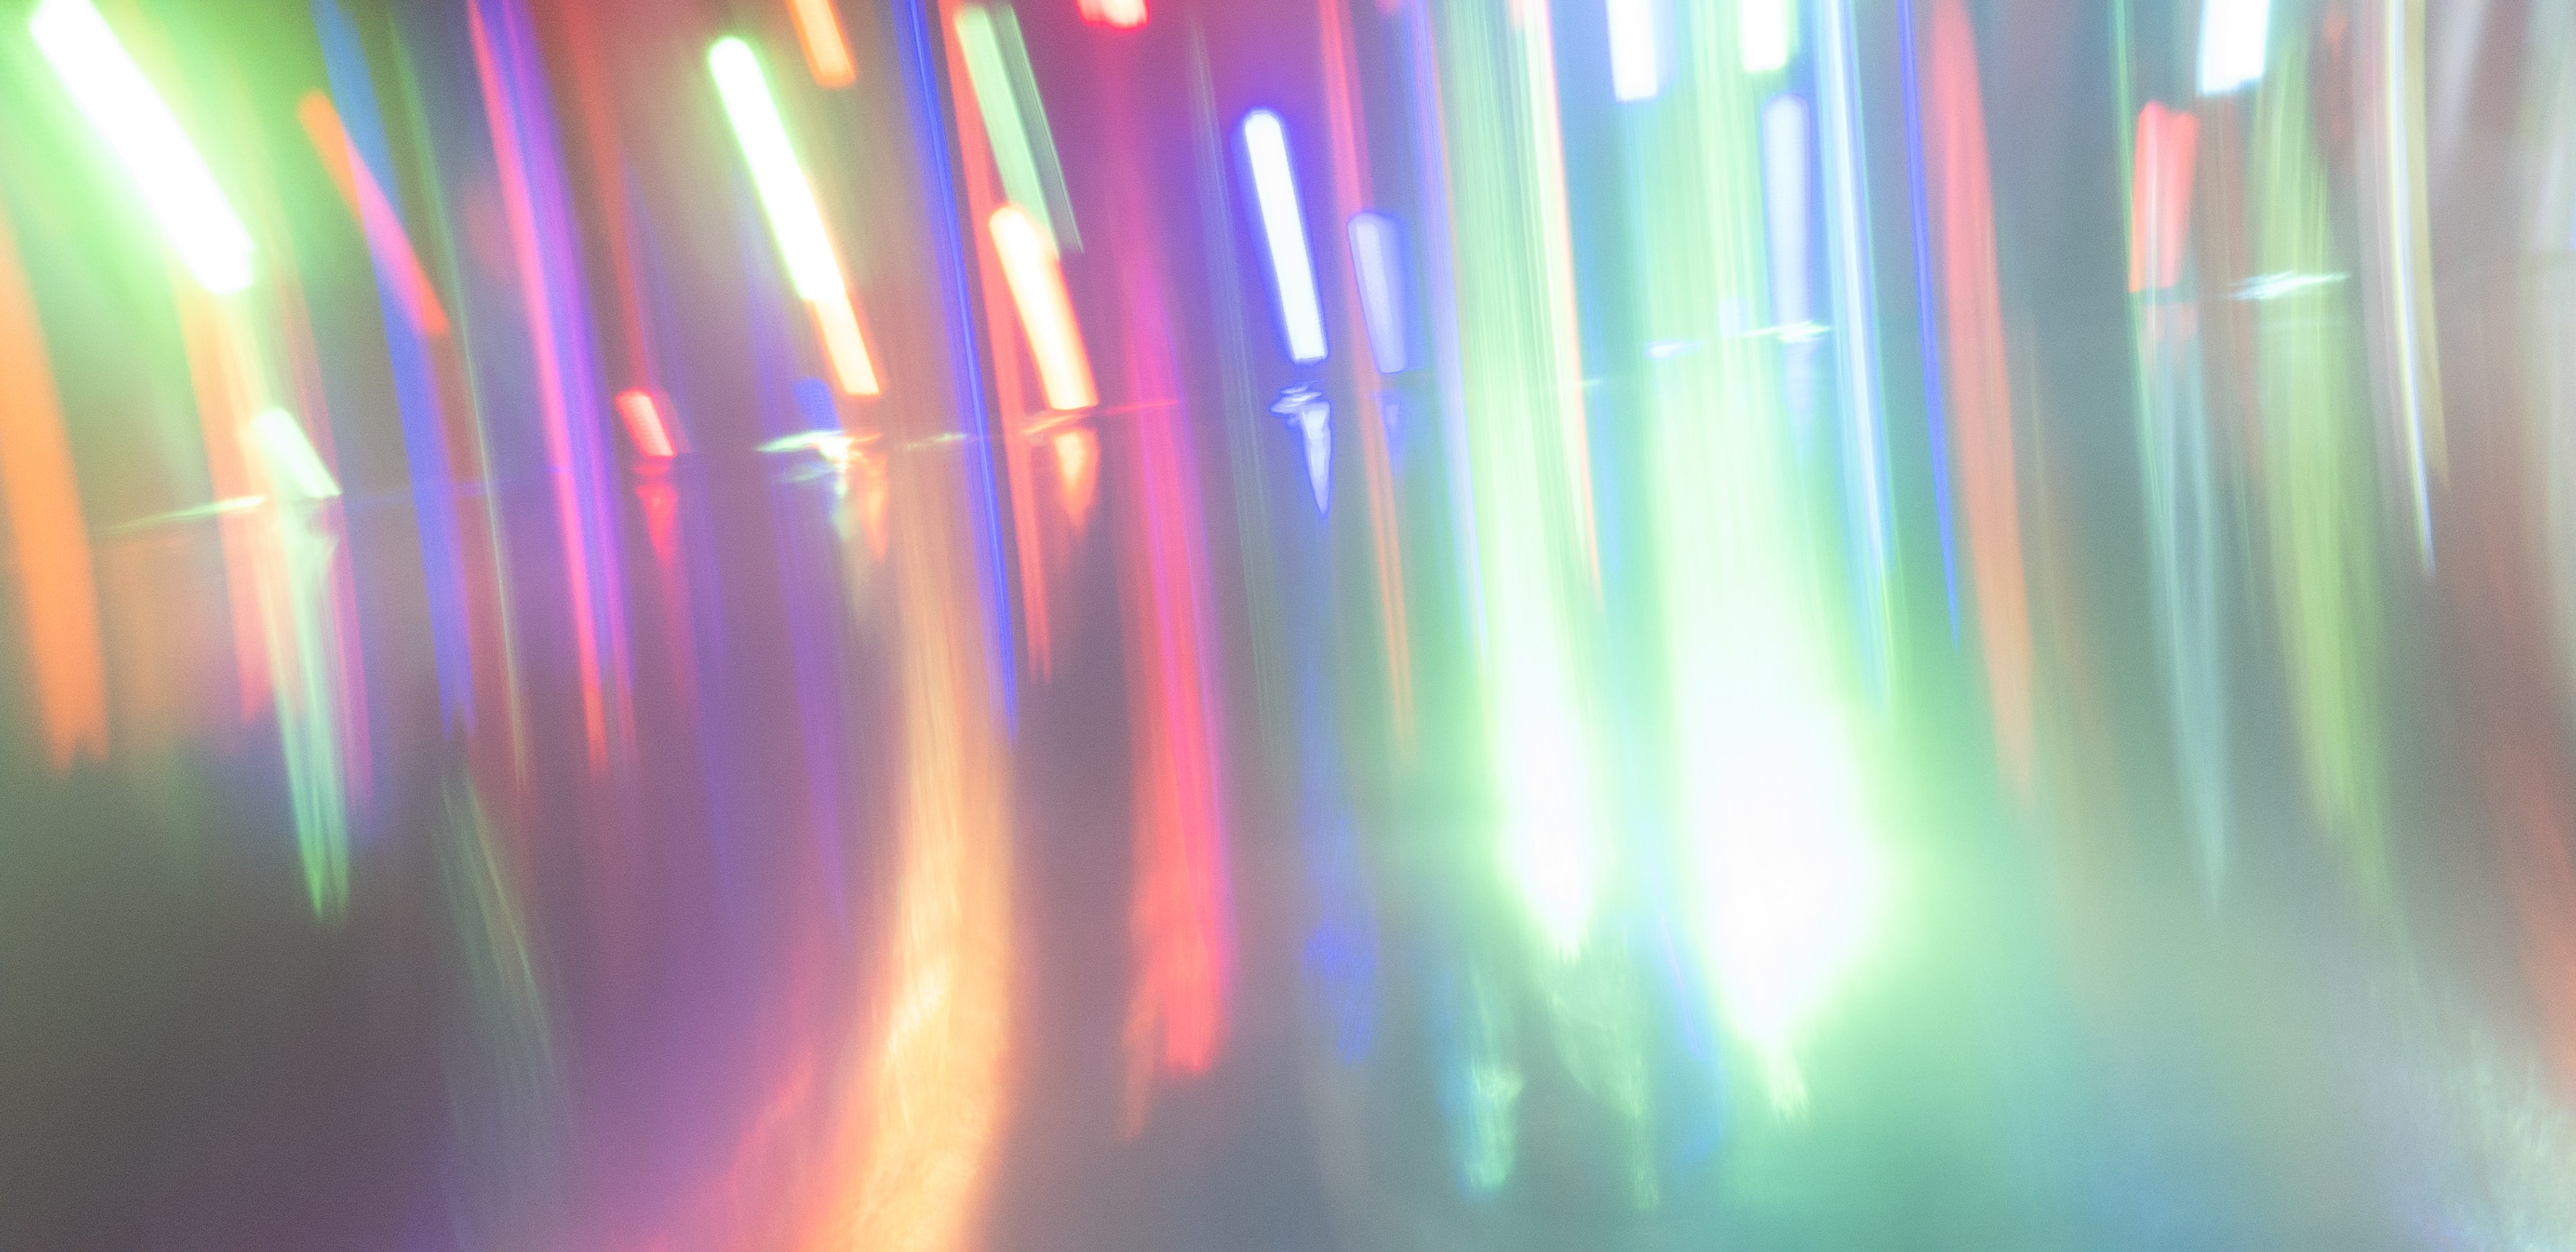
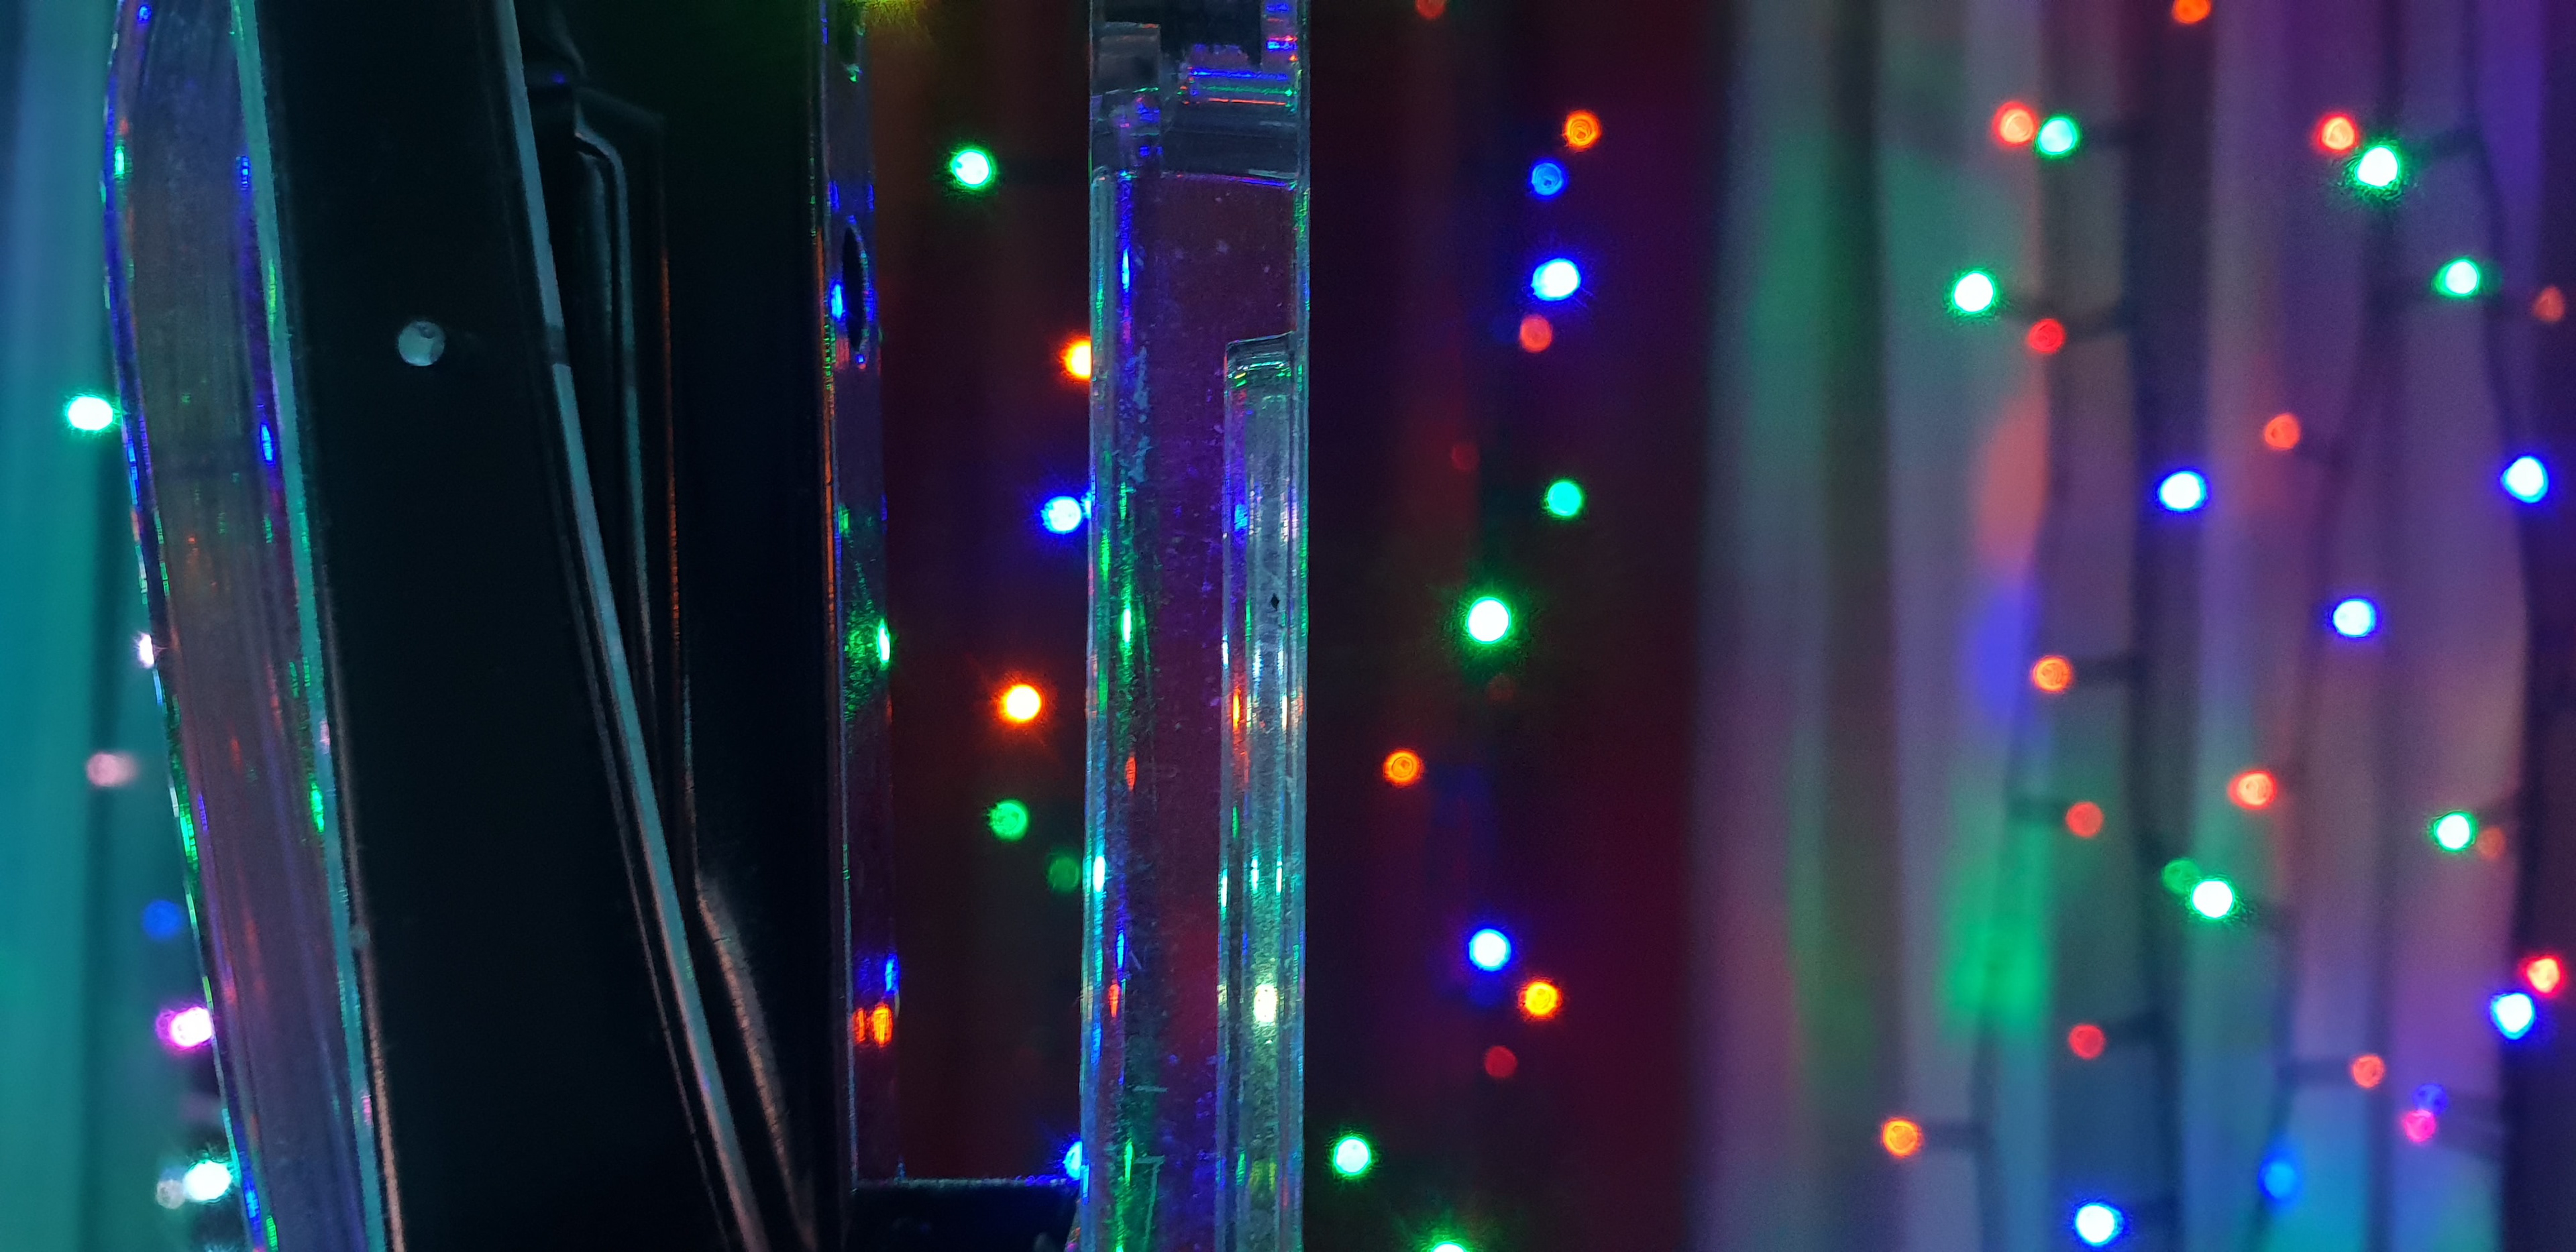
If even one piece of glass works well, you gotta go through everything in the house. At least during lockdown. When held upright, the bottom handle would stretch light rays horizontally, making for easy streak shots without the need for long exposures.

POST-PROCESSING
Considering my phone’s sensor size, there was still some excess noise and saturation that made these photos look more like illustrations than photographs, even with RAW files. Many of the shots also came out fairly bright and flat, so they lacked a focal point or a direction for the eye to move in.
I’d start with dropping the exposure down several stops to get an idea of a composition, using white balance and camera calibration to create a base colour palette then fine tuning it with HSL and some basic curve adjustments, particularly to ensure the highlights contrast well with the shadows.
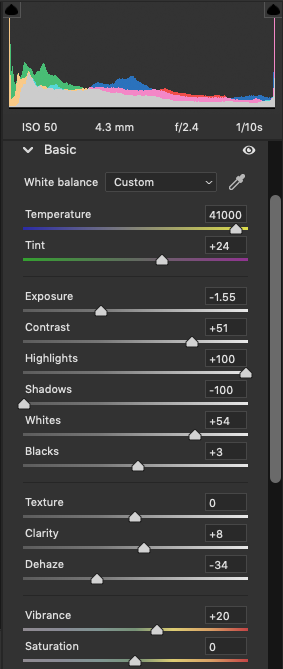
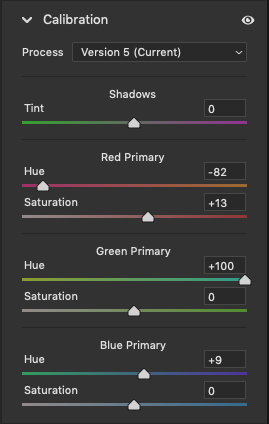
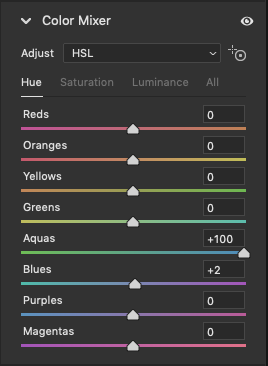
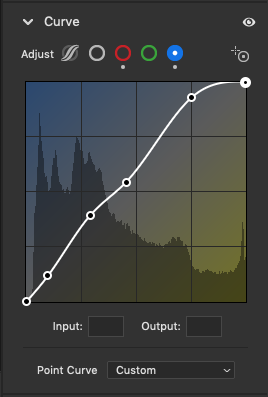
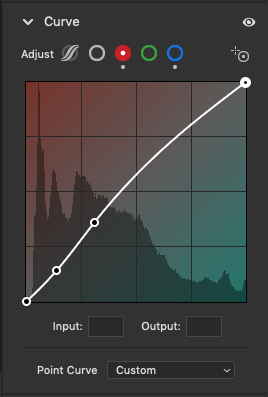
After seeking out a potential focal point, I’d use a combination of graduated filers and local adjustments to darken other sections of the image and adjust hues until there’s a clear path for the eye to be drawn along.
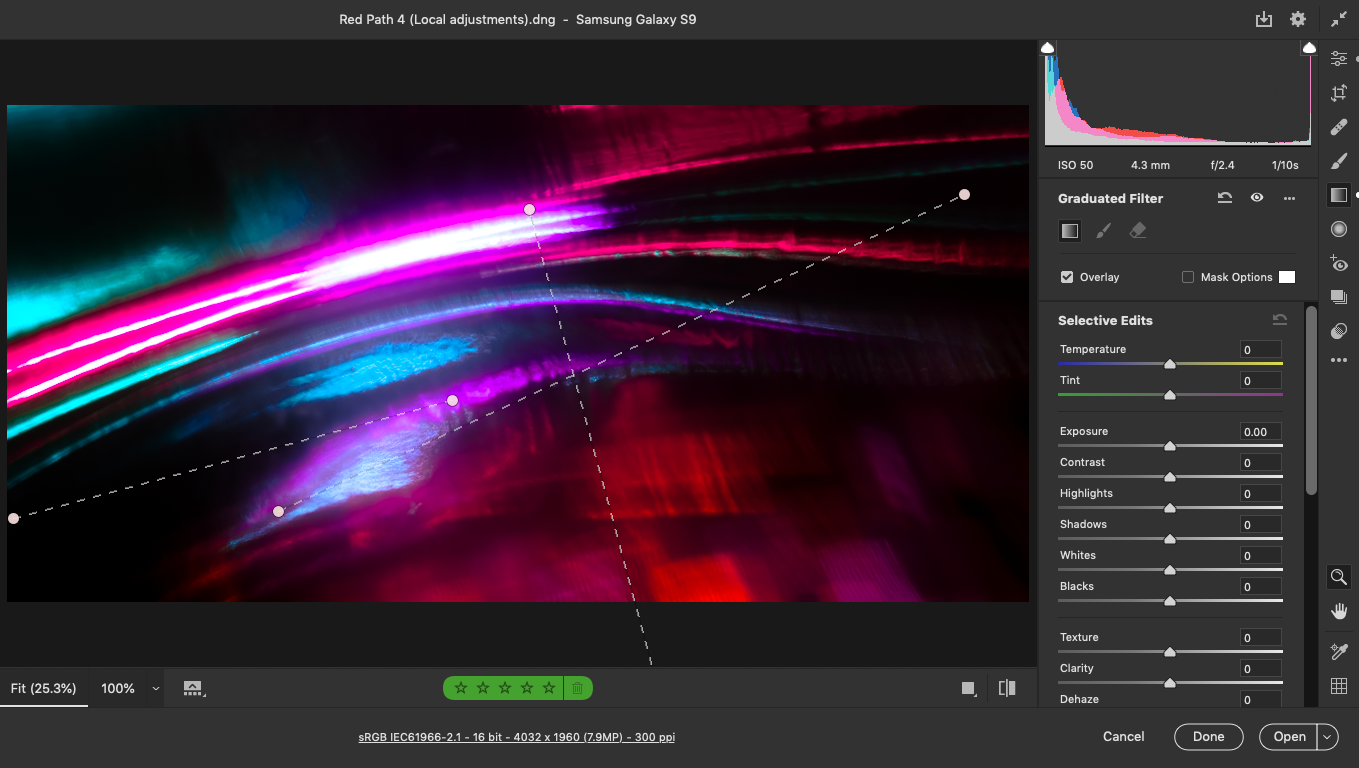
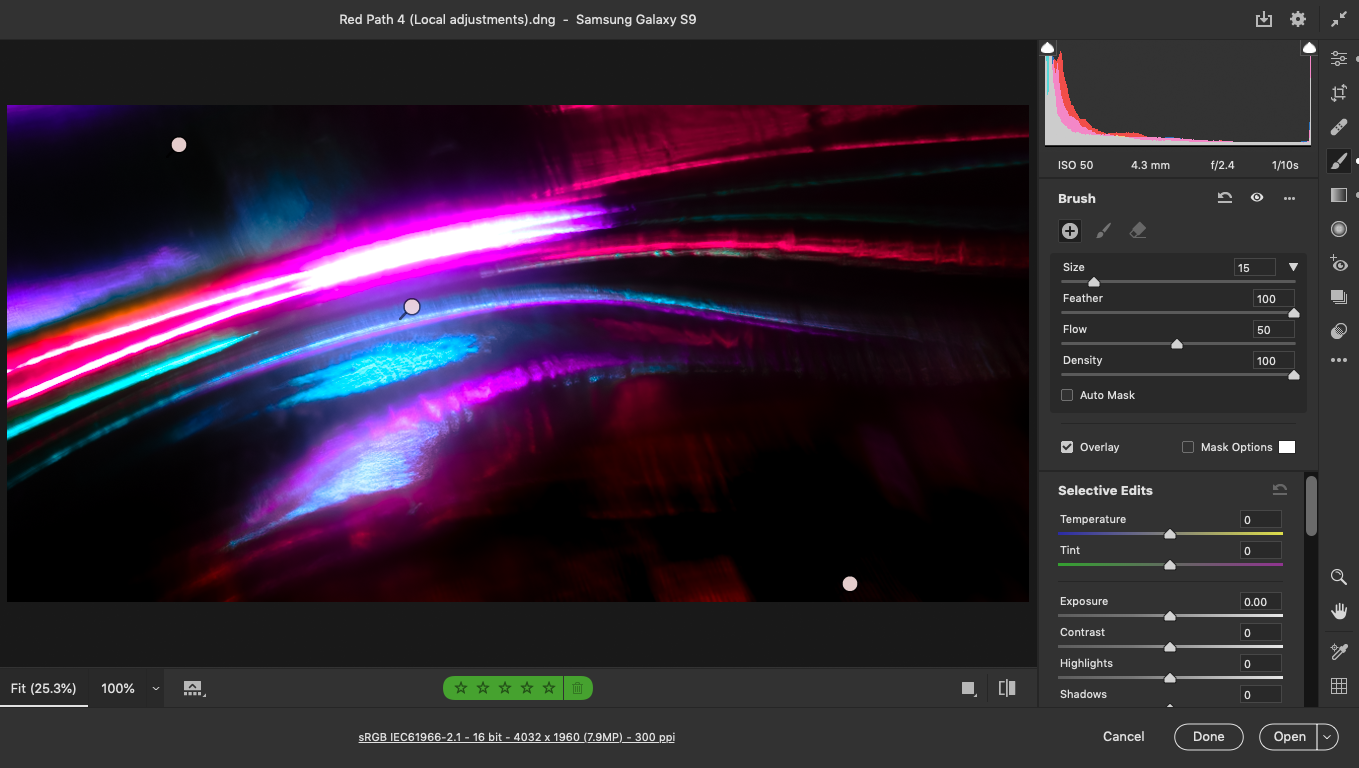
Finally, the white point is always available as another means of introducing colour, so I would finish off with a second round of curve adjustments to turn the brightest points of the image either yellow, blue or cyan, as these feel more suited to rays of light than reds or purples with lower luminance values.
Ultimately, check your cupboards, there might be some gold in there.
Featured By
